
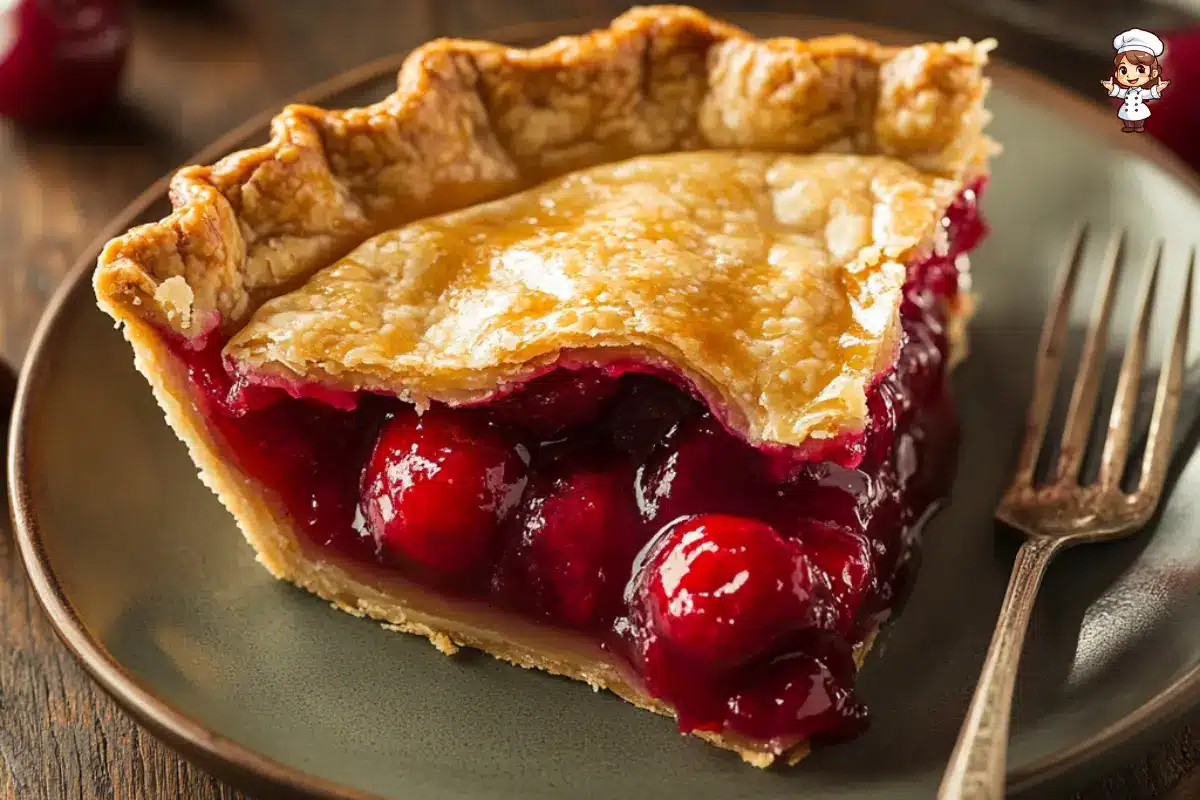
When you think of comfort desserts, few things beat the deliciousness of a classic cherry pie. Something about its sweet-tart filling and flaky, golden crust makes it the ultimate treat for any occasion. But here’s the best part—this Old Fashioned Canned Cherry Pie Recipe uses canned cherries, so you can enjoy the taste of fresh cherries even when they’re out of season. Whether you’re a seasoned baker or a beginner in the kitchen, this simple and easy-to-follow recipe will bring a bit of nostalgia to your dessert table.
In this article, we will walk you through every step to make the perfect cherry pie, starting from the ingredients, prepping your crust, and filling the pie to perfection. We’ll also share some handy tips and tricks to help you avoid common pie-making mistakes and ensure your cherry pie turns out perfectly every time. Let’s dive into the world of homemade cherry pie, shall we?
Introduction to Cherry Pie
What Makes Cherry Pie a Classic?
Cherry pie is one of those timeless desserts that’s been around for generations. It’s a quintessentially American treat, popular in households nationwide, especially around holidays like the Fourth of July or Thanksgiving. The combination of sweet and tart cherries nestled in a buttery, flaky crust is enough to make anyone’s taste buds sing. Moreover, cherry pie is incredibly versatile—it can be served warm with a scoop of vanilla ice cream or cold with a dollop of whipped cream. No matter how it’s served, it’s sure to bring smiles.
Historically, cherry pie is often associated with American folklore and “home and hearth.” Think of George Washington’s cherry tree; you’ll see the connection! While modern versions might use fresh cherries, this Old Fashioned Canned Cherry Pie Recipe sticks to the basics and makes things easy using canned cherries. This makes it perfect for when fresh cherries are out of season, or you’re looking for a quick, no-fuss recipe.
Why Use Canned Cherries for This Recipe?
Canned cherries can sometimes get a bad rap, but they’re a total game-changer when used in pie recipes. For one, they’re convenient! No pitting, no slicing, and no mess. You can grab a couple of cans off the shelf and start baking immediately. Additionally, canned cherries are often available in tart varieties, which makes them ideal for pies. Their bright, tangy flavor balances out the sweetness of the sugar and keeps the pie filling from being overly sweet.
Another bonus? Canned cherries have a longer shelf life than fresh cherries, so you can stock up and make cherry pie whenever the craving strikes. They’re also consistent—you can always count on the same flavor, no matter the time of year. Plus, the syrup in the can often helps create a rich, flavorful filling that fresh cherries can’t match.
Now that we’ve set the stage, it’s time to explore what goes into an Old-Fashioned Canned Cherry Pie and how to make it from scratch, step by step.
Ingredients for Old Fashioned Cherry Pie
Essential Ingredients for the Filling
The filling of any cherry pie is the heart of the dish, and when it comes to the Old Fashioned Canned Cherry Pie Recipe, the ingredients are simple and delicious. Consider what you’ll need to make that lovely and tangy cherry filling.
- Canned Cherries: Of course, the star of the show! You’ll need two cans of tart, canned cherries. Be sure to look for cherries packed in water or juice, not syrup, to keep the sweetness at the right level. The tartness from the cherries gives the pie its signature balance of sweet and tangy.
- Sugar: A half to three-quarters cup of sugar will help balance the tartness of the cherries. If you prefer a less sweet pie, you can adjust the amount of sugar to taste.
- Cornstarch: Cornstarch is the secret ingredient that thickens your cherry filling, making it just the right consistency—not too runny or stiff. About three tablespoons will do the trick.
- Lemon Juice: A tablespoon of lemon juice will brighten up the flavors, helping to enhance the cherries’ natural tartness. The acidity helps balance out the sugar.
- Butter: A small pat adds richness and helps make the filling glossy.
- Vanilla Extract (optional): A teaspoon of vanilla extract can add a lovely depth of flavor, complementing the cherries.
Choosing the Right Pie Crust
Now, onto the crust—arguably one of the most essential parts of any pie. A flaky, buttery crust will elevate your Old Fashioned Canned Cherry Pie Recipe to the next level. You have two options here: homemade or store-bought.
- Homemade Pie Crust: Making your crust is an excellent choice if you want to go all out. You’ll need all-purpose flour, butter, salt, and water. The key is to work the dough as little as possible to keep it tender and flaky.
- Store-Bought Pie Crust: If you’re short on time or prefer convenience, a good-quality store-bought crust will work fine. Look for one that’s labeled “all-butter” for the best flavor. Just make sure to get two rounds—one for the bottom and one for the top—unless you plan on making a lattice top, which we’ll cover later.
You can start making your Old Fashioned Canned Cherry Pie with these ingredients. But before we dive into the step-by-step process, let’s look at how to prep everything for the perfect pie!
Step-by-Step Guide to Making Old Fashioned Canned Cherry Pie
Prepping the Pie Crust
Before you start filling, it’s essential to prepare your pie crust. If you’re using a store-bought crust, ensure it’s thawed and ready to go. If you’re making it from scratch, follow these simple steps:
- Mix the Dough: Combine the flour, salt, and cold butter in a food processor (or by hand). Add just enough ice water to bring the dough together. Don’t overwork it—less is more when it comes to pie dough.
- Chill the Dough: Wrap the dough in plastic wrap and chill it in the fridge for at least 30 minutes. This helps the butter firm up, which leads to that flaky texture we all love in a pie crust.
- Roll Out the Dough: After chilling, roll out half the dough on a floured surface into a round about 12 inches in diameter. This will be your bottom crust. Place it gently into your pie dish, pressing it to fit without stretching the dough. Trim off any excess, leaving about 1 inch of dough hanging over the edges.
Preparing the Cherry Pie Filling
Once your crust is ready, it’s time to prepare the cherry filling. Here’s how:
- Drain the Cherries: Open the cans of canned cherries and drain the liquid. Set aside about 1/2 cup of the cherry juice for the filling.
- Mix the Filling Ingredients: In a large bowl, combine the cherries, sugar, lemon juice, cornstarch, and a pinch of salt. Add the reserved cherry juice and stir gently to coat the cherries evenly. Let the mixture sit for about 5 minutes, allowing the cornstarch to start thickening.
- Add the Butter and Vanilla: Fold in the butter (cut into small pieces) and vanilla extract. The butter will melt into the filling as it bakes, giving it a rich, smooth texture.
Assembling the Pie
Now comes the fun part—assembling your Old Fashioned Canned Cherry Pie:
- Fill the Crust: Pour the prepared cherry filling into the pie crust. Use a spoon to spread it out, ensuring the cherries are well-distributed evenly.
- Top the Pie: If using a whole top crust, roll out the second half of your dough and place it over the filling. Trim the edges and crimp them together to seal. You can also cut a few slits in the top to allow steam to escape, or you could go the lattice crust route for a more decorative look.
- Chill Before Baking: Chill the pie in the fridge for 15-20 minutes before baking. This helps the crust hold its shape.
With everything assembled, you’re almost ready to bake your Old Fashioned Canned Cherry Pie. In the next part, we’ll cover baking, tips for a golden crust, and how to avoid common mistakes. Stay tuned!
Print
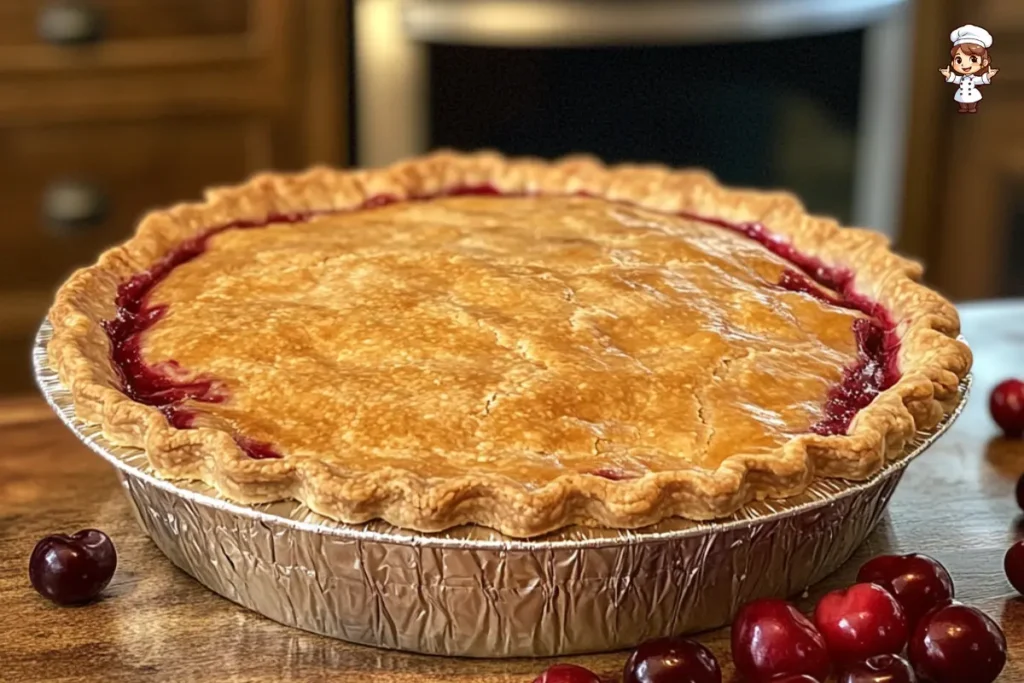
Old Fashioned Canned Cherry Pie Recipe
- Total Time: 1 hour 10 minutes
- Yield: 8 servings
- Diet: Vegetarian
Description
A classic dessert that’s quick to make, delicious to taste, and perfect for any occasion. This recipe uses canned cherries, making it a convenient yet tasty treat.
Ingredients
– 2 cans (21 oz each) of cherry pie filling
– 1 tablespoon lemon juice
– 1 teaspoon vanilla extract
– 2 tablespoons cornstarch (optional, for thickening)
– 1 tablespoon butter (cut into small pieces)
– 1 package of refrigerated pie crusts (usually contains 2 crusts)
– 1 egg (for egg wash)
– 1 tablespoon sugar (for sprinkling on top)
Instructions
1. Preheat the Oven
– Preheat your oven to 375°F (190°C). This ensures that the pie bakes evenly and the crust becomes golden and crispy.
2. Prepare the Pie Crust
– Unroll one of the refrigerated pie crusts and gently fit it into a 9-inch pie pan. Press the dough along the edges of the pan and trim any excess dough.
– Place the pie crust in the fridge while you prepare the filling to keep it cold and prevent it from shrinking during baking.
3. Prepare the Cherry Filling
– In a large mixing bowl, combine the canned cherry pie filling, lemon juice, vanilla extract, and cornstarch (if using). Stir gently until all ingredients are well mixed.
– The cornstarch will help thicken the filling as it bakes, creating a nice consistency.
4. Fill the Pie
– Pour the cherry filling mixture into the prepared pie crust, spreading it evenly.
– Dot the top of the filling with small pieces of butter. This will melt as the pie bakes, adding richness and flavor.
5. Add the Top Crust
– Unroll the second pie crust and place it over the cherry filling.
– Trim any excess dough, leaving about 1 inch of dough around the edges.
– Pinch the edges of the two pie crusts together to seal, and then crimp the edges with a fork for a decorative touch.
– Use a knife to cut a few slits in the top crust to allow steam to escape while baking.
6. Brush with Egg Wash
– Beat the egg in a small bowl and brush it over the top crust. This will give the pie a golden, glossy finish.
– Sprinkle the top of the crust with a tablespoon of sugar for extra sweetness and crunch.
7. Bake the Pie
– Place the pie on the middle rack of your preheated oven and bake for 45-50 minutes, or until the crust is golden brown and the filling is bubbling.
8. Cool and Serve
– Remove the pie from the oven and let it cool on a wire rack for at least 1 hour to allow the filling to set.
– Serve warm or at room temperature, topped with a scoop of vanilla ice cream or a dollop of whipped cream, if desired.
- Prep Time: 20 minutes
- Cook Time: 45-50 minutes
- Category: Pie
- Method: Baking
- Cuisine: American
Nutrition
- Serving Size: 1 slice (1/8 of the pie)
- Calories: Approximately 350 calories per slice
- Sugar: 28 grams per slice
- Sodium: 150 mg per slice
- Fat: 15 grams per slice
- Saturated Fat: 5 grams per slice
- Unsaturated Fat: 8 grams per slice
- Trans Fat: 0 grams per slice
- Carbohydrates: 50 grams per slice
- Fiber: 2 grams per slice
- Protein: 2 grams per slice
- Cholesterol: 25 mg per slice
The Best Tips for Perfecting Your Old Fashioned Canned Cherry Pie Recipe
1. Choosing the Right Canned Cherries
Choosing the best-canned cherries is crucial when making an old-fashioned canned cherry pie. Ideally, you want to opt for whole cherries packed in syrup, as this preserves their flavor and texture better than those in juice or light syrup. The richness of the syrup helps to balance the tartness of the cherries, resulting in a more flavorful filling.
In addition to the cherries, it’s essential to consider the thickness of the syrup. A thicker syrup will create a more cohesive filling that holds together well during baking. For the best results, check the label to ensure that the canned cherries you select do not contain added artificial sweeteners or preservatives, which could affect the flavor.
2. Adjusting the Sweetness to Your Taste
An essential aspect of making a delicious old-fashioned canned cherry pie is getting the right balance of sweetness. While canned cherries often come in syrup, they may still need a little extra sweetness, depending on your preference. If the cherries are a bit tart, a tablespoon or two of granulated sugar can be added to the filling to enhance the flavor.
For an extra depth of flavor, you can also try adding a splash of vanilla or almond extract. These ingredients complement the cherries and help to round out the taste. However, be mindful not to overdo it—these extracts can easily overpower the natural cherry flavor if used too liberally.
Baking and Serving Your Cherry Pie to Perfection
1. Pre-Baking Tips
Remember a few pre-baking tips to ensure that your old-fashioned canned cherry pie turns out perfectly. Firstly, ensure your pie crust is chilled before filling it with the cherry mixture. This helps the dough retain its shape during baking, preventing it from becoming soggy.
If you want a golden and flaky crust, brush the top with an egg wash before placing it in the oven. This adds a beautiful shine and ensures an even, crispy finish. Additionally, venting the top crust by cutting slits or making a lattice pattern helps steam escape, preventing the filling from bubbling over.
2. Baking and Cooling
Baking your pie at the right temperature is key. Preheat your oven to 375°F (190°C) and bake the pie for about 45-50 minutes, until the crust is golden brown and the filling is bubbling through the vents. If the crust edges begin to brown too quickly, cover them with aluminum foil to prevent burning.
Once your pie is out of the oven, let it cool for at least an hour before serving. This cooling time allows the filling to set correctly, ensuring that each slice holds its shape when cut.
For more delicious recipes, check out our other cherry-based desserts on the website!
Troubleshooting Common Issues with Your Old Fashioned Canned Cherry Pie Recipe
1. Dealing with a Runny Cherry Filling
One of the most common issues when making an old-fashioned canned cherry pie recipe is a runny filling. This can happen if the filling hasn’t appropriately thickened during baking. To avoid this, ensure your filling has enough thickening agents, such as cornstarch or flour.
If your filling is still too runny after baking, there’s a quick fix. Return the pie to the oven and let it bake for 10-15 minutes. During this time, the filling should firm up as it continues to cook. If that doesn’t do the trick, you can also place the pie in the refrigerator for a few hours, which may help the filling set further.
2. Avoiding a Soggy Bottom Crust
A soggy bottom crust is another common issue when making an old-fashioned canned cherry pie. To prevent this, start by ensuring your pie crust is properly pre-baked, mainly if you use a store-bought crust. Pre-baking the bottom crust helps to create a barrier, ensuring that the juices from the canned cherries don’t soak into the dough.
Another tip is to sprinkle a thin layer of breadcrumbs or crushed graham crackers over the bottom crust before adding the cherry filling. These ingredients help absorb excess moisture, ensuring your crust stays crisp and flaky.
Storing and Serving Your Old Fashioned Canned Cherry Pie
1. Proper Storage Tips
After making your delicious old-fashioned canned cherry pie, it’s essential to store it properly so you can enjoy it later. To keep your pie fresh for up to 3 days, store it in an airtight container at room temperature. If your pie has been refrigerated, it lasts about 5 days. Ensure the pie is completely cooled before covering it to prevent condensation.
For more extended storage, you can freeze your cherry pie. Wrap it tightly in plastic wrap and then aluminum foil. A frozen cherry pie can last up to 3 months in the freezer. When ready to enjoy it, bake it from frozen at 375°F (190°C) for about 25-30 minutes or until heated.
2. Serving Suggestions and Pairings
When serving your old-fashioned canned cherry pie, the possibilities are endless. The perfect accompaniment is a scoop of vanilla ice cream or a dollop of freshly whipped cream. Consider a drizzle of warm caramel sauce or a dusting of powdered sugar to elevate your pie.
For a more sophisticated presentation, try serving your cherry pie with a side of fresh berries or a citrusy sorbet to balance the sweetness. Either way, your guests will love the classic flavors of this easy-to-make yet utterly delicious dessert.
For more mouthwatering dessert ideas, check out our collection of easy fruit pie recipes on the site!
Variations of the Old Fashioned Canned Cherry Pie Recipe
1. Adding a Lattice Crust
One way to elevate your old-fashioned canned cherry pie recipe is by adding a lattice crust. This classic pie crust design is not only visually appealing but also allows steam to escape during baking, preventing the pie from bubbling over. To make a lattice crust, simply roll out your pie dough and cut it into strips. Arrange the strips in a crisscross pattern over the pie, and trim the excess dough before crimping the edges to seal.
This technique adds a rustic charm to your pie while still keeping the focus on the sweet, tart cherry filling. If you want to give it an extra golden touch, brush the lattice with an egg wash before baking to get that gorgeous, glossy finish.
2. Experimenting with Flavors
While the traditional old-fashioned canned cherry pie recipe is delicious, you can experiment with different flavor combinations to add a unique twist. For example, you can mix in a handful of other canned fruits like peaches or blueberries. This combination creates a more complex flavor profile and adds variety to the texture.
Alternatively, try infusing your cherry filling with spices like cinnamon, nutmeg, or even almond extract. These subtle flavor additions can enhance the cherry’s natural sweetness and add depth to the overall taste. However, be careful not to overpower the cherry flavor; a little goes a long way.
Frequently Asked Questions About Old Fashioned Canned Cherry Pie Recipe
1. Can I use fresh cherries instead of canned cherries for this recipe?
While this old-fashioned canned cherry pie recipe calls explicitly for canned cherries, you can use fresh cherries. However, remember that fresh cherries have a lower moisture content, so you must adjust the syrup or sweeteners accordingly. Also, add more cornstarch or flour to thicken the filling.
2. How do I prevent the pie from getting too sweet?
If you’re concerned about the pie being too sweet, you can balance the sweetness by adding a bit of lemon juice or zest. The acidity will cut through the richness of the filling, giving the pie a nice contrast and preventing it from feeling overly sugary.
3. Can I freeze the old-fashioned canned cherry pie recipe?
Yes, you can freeze your cherry pie before or after baking. If you freeze it before baking, wrap it tightly in plastic wrap and aluminum foil to prevent freezer burn. Bake it directly from frozen, adding 10-15 minutes to the baking time. If you freeze the pie after baking, store it in an airtight container in the freezer for up to 3 months.
For even more tips and tricks for making the perfect pie, check out our other dessert recipes on the website!
Conclusion: Perfecting Your Old Fashioned Canned Cherry Pie Recipe
1. Final Thoughts on Making a Delicious Cherry Pie
Whether you’re a novice baker or a seasoned pro, this old-fashioned canned cherry pie recipe will surely impress. With its simple ingredients and easy-to-follow steps, you can create a delicious, classic dessert that is perfect for any occasion. The best part? You don’t have to spend hours in the kitchen to achieve a mouthwatering cherry pie that tastes like grandma used to make!
Remember, the key to success with this recipe lies in using quality canned cherries, ensuring your crust is flaky, and allowing the filling to set correctly. With a few tips and tricks, you’ll master the art of pie-making and create a comforting and satisfying dessert.
2. Encouragement to Try the Recipe and Make it Your Own
Feel free to experiment with the old-fashioned canned cherry pie recipe by adding your personal touch—whether it’s a lattice crust, extra spices, or a flavor combination. The beauty of this recipe is that it’s versatile, allowing you to adjust it to suit your preferences and creative flair.
So, roll up your sleeves, grab your ingredients, and get ready to bake a cherry pie that will have everyone asking for seconds. Happy baking!
For more delightful pie recipes, don’t forget to check out our other dessert options on the website!