
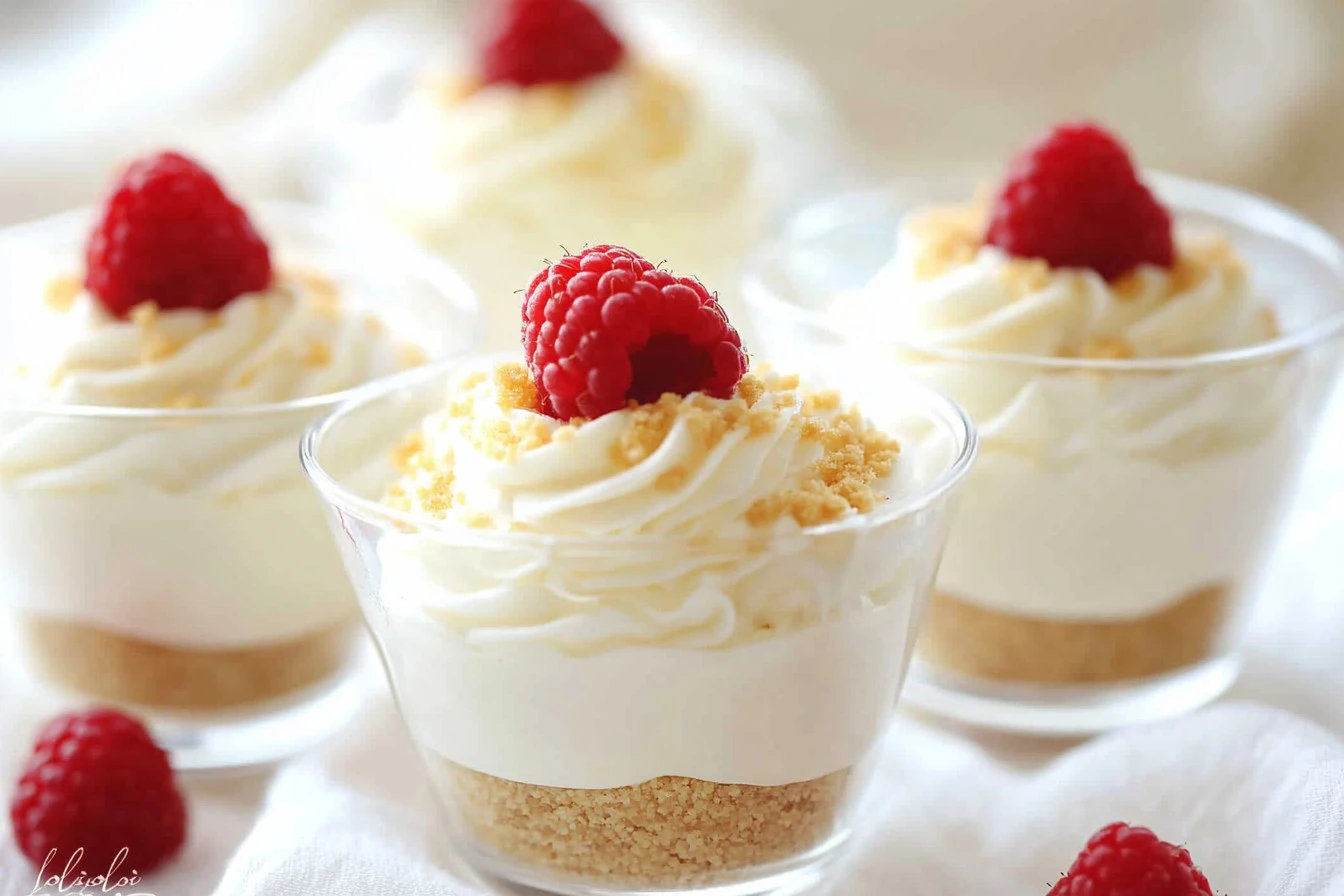
No-Bake Cheesecake Cups are a delightful and creamy dessert that brings the flavor of traditional cheesecake without the need for baking. Perfect for any occasion, these treats are light, refreshing, and incredibly easy to prepare. Made with simple ingredients, they require minimal effort, making them an ideal choice for both novice and experienced cooks. Each cup is filled with a smooth and rich cheesecake mixture, layered over a crumbly graham cracker crust, and topped with your favorite fruits or chocolate drizzle. Whether you’re serving them at a summer picnic, a birthday party, or just because, these no-bake cheesecake cups will surely impress your family and friends. The best part? You can make them in advance and chill them, allowing you to enjoy every moment with your guests without being stuck in the kitchen!
Ingredients about No-Bake Cheesecake Cups
List of Ingredients with Measurements
To create the delicious no-bake cheesecake cups, you will need the following ingredients:
- 3/4 cup graham cracker crumbs
- 2 tablespoons salted butter, melted
- 8 oz cream cheese, softened
- 1/2 cup granulated sugar
- 1 teaspoon pure vanilla extract
- 1 cup heavy whipping cream
- Optional toppings: raspberries, strawberries, whipped cream, broken cookies, graham cracker crumbs
Optional Ingredient Substitutions
If you’re out of certain ingredients or want to customize your no-bake cheesecake cups, here are some substitutions you can consider:
- Graham cracker crumbs: Use digestive biscuits or crushed cookies like Oreos for a different flavor.
- Cream cheese: Mascarpone or ricotta can be used for a lighter texture.
- Granulated sugar: Honey or maple syrup can be used for a natural sweetener.
- Heavy whipping cream: For a lighter option, you can use whipped coconut cream.
How to Make No-Bake Cheesecake Cups
Step 1: Prepare the Crust
Start by making the graham cracker crust. In a small mixing bowl, combine the melted butter and graham cracker crumbs. Make sure the crumbs are evenly moistened by stirring them together until the mixture resembles wet sand. It’s important not to rush this step, as the crust needs to hold up in the cups. Once the mixture is ready, take your serving glasses or cups and put about 2-3 tablespoons of the graham cracker mixture into the bottom of each cup. Press it down gently with the back of a spoon to form an even layer.
Step 2: Whip the Cream
Next, you will whip the cream to create that luscious, airy texture in your cheesecake cups. In a large bowl, pour in the heavy whipping cream. Using an electric mixer, beat the cream at high speed until stiff peaks form. This process should take around 3-5 minutes. Be careful not to overbeat it, or you might end up with butter instead of whipped cream. Once whipped, set it aside for later use.
Step 3: Make the Cheesecake Mixture
In another mixing bowl, add the softened cream cheese, granulated sugar, and pure vanilla extract. Using a hand mixer, blend these ingredients together on medium speed until the mixture is smooth and creamy. This step is crucial as it ensures there are no lumps. When it’s light and fluffy, take the whipped cream you set aside and gently fold it into the cream cheese mixture. Use a rubber spatula for this step, being careful to keep as much air in the whipped cream as possible, which will make your cheesecake cups light and fluffy.
Step 4: Assemble the Cups
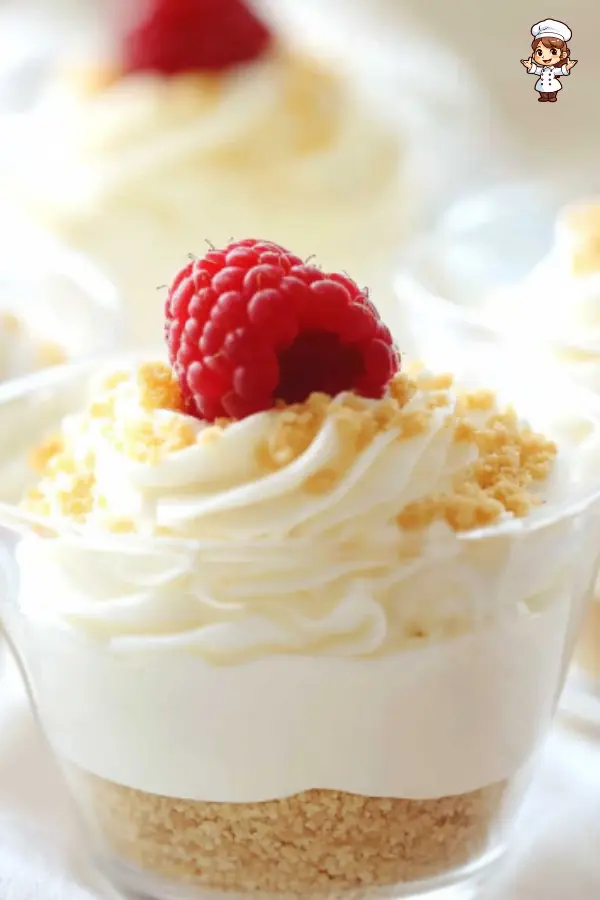
Now it’s time to put everything together! Spoon the cheesecake mixture into a piping bag for neat layering, or simply use a large spoon to divide the mixture evenly among the cups. Fill each cup over the graham cracker crust, leaving a little room at the top for toppings. Once filled, you can add your chosen toppings such as fresh berries, whipped cream, or even chocolate sauce for extra deliciousness. After you’ve decorated them to your liking, cover the cups with plastic wrap and place them in the refrigerator for at least an hour to chill and set properly.
How to Serve No-Bake Cheesecake Cups
Best Ways to Serve No-Bake Cheesecake Cups
When it comes to serving no-bake cheesecake cups, presentation is key! You can serve them directly in the glasses or cups you prepared them in. For a more elegant touch, you might consider placing the cups on a decorative platter or a cake stand. This will elevate the presentation and make them look even more inviting.
Serving Suggestions or Pairings
These delicious cheesecake cups are versatile and can be paired with various flavors and textures. Consider serving your no-bake cheesecake cups with fresh fruits like strawberries, blueberries, or raspberries for a fruity kick. You could also add a drizzle of chocolate sauce or caramel for an indulgent treat. If you want to offer a contrast in flavors, try serving them alongside a scoop of vanilla ice cream or a sweet sorbet. For a crunch, sprinkling some crushed nuts or granola on top adds texture and flavor.
How to Store No-Bake Cheesecake Cups
Proper Storage Methods
No-bake cheesecake cups are great for meal prep and make-ahead desserts! If you have leftovers or want to make them in advance, store the cups in the refrigerator. Cover them tightly with plastic wrap or transfer them to an airtight container to keep them fresh. They can usually be stored for about 3-4 days in the fridge.
Tips for Reheating or Freezing
While these cheesecake cups are meant to be served chilled, you do not need to reheat them. If you want to make them ahead of time and freeze them, consider omitting toppings until after thawing. To freeze, cover each cup with plastic wrap and then foil to prevent freezer burn. When you’re ready to enjoy them, simply transfer them to the refrigerator to thaw overnight before serving.
Tips to Make No-Bake Cheesecake Cups
Common Mistakes to Avoid
When making no-bake cheesecake cups, there are a few common mistakes to watch out for. First, ensure that your cream cheese is softened enough before mixing; this prevents lumps and ensures a smooth texture. Also, avoid overbeating the whipped cream, as it can turn grainy, making the filling too dense. Lastly, don’t skip the chilling step! Chilling is essential for helping the cups set properly and enhances their flavor.
Helpful Tips for Better Results
To achieve the best results with your no-bake cheesecake cups, consider the following tips. Use high-quality ingredients as they greatly influence the flavor of your dessert. Try to chill your mixing bowl and beaters before whipping the cream; this can help the cream whip more quickly and easily. Don’t be afraid to experiment with flavors; adding a dash of lemon juice or zest to the cream cheese mixture creates a refreshing lemon cheesecake flavor. For a richer experience, consider incorporating chocolate or coffee flavors into your cheesecake mixture!
Variation of No-Bake Cheesecake Cups
Suggested Variations or Twists on the Recipe
There are countless ways to customize your no-bake cheesecake cups! You can create a chocolate version by incorporating melted chocolate into the cream cheese mixture. For a fruity twist, try blending fresh fruits into the cheesecake mixture or using fruit purees. You can even create seasonal variations by adding pumpkin puree and pumpkin spice for a fall-inspired dessert.
Adjustments for Dietary Preferences
If you or your guests have dietary preferences or restrictions, there are many adjustments you can make. For a gluten-free version, use gluten-free graham cracker crumbs or cookies for the crust. For a vegan version, substitute cream cheese with a dairy-free alternative and use coconut cream in place of heavy whipping cream. Sweeteners like agave or monk fruit can replace granulated sugar for a healthier option. These variations allow everyone to enjoy this delicious dessert!
For more cheesecake inspiration, check out these recipes:
FAQs
What Can I Do if the Dish Isn’t Turning Out Right?
If you notice that your no-bake cheesecake cups aren’t turning out as expected, first consider the texture. If the mixture seems too runny, it may need more chilling time. Always ensure that your ingredients are measured accurately and that cream cheese is fully softened before blending.
Can I Make This Ahead of Time?
Absolutely! One of the best features of no-bake cheesecake cups is their ability to be made ahead of time. Prepare and assemble them up to 3 days in advance, storing them in the refrigerator until ready to serve. Just be sure to wait until serving to add any delicate toppings.
What Can I Substitute for Ingredients?
If you’re missing a few key ingredients, there are plenty of substitutions! For graham cracker crumbs, you can use crushed cookies or even nuts for a crust base. If you don’t have heavy whipping cream, coconut cream is a great alternative. Always check your pantry and fridge for possible substitutions that suits your dietary needs or preferences!
This article provides a comprehensive overview of making no-bake cheesecake cups, ensuring that even novice bakers feel confident enough to give it a try. Enjoy this simple yet satisfying dessert, and have fun experimenting with variations and flavors!
Print
no-bake cheesecake cups
- Total Time: 1 hour (including chilling)
- Yield: 6–8 cups 1x
- Diet: Vegetarian
Description
No-Bake Cheesecake Cups are a delightful, creamy dessert made without baking, featuring a smooth cheesecake mixture, graham cracker crust, and fresh toppings.
Ingredients
- 3/4 cup graham cracker crumbs
- 2 tablespoons salted butter, melted
- 8 oz cream cheese, softened
- 1/2 cup granulated sugar
- 1 teaspoon pure vanilla extract
- 1 cup heavy whipping cream
- Optional toppings: raspberries, strawberries, whipped cream, broken cookies, graham cracker crumbs
Instructions
- Mix graham cracker crumbs and melted butter. Press into the bottom of each cup to form an even crust.
- Whip the heavy cream until stiff peaks form. Set aside.
- Blend cream cheese, sugar, and vanilla extract until smooth. Gently fold in whipped cream.
- Spoon or pipe the cheesecake mixture into the cups over the graham cracker crust, leaving space at the top for toppings.
- Top with your choice of fresh berries, whipped cream, or chocolate drizzle. Refrigerate for at least an hour before serving.
Latest Amazon Finds


Notes
- For a lighter version, substitute coconut cream for heavy whipping cream.
- For a gluten-free option, use gluten-free graham cracker crumbs.
- Ensure that the cream cheese is fully softened to avoid lumps.
- Chill the cups well to allow them to set and enhance the flavor.
- Prep Time: 20 minutes
- Cook Time: 0 minutes
- Category: Dessert
- Method: No-Bake
- Cuisine: American
Nutrition
- Serving Size: 1 cup
- Calories: 280
- Sugar: 19g
- Sodium: 120mg
- Fat: 20g
- Saturated Fat: 12g
- Unsaturated Fat: 6g
- Trans Fat: 0g
- Carbohydrates: 21g
- Fiber: 1g
- Protein: 3g
- Cholesterol: 55mg
Keywords: No-Bake Cheesecake Cups, Cheesecake in a Cup, Easy Cheesecake Recipe, No-Bake Desserts, Summer Cheesecake