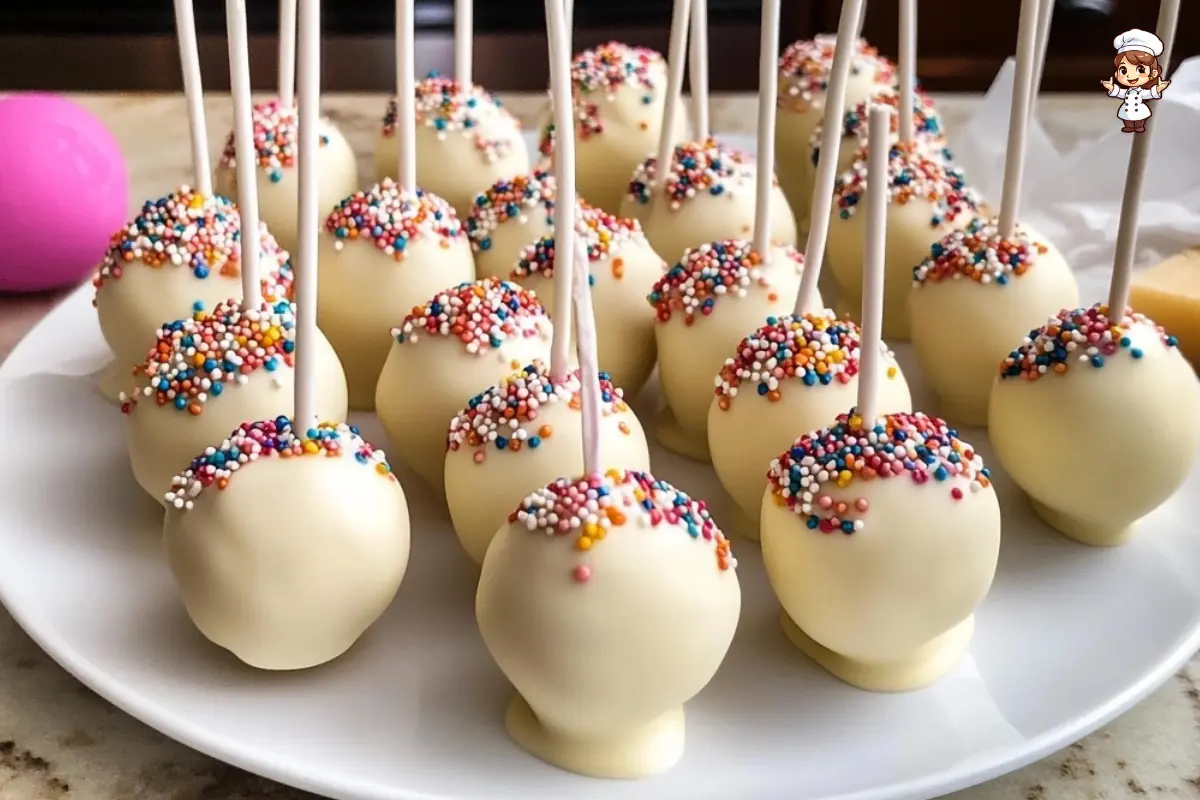
Cake pops are the bite-sized treats that stole our hearts one sprinkle at a time. Whether you’ve spotted them in your local coffee shop or served them at a party, there’s something magical about cake on a stick—especially when it’s dipped in creamy chocolate and topped with colourful sprinkles.
In this guide, we’ll walk you through everything you need to know to make the perfect cake pop recipe at home. From baking a moist cake from scratch to decorating like a pro, you’ll get all the tips and tricks to master these sweet little confections. We’ll also troubleshoot common issues, explore tasty variations (hello, red velvet!), and answer popular questions people search for every day.
By the time we’re done, you’ll have everything you need to whip up bakery-worthy cake pops in your own kitchen—and maybe even show up at Starbucks while you’re at it. Let’s dive in!
Ingredients You’ll Need for a Classic Cake Pop Recipe
Dry and Wet Ingredients Breakdown
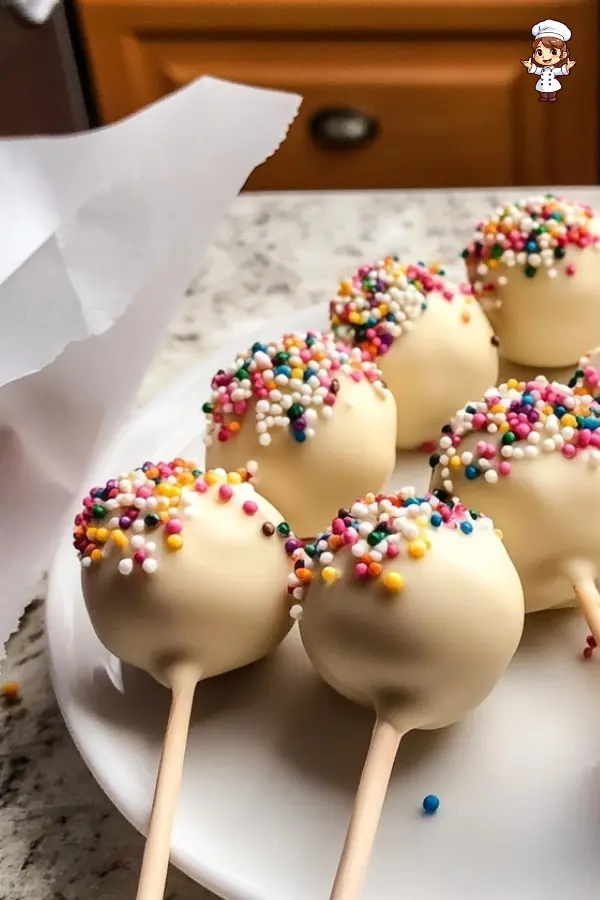
Before you dive into mixing and rolling, let’s talk ingredients. A successful cake pop recipe starts with a moist, fluffy cake. While you can technically use a boxed mix, going homemade gives your pops that melt-in-your-mouth magic you just can’t buy.
Here’s what you’ll need for the cake:
- All-purpose flour – the foundation of your batter
- Baking powder and baking soda – to help it rise
- Salt – just a pinch enhances all the flavours
- Unsalted butter – gives richness and that homemade taste
- Granulated sugar – for sweetness
- Egg – adds structure
- Vanilla extract – hello, flavour boost
- Whole milk or buttermilk – keeps everything tender
These basic pantry staples come together to form the perfect base for your cake pops.
Frosting & Coating Essentials
Once your cake is baked and cooled, it’s time to mix it with frosting. This is where the magic happens—it transforms cake crumbs into soft, shapeable dough.
You’ll need:
- Softened unsalted butter
- Confectioners’ sugar
- A splash of heavy cream or milk
- A little vanilla extract
For the coating, use either white chocolate or candy melts. They melt smoothly and set with a nice crunch. Don’t forget the sprinkles—they’re the icing on top, literally!
Step-by-Step Cake Pop Recipe (HOMEMADE Style)
Baking the Cake
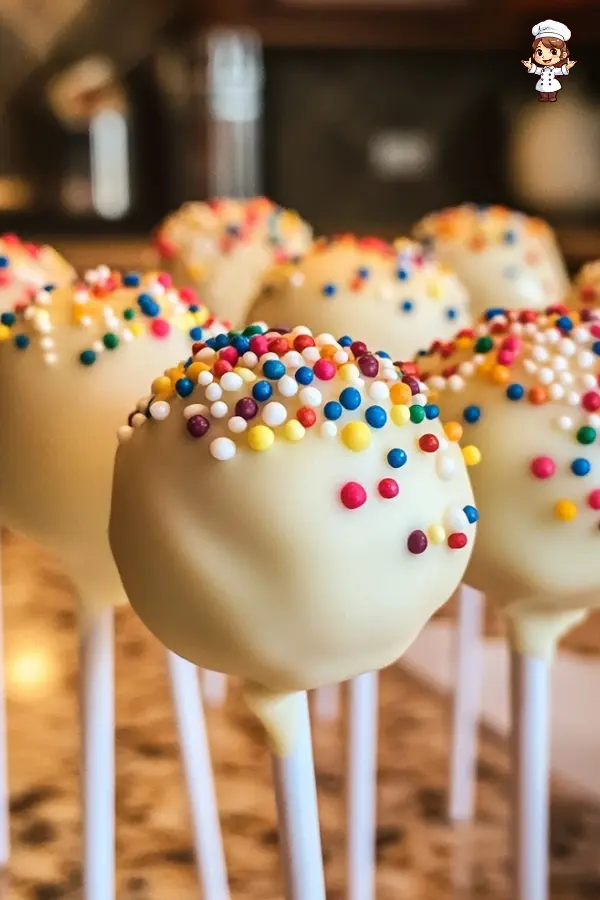
Let’s get baking! Preheat your oven to 350°F (177°C) and grease a 9-inch springform pan (or similar). In one bowl, whisk your dry ingredients: flour, baking powder, baking soda, and salt. In another, beat softened butter and sugar together until light and fluffy. That’s your base.
Next, add the egg and vanilla. Mix again until everything’s smooth and creamy. Slowly mix in the dry ingredients and milk, alternating between the two. Scrape down the bowl often—you don’t want flour surprises later! Pour the batter into your pan and bake for 30–36 minutes. A toothpick in the centre should come out clean. Cool completely.
Making the Frosting
While the cake cools, let’s whip up that dreamy frosting. Beat the butter until creamy, then add the confectioners’ sugar, cream (or milk), and vanilla. Whip it all up until it’s smooth, light, and just a little fluffy. This frosting is the glue that’ll bring your cake pops together.
Crumbling and Mixing
Now comes the fun part—getting messy (in the best way). Crumble the cake right into your frosting bowl. Make sure there are no big chunks. Use your hands or a mixer to blend it all into a dough-like texture.
Don’t overdo the frosting! The goal is to moisten, not soak. Too much, and your pops will fall apart or feel greasy. The sweet spot? The dough should hold its shape easily when rolled.
Shaping the Pops
Scoop out about one tablespoon of the mixture per pop and roll it into a tight ball. Place them on a lined baking sheet and chill for at least 2 hours in the fridge—or speed things up with a 1-hour freezer session.
Once they’re firm, give them one more roll to smooth any rough edges. Now they’re ready for their chocolate bath!
Dipping and Decorating Your Cake Pops
Melting Your Chocolate or Candy Melts
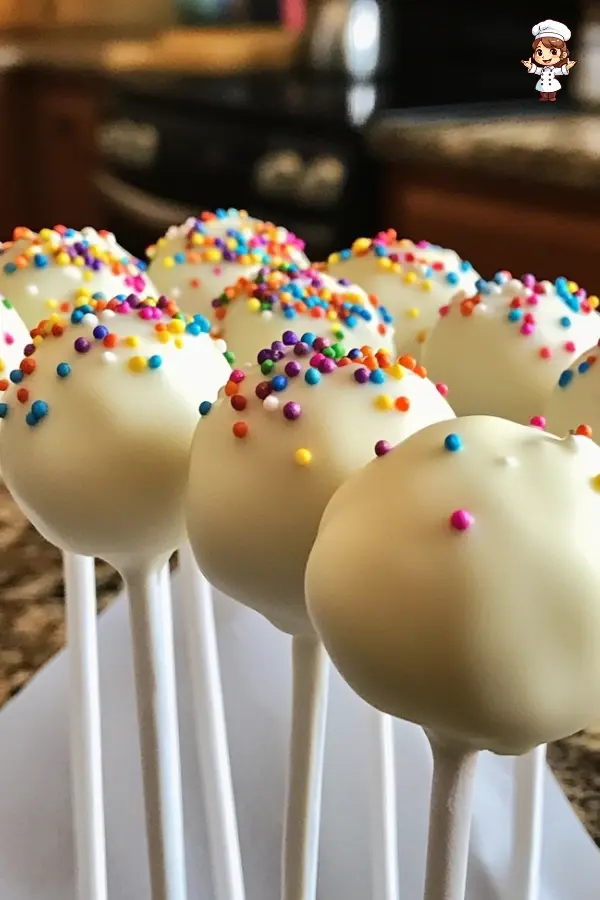
Alright, here comes the fun—and slightly messy—part of this cake pop recipe: dipping and decorating! First, let’s talk about that smooth, glossy outer shell. You’ll want to melt your coating (white chocolate or candy melts) in a microwave-safe bowl or glass measuring cup. The trick? Heat in short 20-second bursts, stirring in between, until silky smooth. Or if you’re old-school, go for a double boiler.
Want vibrant pops? Use gel food colouring to tint white chocolate, or simply buy pre-coloured melts for fuss-free flair.
Dipping Technique & Decorating Tips
Once your cake balls are chilled and firm, it’s time to dip. But wait—don’t just jab the stick in! First, dip the tip of your stick into the melted coating, then insert it halfway into the cake ball. This helps it grip better.
Now dip the whole pop in the coating, turning slowly to cover all sides. Let any extra drip off gently. Pro tip: tap the stick softly on the bowl’s edge—don’t shake or swirl like crazy.
While the coating’s still wet, add sprinkles, drizzles, or crushed candy on top. Place the pop upright in a styrofoam block or a poked-up cardboard box to dry. Easy peasy, right?
For more delicious treats, check out Vanilla Cake Recipe—it’s another sweet classic you might love!
Common Problems and How to Fix Them
Cake Pops Falling Off the Stick
It’s a classic first-timer issue—your cake pops dive-bomb into the chocolate. Why? Usually, the mixture is either too soft or the stick wasn’t pre-dipped. Next time, chill those cake balls well and remember to dip, then stick. You want that coating to act like edible glue.
Cracked Coating
You dunked your chilled cake pop into piping-hot chocolate… and now, cracks. We’ve all been there. The solution? Let the coating sit for a few minutes after melting so it cools slightly. Also, avoid freezing the cake pops right before dipping. Fridge cold is good; freezer cold? Not so much.
Too Moist or Too Dry Texture
If your cake pop recipe ends up gooey or falls apart, it’s probably an issue with the cake-to-frosting ratio. You want just enough frosting to bind, not drown the crumbs. Start slow and add more only if needed. On the flip side, if the dough’s dry and crumbly, a tiny splash of cream or extra frosting can save the day.
Don’t stress if your first batch isn’t picture-perfect. Cake pops are forgiving, fun, and totally worth the learning curve!
Variations of the Classic Cake Pop Recipe
Chocolate, Funfetti & Red Velvet Options
Once you’ve nailed the basic cake pop recipe, it’s time to get creative! The fun part? You can mix and match flavours based on whatever cake you’ve got or whatever mood you’re in.
- Chocolate Cake Pops: Use a rich chocolate cake and pair it with chocolate buttercream or even a fudge frosting. Dunk in dark chocolate for a double-chocolate dream.
- Funfetti Cake Pops: Want a party in every bite? Add rainbow sprinkles to vanilla cake batter before baking. It’s a kid’s favourite for birthdays!
- Red Velvet Cake Pops: This one’s a showstopper. Pair classic red velvet cake with cream cheese frosting, then dip in white chocolate for that iconic contrast.
The sky’s the limit here. Just keep your ratios in check—moist cake, just enough frosting, and a chilled dough before dipping.
Gluten-Free and Vegan Cake Pops
Good news! You don’t have to skip out if you’re gluten-free or plant-based. Swap out regular flour for a 1:1 gluten-free blend, and use dairy-free milk like almond or oat. For vegan pops, choose plant-based butter and frosting alternatives.
Vegan cake pops work best with oil-based cakes and a thick vegan buttercream. And yes, vegan white chocolate or dairy-free candy melts are out there—you just have to dig a little.
Whether you’re all about chocolate or need an allergy-friendly treat, there’s a cake pop recipe for you!
Storing, Freezing, and Serving Tips
How Long Do Cake Pops Last?
After you’ve decorated your pops, you’ll want to keep them fresh. Good news—they’re great make-ahead treats! Store them in an airtight container in the fridge for up to one week. Just make sure they’re fully set before packing them in.
At room temp, they’re safe for a day or two—perfect for party displays or lunchbox surprises.
Freezer-Friendly Tips
Want to get way ahead? Freeze your cake pops! Wrap each one individually in plastic wrap once they’re set, then place them in a freezer-safe bag or container. They’ll keep well for up to six weeks.
When you’re ready to serve, just let them thaw overnight in the fridge. Avoid defrosting at room temperature—it can cause condensation on the coating, which messes with the texture.
From fridge to freezer, this cake pop recipe is built to last. So feel free to prep them early and serve with zero stress!
Cake Pop Recipe FAQs
Can I Make Cake Pops Without a Cake Pop Maker?
Definitely! The beauty of a cake pop recipe like this one is that no fancy gear is needed. You don’t need a cake pop maker or mould. All you need is your hands to roll the cake mixture into balls, some lollipop sticks, and a bit of patience for chilling and dipping.
What Is the Best Frosting for Cake Pops?
Great question! While store-bought frosting works in a pinch, homemade buttercream makes a huge difference in taste and texture. A rich vanilla or chocolate buttercream gives you a smoother, less greasy finish and holds the pops together much better. Just remember—less is more when mixing with crumbs.
How Do You Keep the Coating From Cracking?
If your coating cracks, the cake balls were likely too cold or the chocolate too hot. Let the melted coating cool slightly before dipping, and always chill—not freeze—the pops beforehand. This small shift makes a big impact.
Can I Make Cake Pops Ahead of Time?
Absolutely. This cake pop recipe is perfect for prepping in advance. Make the cake and frosting one day, roll it, and dip it the next. Once decorated, store them in the fridge or freezer, and you’re set for the week—or even longer!
How Long Do They Last at Room Temperature?
They’ll last a day or two at room temp, especially if the room is cool. For longer shelf life, keep them chilled. If you’re serving them at a party, they’ll stay cute and tasty for hours!
Bonus Tips for Cake Pop Beginners
Start with Small Batches
If it’s your first time trying a cake pop recipe, start with a half batch. This gives you room to experiment without wasting ingredients. You’ll get a feel for the texture, chilling time, and dipping technique without the pressure of making dozens.
Don’t Skip the Chill Time
Here’s a non-negotiable: chill your cake balls. Warm or soft pops will slide right off the stick or fall apart in the coating. At least two hours in the fridge—or one hour in the freezer—is key. Trust us; this step makes shaping and dipping a breeze.
Practice Makes Perfect
Your first few might look a little wonky—and that’s okay! Like anything in the kitchen, cake pops get easier (and prettier) with practice. Each batch will look better than the last. And hey, even the ugly ones taste amazing.
Print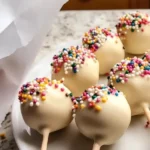
Homemade Cake Pops
- Total Time: 2 hours 36 minutes
- Yield: 24 cake pops 1x
- Diet: Vegetarian
Description
This homemade cake pop recipe is the ultimate guide to creating fun, bite-sized desserts that are perfect for parties, holidays, or anytime you’re craving a little treat. Made completely from scratch, these cake pops combine a moist vanilla cake with creamy vanilla buttercream, dipped in luscious white chocolate and topped with colorful sprinkles. No boxed mix here—just pure, irresistible flavor in every bite. Whether you’re a beginner or a seasoned baker, this easy cake pop recipe walks you through each step, from baking to dipping. The best part? You can customize the flavors and decorations to fit any theme or celebration. These delightful treats are freezer-friendly, kid-approved, and downright delicious!
Ingredients
- 1 and 2/3 cups (209g) all-purpose flour (spooned & leveled)
- 1/2 teaspoon baking powder
- 1/4 teaspoon baking soda
- 1/2 teaspoon salt
- 1/2 cup (113g) unsalted butter, softened
- 1 cup (200g) granulated sugar
- 1 large egg, at room temperature
- 2 teaspoons pure vanilla extract
- 1 cup (240ml) whole milk (or buttermilk)
- For the Frosting:
- 7 tablespoons (99g) unsalted butter, softened
- 1 and 3/4 cups (210g) confectioners’ sugar
- 2–3 teaspoons heavy cream or whole milk
- 1 teaspoon pure vanilla extract
- For the Coating:
- 24 ounces (678g) candy melts or white chocolate bars
- Sprinkles (optional, but fun!)
Instructions
- Preheat oven to 350°F (177°C) and grease a 9-inch springform pan.
- Whisk flour, baking powder, baking soda, and salt in a medium bowl.
- Cream butter and sugar until light and fluffy. Add egg and vanilla extract; beat until combined.
- Mix in dry ingredients and milk, alternating between the two. Stir to ensure a smooth batter.
- Bake the cake for 30–36 minutes, or until a toothpick inserted in the center comes out clean. Let cool fully.
- Make frosting by beating butter until creamy. Add confectioners’ sugar, vanilla, and cream. Mix until smooth.
- Crumble cooled cake into the frosting. Blend until the mixture holds together without being greasy.
- Roll mixture into 1-tablespoon-sized balls. Chill in the fridge for 2 hours or freeze for 1 hour.
- Melt candy melts or chocolate in a heat-safe bowl using microwave in 20-second increments, stirring between each.
- Dip the end of each stick into the melted coating and insert into the cake ball. Then dip the entire ball to coat.
- Decorate with sprinkles and allow pops to dry upright in a styrofoam block or box.
- Serve immediately or store chilled. Enjoy your homemade cake pop recipe creation!
Latest Amazon Finds
Notes
- If you’re short on time, bake the cake a day in advance and store it covered at room temp.
- Want to switch up the flavor? Swap vanilla cake with chocolate or red velvet for a rich twist.
- To make this easy cake pop recipe dairy-free, use plant-based butter and almond milk.
- Prep Time: 2 hours
- Cook Time: 36 minutes
- Category: Party Treats, Kid-Friendly
- Method: Baking, Chilling
- Cuisine: American
Nutrition
- Serving Size: 1 pop
- Calories: 170
- Sugar: 15g
- Sodium: 65mg
- Fat: 9g
- Saturated Fat: 5g
- Unsaturated Fat: 3g
- Trans Fat: 0g
- Carbohydrates: 22g
- Fiber: 0g
- Protein: 1g
- Cholesterol: 20mg
Keywords: cake pop recipe, easy cake pop recipe, how to make cake pops, homemade cake pops, birthday cake pops, vanilla cake pop, funfetti cake pops

