
Water pie might seem like an odd choice for a dessert, but its intriguing simplicity and delicious taste have earned it a special place in the hearts of many. The recipe for water pie is an old-fashioned, rustic dish that has returned, particularly in social media circles where people are fascinated by its humble origins. In this article, we’ll dive into everything you need to know about water pie—from its history to the ingredients you’ll need and how to make this surprisingly tasty dessert. Along the way, we’ll also cover some helpful tips, tricks, and common mistakes to avoid to ensure your pie turns out perfectly. Whether you’re looking for a new baking adventure or a recipe that embodies comfort, this is the dessert for you!
Introduction to Water Pie
What is Water Pie?
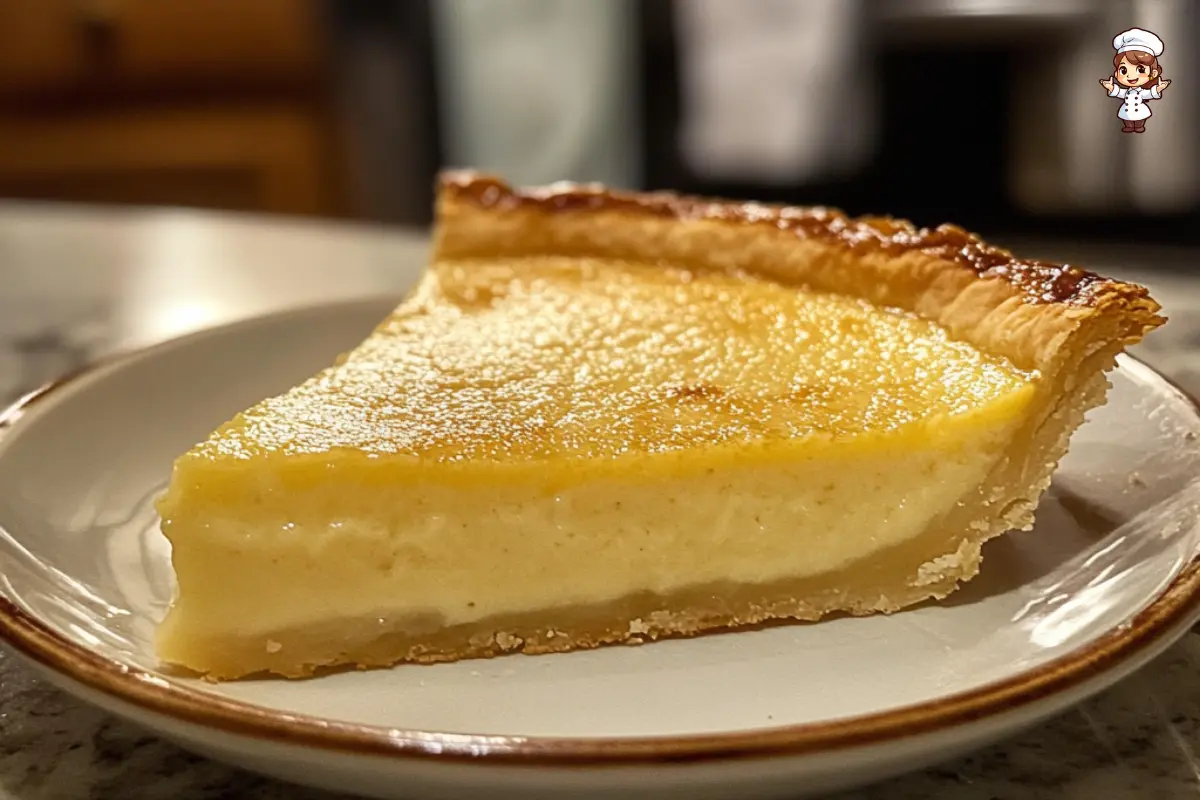
You might be scratching your head if you’ve never heard of water pie. Simply put, it’s a pie with water as its main ingredient. But don’t let the name fool you—it’s more than just water in a crust. This pie combines a few essential ingredients, including sugar, flour, butter, and vanilla, with the liquid from water to create a custard-like filling that bakes into a surprisingly decadent and satisfying dessert. Despite its essential components, water pie has an unexpectedly delicious taste.
The beauty of the recipe for water pie is its simplicity. It’s an inexpensive dessert that doesn’t require fancy ingredients or techniques, making it perfect for home bakers of all skill levels. Think of it as a distant cousin to the custard pie but with fewer ingredients and a quicker preparation time. It’s not overly sweet, which allows the flavour of the buttery crust to shine through, and the custard-like filling creates a smooth, comforting texture with each bite.
Why is it Popular?
So, why has this seemingly humble dessert been gaining popularity? In addition to its simple ingredients and easy prep, water pie also has a bit of a historical charm. The recipe for water pie dates back to the Great Depression when people had to make do with what they had. With the scarcity of ingredients, this pie became a go-to for those looking to satisfy a sweet tooth without breaking the bank.
Today, water pie is enjoying a resurgence, especially with people looking for nostalgic comfort foods or unique dessert ideas to try at home. Its rich history and the surprise factor when first-timers taste it make it a fun and rewarding recipe. Plus, it’s a great conversation starter!
Ingredients for Water Pie
Essential Ingredients for Water Pie
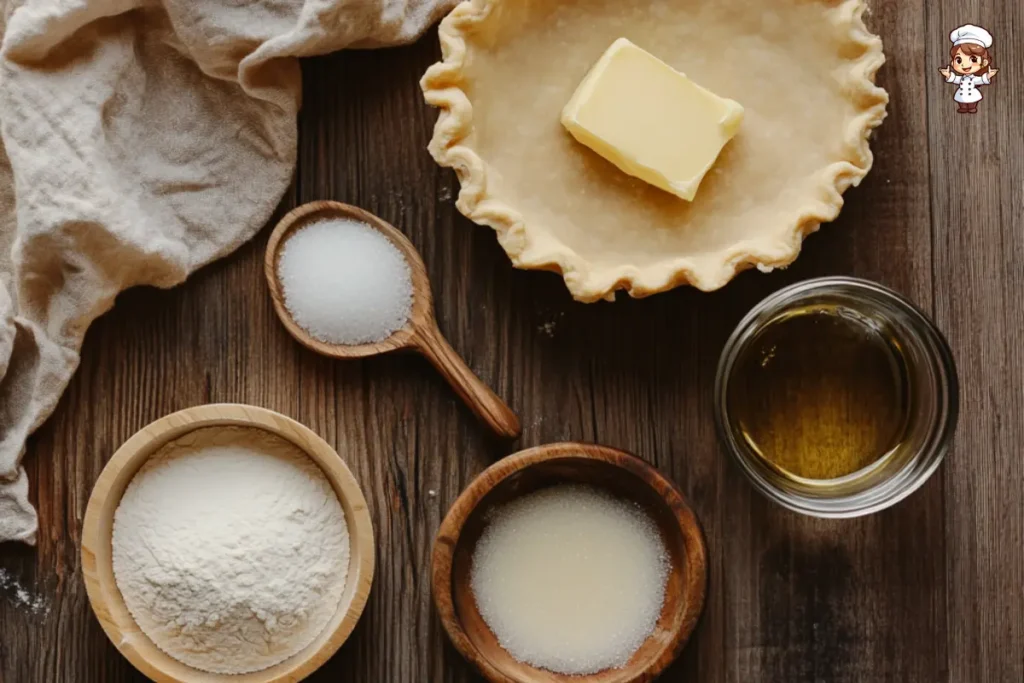
Making a recipe for water pie is surprisingly simple, and the ingredients are essential yet effective in creating a delicious dessert. To start, here’s what you’ll need:
- Water – The star ingredient! It might sound strange, but the water creates a custard-like filling when combined with the other ingredients.
- Sugar – This sweetens the pie and balances the savoury flavours from the crust and butter.
- Butter – Adds richness and helps create a flaky, tender crust.
- Flour – Used for thickening the filling and ensuring it sets appropriately as it bakes.
- Vanilla extract – A splash of vanilla gives the pie a comforting, warm flavour that enhances the sweetness.
- Pie crust – You can use a store-bought pie crust or make your own. Either way, it’s the foundation that holds everything together.
These ingredients are simple, but together, they create something magical—a flavorful dessert perfect for almost any occasion. What’s great is that these are pantry staples, so you likely already have them on hand, making this pie easy to whip up quickly.
Optional Ingredients for Variations
If you’re looking to experiment with your water pie recipe, add a few extras to give the pie a little twist. Some variations include:
- Cinnamon – For a warm, spicy flavour.
- Nutmeg – Adds a bit of richness and depth to the pie’s flavour profile.
- Lemon zest is for a refreshing citrus touch that brightens the pie.
- Almond extract – A small splash adds a unique flavour that pairs well with vanilla.
Feel free to get creative, but the beauty of this recipe for water pie lies in its simplicity. The core ingredients are all you need for a satisfying dessert!
How to Make Water Pie
Print
Recipe for Water Pie
- Total Time: 55-60 minutes (including cooling)
- Yield: 8 slices 1x
- Diet: Vegetarian
Description
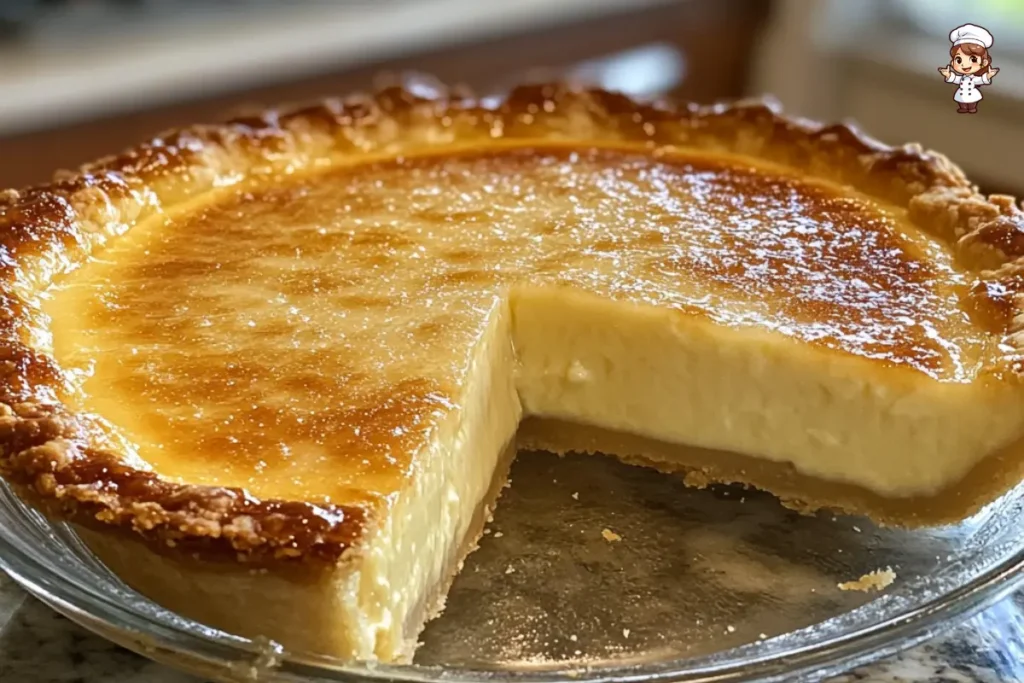
Water pie is a surprisingly simple and delicious dessert made with just a few pantry staples. This recipe for water pie features a buttery, flaky crust filled with a custard-like mixture of water, sugar, flour, butter, and vanilla. Baked to perfection, the pie has a golden brown top and a smooth, sweet filling that’s sure to impress. Whether you’re looking for a nostalgic treat or an easy dessert to make with minimal ingredients, this water pie is the perfect choice. It’s a great way to enjoy a comforting dessert without all the fuss, and you’ll be amazed at how delicious something so simple can be!
Ingredients
- 1 pre-made or homemade pie crust (1 crust)
- 1 ½ cups water (360 ml)
- 1 cup granulated sugar (200 g)
- 1 tablespoon all-purpose flour (8 g)
- 2 tablespoons unsalted butter, melted (28 g)
- 1 teaspoon vanilla extract (5 ml)
- Pinch of salt
- Optional: 1 teaspoon cinnamon or nutmeg
Instructions
- Preheat the oven to 350°F (175°C). Prepare your pie crust by placing it in a 9-inch pie dish. If using a store-bought crust, just make sure it fits snugly in the dish.
- Make the filling: In a medium mixing bowl, combine the water, sugar, flour, melted butter, vanilla extract, and a pinch of salt. Stir until smooth and well combined. If you’d like to add cinnamon or nutmeg, mix it in at this stage.
- Pour the filling into the crust: Once your filling is ready, pour it into the pie crust, making sure the liquid fills the crust evenly. It may look thin, but that’s exactly how it should be.
- Bake the pie: Place the pie in the oven and bake for 45 to 50 minutes. The filling will thicken as it bakes, and the top will become golden brown. Keep an eye on it towards the end; if it begins to over-brown, cover the edges of the crust with foil.
- Cool the pie: Once baked, remove the pie from the oven and allow it to cool to room temperature. The filling will continue to set as it cools. For the best results, let it sit for at least two hours before slicing.
- Serve and enjoy: Slice the pie and serve as is, or top with whipped cream, vanilla ice cream, or a sprinkle of cinnamon.
Latest Amazon Finds


Notes
- Pie Crust: You can use a store-bought pie crust for convenience or make your own for a fresher, homemade touch. A traditional flaky pie crust works best for this recipe.
- Sugar: If you prefer a less sweet pie, you can slightly reduce the amount of sugar, but keep in mind that sugar helps set the filling.
- Cooling Time: Be sure to allow the pie to cool completely before slicing. The filling will continue to set as it cools, ensuring the perfect texture.
- Spices: While cinnamon and nutmeg are optional, they add a wonderful depth of flavor to the pie. Feel free to experiment with other spices like cardamom for a unique twist.
- Storing Leftovers: Store any leftover pie in the fridge, covered with plastic wrap or foil. It will stay fresh for up to 3 days.
- Gluten-Free Version: To make this recipe gluten-free, simply swap the regular pie crust for a gluten-free crust. The filling is naturally gluten-free!
- Prep Time: 10 minutes
- Cook Time: 45-50 minutes
- Category: Dessert, Pie
- Method: Baking
- Cuisine: American (Traditional)
Nutrition
- Serving Size: 1 slice (1/8 of the pie)
- Calories: 220
- Sugar: 22g
- Sodium: 50mg
- Fat: 12g
- Saturated Fat: 7g
- Unsaturated Fat: 4g
- Trans Fat: 0g
- Carbohydrates: 28g
- Fiber: 1g
- Protein: 1g
- Cholesterol: 30mg
Keywords: Recipe for water pie, Water pie recipe, Easy water pie, Simple water pie dessert, Water pie ingredients, How to make water pie, Homemade water pie
Step-by-Step Instructions
Now that you know the ingredients, let’s walk through how to make the recipe for water pie. Don’t worry—it’s incredibly easy, and the results are well worth the small amount of effort.
- Preheat your oven to 350°F (175°C).
- Prepare the pie crust. If you use a store-bought pie crust, place it in a pie dish. Roll it out and fit it into the dish if you’re making your own.
- Mix the filling. In a medium bowl, combine 1 ½ cups of water, 1 cup of sugar, one tablespoon of flour, two tablespoons of butter (melted), and one teaspoon of vanilla extract. Stir everything together until smooth.
- Pour the filling into the crust. Once the filling is thoroughly mixed, pour it into the pie crust. You should see the liquid fill most of the crust, but don’t worry—it will thicken as it bakes.
- Bake the pie. Place the pie in the preheated oven and bake for about 45-50 minutes, or until the pie filling has set and the top is golden brown. Keep an eye on it towards the end—if the top begins to overbrown, you can cover it with aluminium foil to prevent burning.
- Let the pie cool. Once baked, remove the pie from the oven and let it cool completely before serving. This allows the filling to be fully set, giving it that smooth, custard-like texture.
Tips for Perfecting Water Pie
While the recipe for water pie is straightforward, there are a few tips to ensure it turns out just right every time:
- Don’t skip the cooling step. It’s crucial for the filling to set, so let the pie cool to room temperature for best results.
- Check the consistency. If the filling is still too runny after baking, pop it back into the oven for another 10-15 minutes, but be sure not to overbake it.
- Use room-temperature butter. This helps create a smoother, more even filling without any lumps.
Making water pie is easy and a great dessert to share with family and friends. The simplicity of the recipe for water pie means you can focus on enjoying the experience rather than stressing over complex steps.
The History and Tradition of Water Pie
Origins of Water Pie
The recipe for water pie is deeply rooted in American history, particularly during the Great Depression. During this challenging time, ingredients were scarce, and people had to make the most of what they had. Water pie became a solution for those who needed a sweet treat but lacked access to eggs, milk, or other standard pie ingredients. By using just a few simple items—water, flour, butter, and sugar—people created a pie that, while modest, satisfied the craving for a homemade dessert.
Interestingly, water pie isn’t just a relic of tough times and connects to Appalachian cooking traditions. The resourcefulness of the people in this region, who often had to stretch their supplies, contributed to developing this unique pie. Over time, water pie became a reminder of the resilience and creativity of past generations as they found ways to make the most out of limited resources.
Water Pie in Modern Times
In recent years, the recipe for water pie has been revived, particularly in online food communities. Many people are rediscovering this pie as a quirky yet surprisingly delicious dessert. Whether made for nostalgia or curiosity, the simple yet comforting flavour of water pie has won over the hearts of new bakers.
Social media platforms have played a significant role in bringing Water Pie back into the spotlight. Baking enthusiasts and food bloggers have shared their versions of the pie, often experimenting with different variations to give the traditional recipe a modern twist. What once was a humble Depression-era dessert has become a fun challenge for home bakers who want to try something completely different.
Common Mistakes to Avoid When Making Water Pie
Baking Mistakes
When following the recipe for water pie, there are a few standard baking mistakes to watch out for. One of the most significant errors is over-baking the pie. It’s essential to keep an eye on it as it bakes because the filling can go from perfectly set to too runny or overly firm with just a few extra minutes in the oven. To avoid this, check the pie after 45 minutes and look for a golden-brown top and a custard-like filling that has set.
Another mistake is not giving the pie enough time to cool. The filling will continue to set as the pie cools, so if you slice it too early, it may be too runny. Give it a few hours to reach room temperature before cutting into it for the best results.
Ingredient Errors
It’s also essential to measure the ingredients correctly when making water pie. If you add too much flour, the filling might become too thick and heavy, rather than light and custardy. Conversely, too little flour can result in a filling that doesn’t set properly and remains too runny. Be sure to follow the measurements precisely, and remember that while this recipe for water pie is simple, attention to detail can make all the difference.
For more delicious recipes, check out our article on Canned Cherry Pie.
Serving and Storing Water Pie
How to Serve Water Pie
Once your recipe for water pie is fully baked and cooled, it’s time to think about how to serve it. This pie is incredibly versatile and can be served in several ways, depending on your preference and occasion. For a classic touch, simply slice the pie and serve it as is—no extra frills needed. The buttery crust and smooth filling are delicious enough on their own.
However, to elevate your pie, consider adding a dollop of whipped cream or a scoop of vanilla ice cream on top. Lightly dusting of cinnamon or nutmeg can also enhance the pie’s comforting flavour, giving it an extra kick without overpowering its subtle sweetness. For a more decadent dessert, a drizzle of caramel sauce or a handful of toasted nuts can provide a delightful contrast to the soft filling.
How to Store Leftovers
If you happen to have leftovers, don’t worry! Storing your recipe for water pie is just as easy as making it. Simply cover the pie with plastic wrap or foil and refrigerate it. It will stay fresh for up to 3 days. When you’re ready to serve again, let it come to room temperature or warm it in the oven for a few minutes to refresh the flavours.
Water pie is also an excellent option for making ahead of time. You can prepare it a day or two before your gathering, allowing the flavours to meld and making it easy to serve when ready. Just store it properly, and you’ll have a comforting dessert prepared to enjoy!
FAQs about Water Pie
What is the Taste of Water Pie?
One of the most common questions people have when they first come across the recipe for water pie is, “What does it taste like?” The simple answer is that it tastes like a rich custard pie with a buttery, flaky crust. The filling has a smooth texture, and while it isn’t overly sweet, it has just enough sugar to satisfy your sweet tooth. The vanilla extract adds a subtle warmth that complements the buttery flavour, making it a comforting dessert that isn’t too heavy.
Can You Make Water Pie Ahead of Time?
Yes! A recipe for water pie is a great dessert to make in advance. You can prepare it the day before your event or meal, as the pie keeps well in the refrigerator for up to three days. The flavours even improve after sitting for a while, allowing the custard to set fully and the crust to soften just the right amount. If you plan to make it ahead, just store it properly in the fridge and cover it tightly with plastic wrap or foil.
Is Water Pie Gluten-Free?
Unfortunately, the traditional recipe for water pie is not gluten-free due to the use of regular pie crust, which contains wheat. However, if you need a gluten-free version, swapping out the standard pie crust for a gluten-free one is easy. You can find pre-made gluten-free pie crusts at most grocery stores or make your own using gluten-free flour blends. This simple substitution allows those with gluten sensitivities to enjoy this delicious dessert, too!
Conclusion and Final Thoughts
Why You Should Try Water Pie
Now that you’ve learned all about the recipe for water pie, it’s time to try it! This humble yet surprising dessert is perfect for those who enjoy simple, comforting flavours. The water pie’s custard-like filling and buttery, flaky crust make a delightful dessert that will surprise your family and friends. It’s easy to make, uses only a handful of ingredients, and will become a favourite in your baking repertoire.
Water pie is also a great conversation starter. Imagine the reactions when you tell your guests that this delicious pie is made with water, sugar, and a few pantry staples. Not only does it offer a taste of history, but it also provides an opportunity to explore a unique, forgotten dessert that’s making a comeback.
Final Tips for Water Pie Success
To ensure your water pie recipe turns out perfectly, remember to follow the steps carefully, especially the baking and cooling times. Don’t rush it—give the pie the time it needs to set and cool before serving. And, if you’d like to experiment, feel free to add a twist with spices or flavourings like cinnamon or vanilla to suit your taste. No matter how you serve it, water pie is sure to impress!
Ready to Try Making Water Pie?
Now that you know all the secrets to making a perfect recipe for water pie, it’s time to roll up your sleeves and get baking! Whether you are trying it for the first time or looking to add your personal touch, this pie will surely impress. Don’t forget to share your results with friends and family—they’ll be amazed at how something so simple can taste so delicious!
Have fun in the kitchen, and if you loved this recipe, check out more of our easy and delicious dessert ideas on our site. Happy baking!
I was so intrigued by this recipe that I had to try it—and I’m so glad I did! I had never heard of water pie before, but the idea of making something so simple yet rich in history really appealed to me. The result was surprisingly delicious! The filling set beautifully into a smooth, custard-like texture, and the combination of butter, sugar, and vanilla gave it a comforting, almost caramelized flavor.
I followed the recipe exactly, and it came together so easily. The crust baked up golden and crisp, providing a perfect contrast to the soft filling. I was a little skeptical at first about how water could turn into a pie filling, but the magic of baking really made it work!
This is such a humble yet satisfying dessert, and it’s amazing how a few pantry staples can create something so special. I’ll definitely be making this again, maybe even experimenting with a sprinkle of cinnamon or nutmeg next time. Thank you for sharing such a unique and nostalgic recipe!
★★★★★
It sounds like you had a wonderful experience making water pie! Your description truly captures the magic of this simple yet nostalgic dessert. The way basic pantry ingredients transform into something so custard-like and comforting is fascinating.
Adding cinnamon or nutmeg next time is a fantastic idea—it would bring a warm, spiced depth to the filling. You might also try a bit of brown sugar for a richer caramel-like flavor or even a touch of citrus zest for brightness.