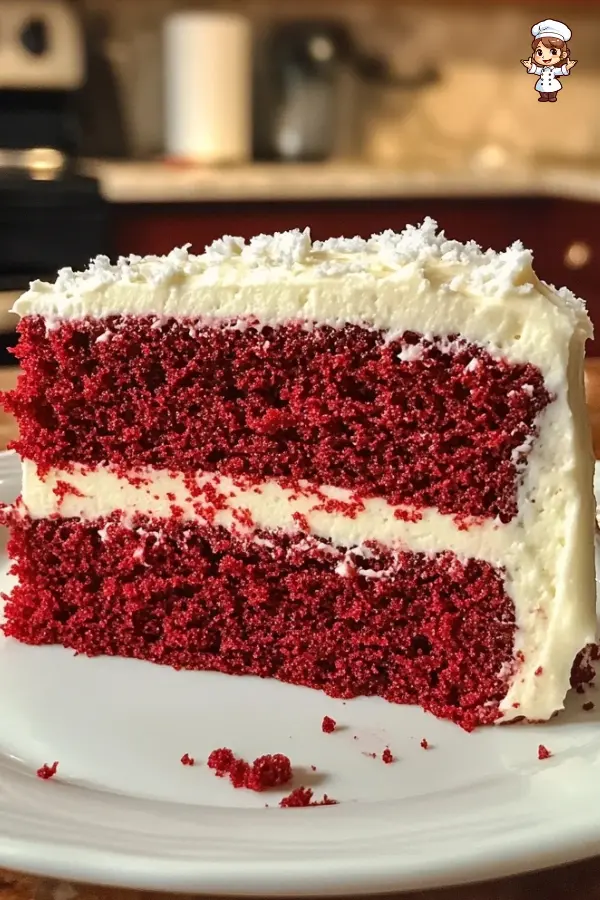
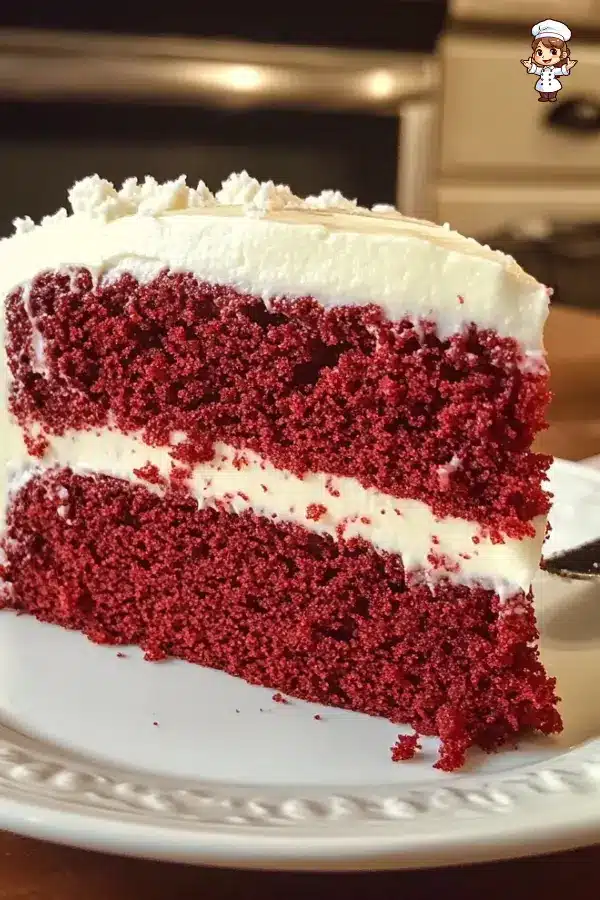
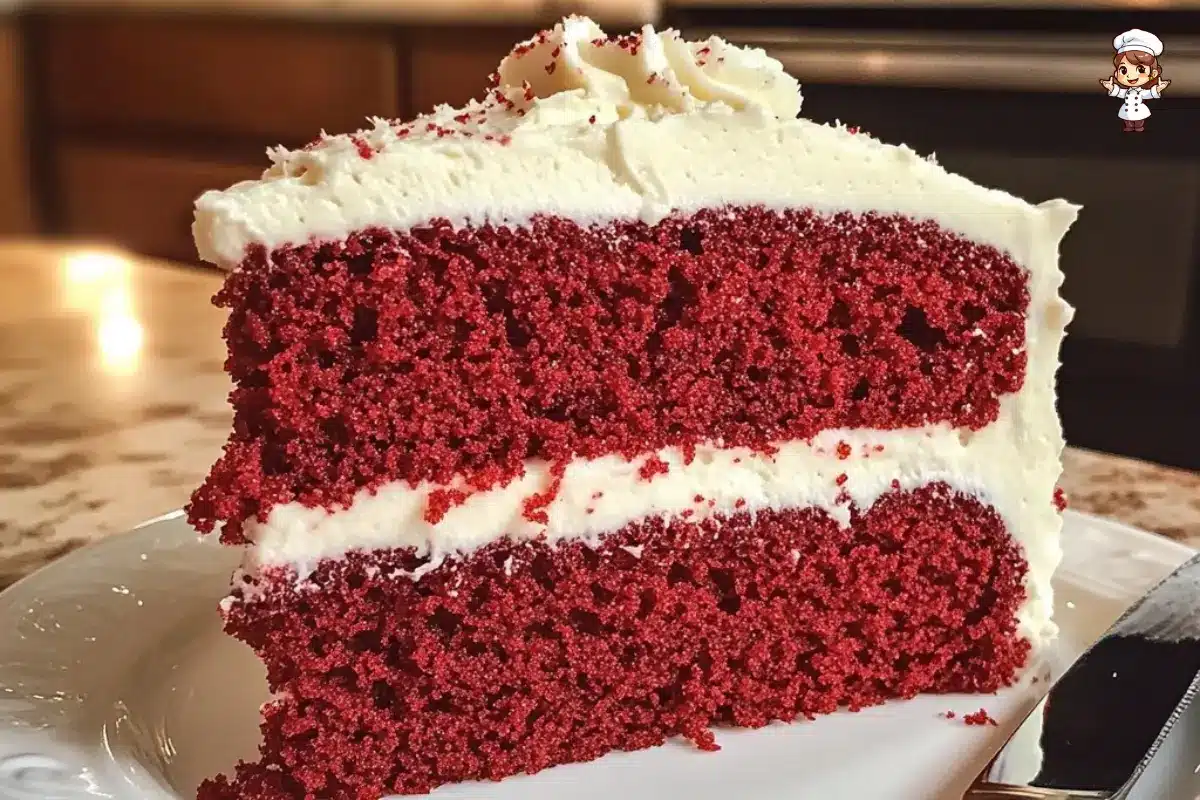
Soft as a whisper, rich in flavour, and cloaked in that signature ruby-red hue, red velvet cake has captured the hearts (and taste buds) of dessert lovers everywhere. But here’s the thing—it’s not just chocolate cake with red food colouring. Nope. There’s a story here. A science. A whole vibe that makes this cake stand tall among classics like chocolate, vanilla, and lemon.
In this guide, we’re diving deep into the delicious world of red velvet cake. From its mysterious flavour profile and storied past to foolproof tips, secret ingredients, and dreamy frostings, you’ll find everything you need to bake your best-ever velvet masterpiece. Whether you’re a newbie baker or a seasoned pro, by the end of this, you’ll be ready to whip up your own slice of crimson perfection.
Let’s roll up those sleeves and get started!
Red Velvet Cake Ingredients Explained

The Role of Buttermilk and Vinegar
Let’s talk science—but the delicious kind.
Two of the key players in a red velvet cake are buttermilk and vinegar. At first glance, they might sound like odd choices for something as sweet and indulgent as cake. But trust us—they’re non-negotiable.
Buttermilk adds a tangy richness that balances the sweet notes of sugar and frosting. It’s not just for flavour, though. When mixed with baking soda, it gives the cake that tender rise and oh-so-soft texture we all crave. Meanwhile, vinegar reacts with cocoa powder and baking soda to help the cake puff up and create that light, airy crumb.
The result? A moist, slightly tangy cake that practically melts in your mouth.
Butter vs. Oil: Why Use Both?
Here’s where things get interesting. Most cakes lean hard into either butter or oil—but for the perfect red velvet cake, you need both.
Butter brings that rich flavour we all know and love. But on its own, it can sometimes make cakes a little dense or dry. That’s where oil comes in. It adds moisture without weighing the cake down. The combo creates that dreamy, bakery-style texture: soft, tender, and just the right amount of fluffy.
So, if you’re tempted to skip one—don’t. They’re a team. And they work better together.
Food Coloring Options
Of course, we can’t ignore the elephant in the room: the colour.
Classic red velvet cake gets its deep hue from food colouring. Gel food colouring is the go-to choice here—it’s concentrated, which means you need less to get that iconic look. Prefer natural options? Beet powder works wonders without the additives.
And if you skip the colour altogether? That’s totally fine too. Your cake will still taste amazing—just a bit more cocoa-coloured than crimson.
How to Make the Perfect Red Velvet Cake

Step-by-Step Cake Preparation
Baking red velvet cake isn’t rocket science—but it does need a little TLC. First, always start by prepping your pans right. Grease them up, line with parchment paper, then grease again. It’s the secret to cakes that slide out like a dream.
Next, whisk your dry ingredients—cake flour, cocoa, baking soda, and salt—in one bowl. In another, beat the butter and sugar till fluffy, then mix in egg yolks, vanilla, vinegar, and oil. Alternating between dry ingredients and buttermilk, gently combine everything.
Don’t rush. That gentle mix helps keep the crumb tender.
Mixing Techniques for a Velvet Crumb
Here’s where the magic happens. Whip those egg whites separately until soft peaks form. This extra step might feel fussy, but it’s a total game-changer.
Folding in whipped egg whites at the end gives your cake a lighter, velvety texture. It also adds lift—so your layers don’t come out flat or heavy. Plus, the batter becomes silky smooth, which is exactly what you want before it hits the oven.
Use a spatula for folding—no mixers allowed at this stage. Go slow. Be gentle. Think of it like tucking in clouds.
Common Mistakes and How to Avoid Them
Mistakes happen—but not on our watch. Here are a few common red velvet cake hiccups (and how to dodge them):
- Dry cake? You might’ve overbaked it. Keep a close eye on those layers, and test with a toothpick around the 30-minute mark.
- Flat layers? You probably didn’t whip those egg whites enough, or maybe overmixed the final batter.
- Too dense? It could be old baking soda or skipping the vinegar reaction.
Also, resist the urge to open the oven door too early—every minute counts when building structure and rise.
And remember, baking is part science, part love. Follow these steps, and you’ll be on your way to red velvet greatness.
The Best Frostings for Red Velvet Cake
Cream Cheese Frosting: The Classic Pairing
Let’s be honest—red velvet cake isn’t really red velvet without a thick slather of cream cheese frosting on top. It’s the yin to red velvet’s yang. That tangy, silky smooth finish plays perfectly with the mild cocoa and sweet vanilla notes in the cake.
The best part? It’s super simple to whip up. All you need is brick-style cream cheese, unsalted butter, powdered sugar, a splash of milk, and vanilla extract. A pinch of salt takes it from good to a chef’s kiss. Mix it all until fluffy, chill it a bit for easier spreading, and you’ve got a bakery-worthy frosting at home.
Want to step it up? Add a touch of lemon zest or swap in mascarpone for a fancy twist.
Alternative Frosting Ideas
Now, if cream cheese isn’t your jam (we get it), there are plenty of other options that still let red velvet cake shine.
- Swiss meringue buttercream is lighter and less sweet, with a glossy finish that pipes like a dream.
- White chocolate buttercream adds richness and a touch of decadence.
- Or go traditional with classic vanilla buttercream if you want the cake’s flavour to take centre stage.
Each choice changes the vibe just a little. So don’t be afraid to experiment.
Variations of Red Velvet Cake
Red Velvet Cupcakes
Love cake but want it grab-and-go? Cupcakes are where it’s at. You can use the same red velvet cake batter—just pour it into lined cupcake pans, filling each about ⅔ full. Bake for 20–22 minutes or until the tops bounce back gently when touched.
They’re perfect for parties, gifting, or just keeping the portion size in check (if that’s your thing).
Red Velvet Sheet Cake and Bundt Cake
Looking for something low-maintenance but high-impact? A sheet cake version of red velvet is ideal. Just one pan, one bake, and no stacking required. You’ll still get all the flavour with half the effort.
Prefer something with flair? Try a red velvet Bundt cake. The texture holds beautifully in the pan, and a drizzle of cream cheese glaze takes it over the top.
Vegan and Gluten-Free Options
Yes, you can have your cake and eat it too—even with dietary needs. Swap in dairy-free butter and vegan cream cheese, use a flax egg, and you’re golden. Gluten-free flour blends also work well—just add a touch more liquid to maintain moisture.
For more delicious recipes, check out our homemade strawberry cake, another flavorful favourite that is perfect for any celebration.
Serving, Storing & Freezing Tips
How to Store Red Velvet Cake
So, you’ve baked the perfect red velvet cake—now what?
To keep it fresh, store it properly. If your cake is frosted with cream cheese, it’s best to cover it tightly and pop it in the fridge. It’ll stay good for up to 5 days. But here’s a tip—before serving, let it sit at room temp for about 30 minutes. That way, the frosting softens up and the flavors really shine.
Unfrosted layers? Those can stay wrapped at room temp overnight. Just keep them in an airtight container.
Freezing Instructions
Planning ahead or have leftovers? Freezing is a smart move.
To freeze red velvet cake, wrap unfrosted layers in plastic wrap and a layer of foil. They’ll keep for 2–3 months. For frosted cake slices, freeze them individually on a tray, then transfer them to a container once solid.
When you’re ready, thaw it overnight in the fridge—and enjoy it like it’s freshly baked.
FAQs About Red Velvet Cake
Is red velvet cake chocolate cake with food colouring?
Not exactly. While red velvet cake does contain cocoa powder, it’s much less than traditional chocolate cake. The cocoa just adds depth—not a bold chocolate hit. Combined with buttermilk, vinegar, and vanilla, the flavour becomes something unique.
And yes, food colouring gives it that eye-catching red hue. But even without it, the cake’s texture and taste remain the same.
What flavour is red velvet supposed to be?
Great question! Red velvet has a balanced flavour: a little cocoa, a touch of tangy buttermilk, and soft vanilla sweetness. It’s rich but not heavy. Sweet, but not too sugary.
Basically, it tastes like red velvet.
Can I make red velvet cake without food colouring?
You sure can. While the deep red colour is iconic, it’s totally optional. You can skip the dye or use beet powder for a natural twist. Either way, the taste won’t change much—just the look.
Why is vinegar used in red velvet cake?
Vinegar helps the baking soda do its job. It also reacts with cocoa, enhancing the reddish tones in natural cocoa powder. Plus, it gives that little tang that sets this cake apart.
What’s the difference between red velvet and devil’s food cake?
Devil’s Food cake is a rich, deep chocolate cake with more cocoa and often coffee for extra boldness. Red velvet cake, on the other hand, is lighter—both in flavour and texture—and has that signature tang from buttermilk and vinegar.
Print
Homemade Red Velvet Cake Recipe
- Total Time: 55 minutes
- Yield: 12 slices 1x
- Diet: Vegetarian
Description
This homemade red velvet cake recipe is soft, buttery, and irresistibly moist with a hint of cocoa and a tangy twist from buttermilk. Topped with silky cream cheese frosting, it’s the ultimate showstopper for birthdays, holidays, or just because you’re craving something sweet. The rich red color, paired with a velvet-soft crumb, makes this cake both stunning and delicious. Whether you’re a first-time baker or a seasoned pro, this red velvet cake delivers bakery-style results every time. It’s the perfect dessert to impress family and friends, and yes—it tastes as good as it looks!
Ingredients
- 3 cups (360g) cake flour
- 1 tsp baking soda
- 2 tbsp (10g) unsweetened natural cocoa powder
- ½ tsp salt
- ½ cup (113g) unsalted butter, softened
- 2 cups (400g) granulated sugar
- 1 cup (240ml) canola or vegetable oil
- 4 large eggs, room temperature (separated)
- 1 tbsp pure vanilla extract
- 1 tsp distilled white vinegar
- 1–2 tsp red gel food coloring
- 1 cup (240ml) buttermilk, room temperature
- For Cream Cheese Frosting:
- 16 oz (452g) full-fat brick cream cheese, softened
- ¾ cup (170g) unsalted butter, softened
- 5 cups (600g) confectioners’ sugar
- 1½ tsp pure vanilla extract
- Pinch of salt, to taste
Instructions
- Preheat oven to 350°F (177°C). Grease and line two 9-inch round cake pans with parchment paper.
- In a large bowl, whisk flour, baking soda, cocoa powder, and salt. Set aside.
- Using a mixer, cream butter and sugar together until fluffy.
- Add oil, egg yolks, vanilla, vinegar, and food coloring. Mix well.
- Add the dry ingredients to the wet mixture in 2-3 batches, alternating with buttermilk.
- In a separate bowl, whip egg whites until soft peaks form. Gently fold into the batter to maintain a light texture.
- Divide batter evenly between the pans and bake for 30–32 minutes. Check with a toothpick for doneness.
- Let cakes cool completely before frosting.
- For the frosting, beat cream cheese and butter until smooth. Add sugar, vanilla, and salt. Mix until fluffy.
- Frost and layer the cake, smoothing the sides with a spatula. Chill before slicing for best results.
Latest Amazon Finds
Notes
- You can substitute beet powder for a natural food coloring alternative. For an extra moist red velvet cake, make sure to not overbake and always use room temperature ingredients.
- Prep Time: 25 minutes
- Cook Time: 30 minutes
- Category: Dessert, Cake
- Method: Baking
- Cuisine: American
Nutrition
- Serving Size: 1 slice
- Calories: 490
- Sugar: 45g
- Sodium: 320mg
- Fat: 27g
- Saturated Fat: 15g
- Unsaturated Fat: 10g
- Trans Fat: 0.5g
- Carbohydrates: 60g
- Fiber: 1g
- Protein: 4g
- Cholesterol: 85mg
Keywords: red velvet cake, red velvet cake recipe, homemade velvet cake, cream cheese frosting cake, southern red velvet, moist red cake, cocoa velvet cake


