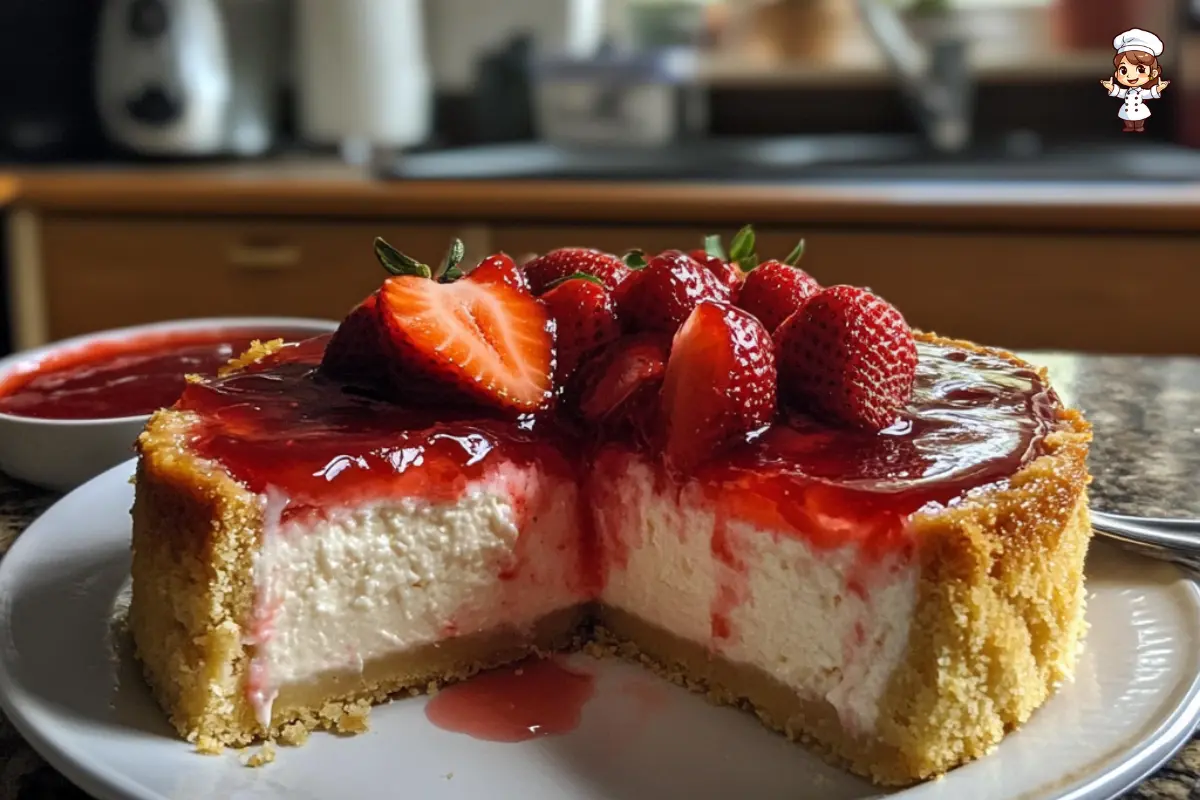
Strawberry cheesecake is one of those desserts that never goes out of style. Whether you’re making it for a special occasion or just because you’re craving something delicious, this dessert has a way of impressing everyone. The combination of a buttery biscuit base, a rich yet light cheesecake filling, and a fresh strawberry topping is enough to make anyone’s mouth water. In this article, we’ll walk you through how to make the perfect strawberry cheesecake, covering everything from the essential ingredients to tips for flawless execution. So, grab your ingredients, and let’s dive into the world of strawberry cheesecake!
Key Ingredients for Strawberry Cheesecake
Making a strawberry cheesecake is all about the ingredients. Whether you’re aiming for a simple cheesecake or a more decadent one, choosing the right ingredients can make all the difference. Let’s break it down and look at the essential components that make this dessert so irresistible.
Essential Ingredients for the Cheesecake Base
The foundation of any strawberry cheesecake is its base. The biscuit crust is a must! It’s buttery, slightly sweet, and provides a crunchy contrast to the smooth, creamy filling. To make the crust, you’ll need plain biscuits like Graham crackers, digestive biscuits, or even Marie crackers. Crushed into crumbs, these biscuits are combined with melted butter to form the perfect base. Once pressed into the bottom of your pan, it’s ready to hold the luscious filling. It’s simple but oh-so delicious!
What Goes into the Creamy Cheesecake Filling
Now, let’s talk about the filling—the star of your strawberry cheesecake. The filling is made from cream cheese (Philadelphia is the go-to choice for many), sugar, eggs, and a touch of sour cream. The sour cream lightens the filling and adds a slight tang, which balances out the sweetness of the strawberries. A little bit of vanilla extract brings warmth and depth to the flavor, while lemon zest adds a fresh, zesty kick. With these basic ingredients, you’ll have a filling that’s smooth, creamy, and perfectly balanced.
The Cheesecake Biscuit Base – No Bake, No Fuss!
The cheesecake biscuit base is not just an afterthought; it’s a key part of your strawberry cheesecake. It’s what holds the cheesecake together and adds that essential crunch. The beauty of this base is that it’s simple, requiring no baking at all! It’s a great option for those who don’t want to deal with extra heat in the kitchen, especially on a hot day.
Choosing the Best Biscuits for Your Base
When selecting biscuits for the base, aim for a plain biscuit that will not overpower the flavor of your cheesecake. Graham crackers are a popular choice in the U.S. because they offer a nice balance of sweetness and texture. In the UK or Australia, digestive biscuits or Marie crackers are excellent options. If you’re feeling adventurous, you can experiment with flavored biscuits, like gingersnaps, for a fun twist. But whatever you choose, make sure the biscuits are crunchy enough to hold up to the filling.
How to Make the Biscuit Base with Butter
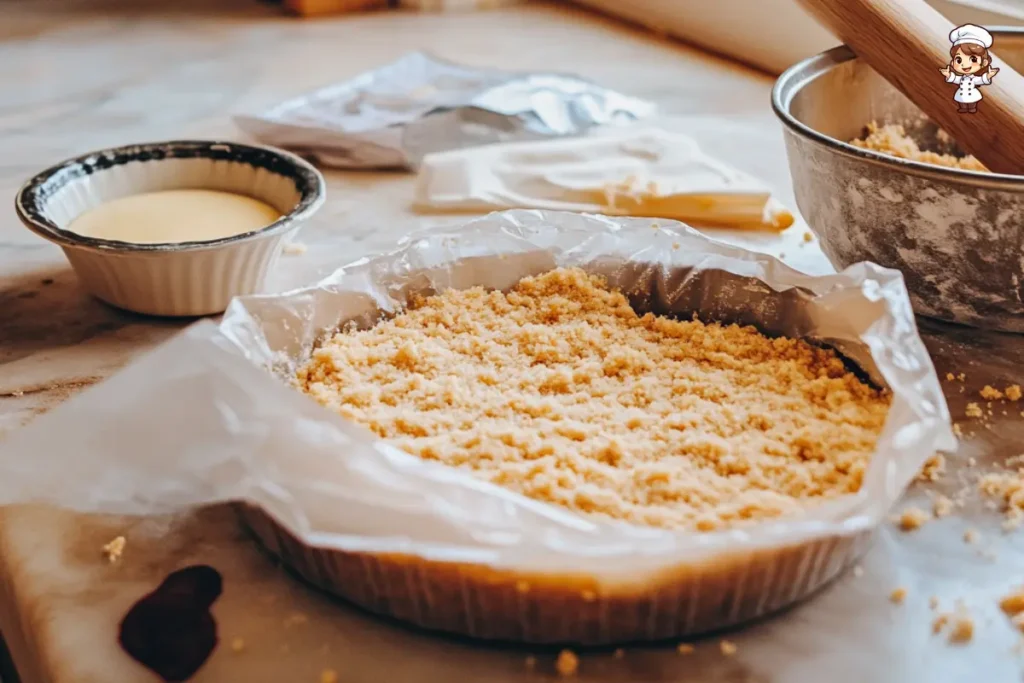
To make the biscuit base, start by crushing your biscuits into fine crumbs. You can do this by either using a food processor or putting the biscuits in a ziplock bag and smashing them with a rolling pin. Once you have your crumbs, mix them with melted butter until the mixture resembles wet sand. Then, simply press it into the bottom (and sides, if you like!) of a springform pan. No baking is required! Just chill it in the fridge to set, and your base is ready to hold the rich, creamy filling.
Preparing the Cheesecake Filling – Smooth and Fluffy
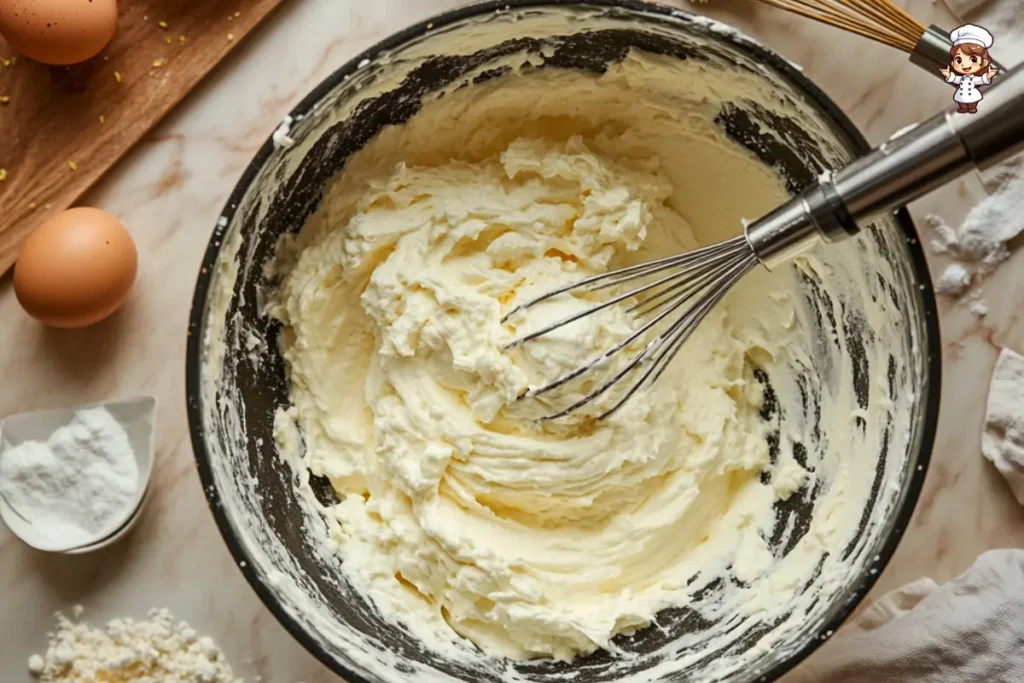
The filling is what makes a strawberry cheesecake truly unforgettable. It’s rich, creamy, and perfectly balanced—just the right amount of tang from the cream cheese and sour cream combined with the smoothness of the eggs and vanilla. But it’s not just about the ingredients; it’s about the technique. Let’s take a closer look at how to achieve that velvety, airy cheesecake filling.
Simple Ingredients That Create a Rich Yet Light-Filling
The beauty of the cheesecake filling is in its simplicity. You’ll need cream cheese, sour cream, sugar, eggs, a little vanilla extract, and a touch of lemon zest. Cream cheese forms the creamy base, while the sour cream lightens it up, making the filling less dense. A small amount of flour helps stabilize the batter, preventing cracks during baking. The sweetness comes from sugar, and a few drops of vanilla extract add depth, while lemon zest offers a refreshing kick. With just these few ingredients, you can create a filling that is rich but light, creamy yet not overly heavy.
The Right Mixing Technique for a Perfectly Smooth Cheesecake
When it comes to mixing, less is more. Overmixing can result in an airy, cracked cheesecake, so aim for smoothness without overbeating. Start by beating the cream cheese until smooth, but don’t go overboard. Gradually add the sugar and vanilla, followed by the eggs, mixing just until incorporated. The goal is to avoid any air bubbles, which could cause unsightly cracks as the cheesecake bakes. Once everything is mixed together and smooth, your cheesecake filling is ready to pour onto your perfectly prepared biscuit base.
Baking Your Strawberry Cheesecake
Once your cheesecake filling is in place, it’s time to bake it to perfection. Baking a strawberry cheesecake requires just the right technique to get that flawless golden top and creamy center. While it might seem daunting, it’s all about managing the heat and timing.
Temperature and Timing Tips for the Perfect Bake
The best temperature for baking a cheesecake is relatively low—around 160°C (320°F) in a conventional oven. This allows the filling to cook evenly without overbaking, which can cause cracks. A slow bake ensures the cheesecake remains creamy and smooth. Bake it for about 50-55 minutes or until the edges are set but the center still has a slight jiggle. Remember, the cheesecake will continue to cook even after you turn off the oven, so don’t worry if it’s a little soft in the middle.
How to Check if Your Cheesecake Is Ready
To check if your strawberry cheesecake is done, gently shake the pan. The edges should be firm, but the center should move just a bit. If you see the cheesecake puffing up too much or cracking, it’s a sign that the temperature was too high or it was baked for too long. No need to panic, though! Any cracks can be covered up with that glorious strawberry topping, and the taste won’t be compromised. Once done, allow the cheesecake to cool in the oven with the door slightly ajar for about 30 minutes, and then transfer it to the fridge to chill for several hours—or overnight—for the best results.
Making the Strawberry Sauce Topping
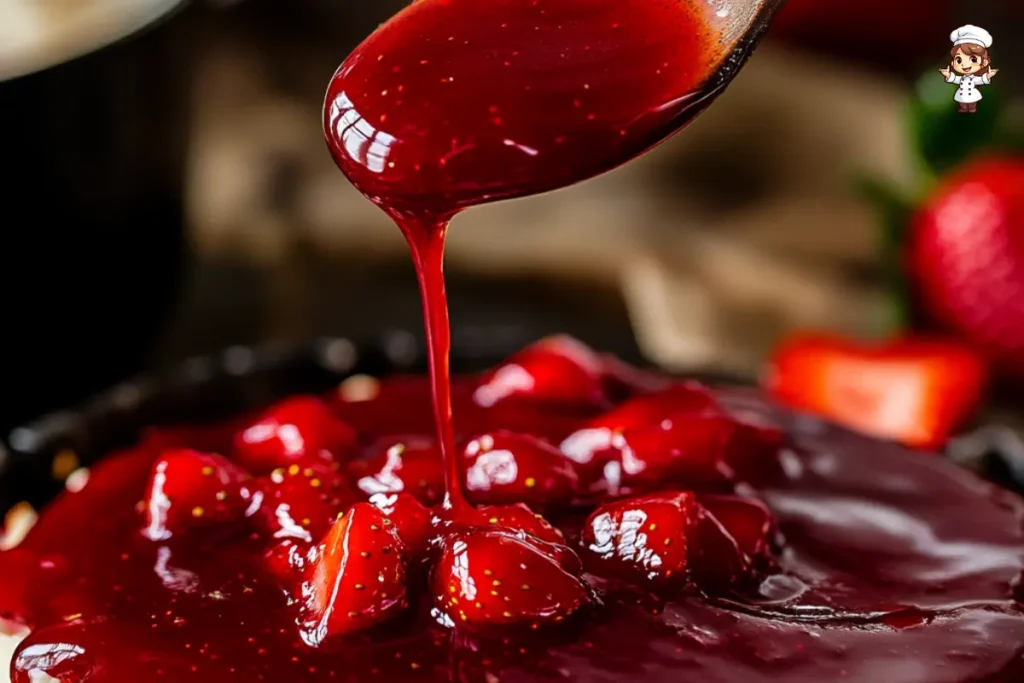
One of the best parts of a strawberry cheesecake is the decadent strawberry sauce that tops it off. Not only does it add a burst of sweet and tangy flavor, but it also gives the cheesecake a stunning, glossy finish. While this topping is easy to make, it’s important to get the right consistency to make sure it complements the cheesecake perfectly.
Choosing the Right Strawberries for the Sauce
The key to a great strawberry sauce starts with the fruit. Fresh, ripe strawberries will give you the best flavor. Choose strawberries that are vibrant red, sweet, and free from blemishes. If fresh strawberries aren’t available, frozen ones can work just fine, but you may need to adjust the cooking time slightly to allow them to break down. The ripe strawberries will release their natural juices when heated, helping you create a syrupy, flavorful sauce.
How to Make a Thick and Syrupy Strawberry Sauce
To make the sauce, you’ll need just a few simple ingredients: strawberries, sugar, cornflour (or cornstarch), and a splash of lemon juice. Start by simmering chopped strawberries and sugar over medium heat for about 10 minutes until the berries break down and become soft. Then, mix the cornflour with a little water to create a slurry, and add it to the pan. This will help thicken the sauce to a syrupy consistency. Stir in the lemon juice for a touch of acidity that balances the sweetness of the strawberries. Once the sauce reaches your desired thickness, remove it from the heat and let it cool. Don’t worry if the sauce is slightly thinner than expected; it will thicken further as it cools.
Assembling and Serving the Strawberry Cheesecake
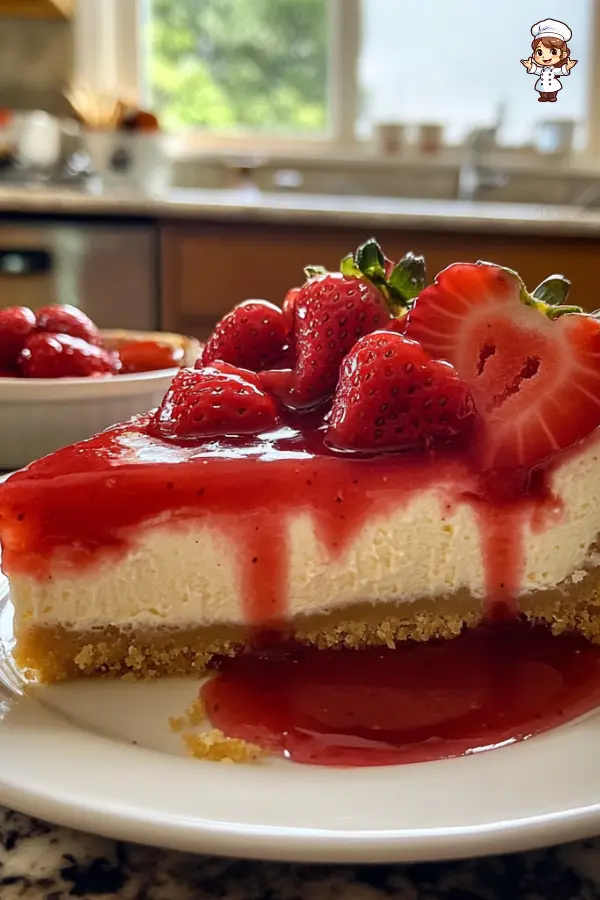
After all the preparation, it’s time to put together your masterpiece—your strawberry cheesecake! This is where all the hard work comes together, and your cheesecake transforms into a stunning dessert that will surely impress anyone who lays eyes on it.
How to Carefully Assemble the Cheesecake for a Beautiful Presentation
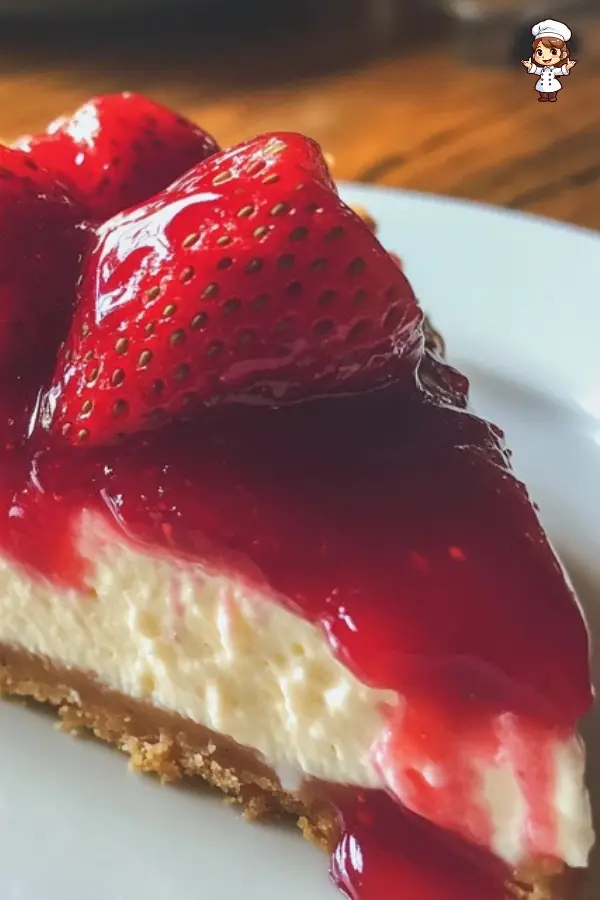
To assemble, remove your cheesecake from the springform pan and place it on a cake stand or serving platter. Once the cheesecake is chilled and firm, pour the strawberry sauce over the top, spreading it evenly to cover the surface. If you want to go the extra mile, you can arrange a few fresh whole strawberries on top for a visually appealing finish. The combination of the smooth, creamy cheesecake, the glossy strawberry sauce, and the fresh berries will make this dessert look like it came straight from a professional bakery!
Perfect Ways to Serve Your Strawberry Cheesecake
To serve your strawberry cheesecake, cut it into slices using a sharp knife. If you want clean slices, dip the knife in hot water and wipe it off between cuts. This will ensure your slices come out neatly, showcasing the beautiful layers of your cheesecake. For an added touch, serve each slice with a dollop of whipped cream or a few extra fresh strawberries on the side. The rich, creamy texture paired with the fresh strawberry topping makes every bite an absolute treat!
Print
Strawberry Cheesecake Recipe
- Total Time: 1 hour 30 minutes
- Yield: Serves 12 1x
Description
This strawberry cheesecake is a delightful dessert that combines a rich, creamy filling with a buttery biscuit base and a glossy strawberry topping. It’s the perfect balance of textures and flavors, making it a show-stopper for any occasion. Whether you’re celebrating a special event or simply enjoying a sweet treat at home, this cheesecake will impress everyone at the table. The strawberry topping adds a refreshing sweetness, while the cheesecake itself is light yet indulgent. Follow this easy step-by-step guide to create the ultimate strawberry cheesecake that’s sure to be a hit!
Ingredients
- 200g / 7oz Graham crackers or other plain biscuits
- 120g / 8 tbsp unsalted butter, melted
- 500g / 1 lb cream cheese, softened
- 1 1/2 cups caster sugar (superfine sugar)
- 3 large eggs
- 1/2 cup sour cream (full-fat)
- 1 tsp vanilla extract
- Zest of 1 lemon
- 2 tbsp all-purpose flour
- 1 lb / 500g strawberries, fresh or frozen
- 1/2 cup white sugar
- 1 1/2 tsp cornflour (cornstarch)
- 1 tbsp lemon juice
- 1/2 tsp vanilla extract
Instructions
-
Make the Biscuit Base:
Crush your Graham crackers or biscuits into fine crumbs. Mix the crumbs with melted butter until it resembles wet sand. Press the mixture into the base of a springform pan, ensuring it covers the base and sides of the pan. Refrigerate to set. -
Prepare the Cheesecake Filling:
In a large mixing bowl, beat the softened cream cheese until smooth. Add sugar and mix until combined. Add eggs one at a time, mixing in between, followed by sour cream, vanilla extract, and lemon zest. Add the flour and mix just until smooth. -
Bake the Cheesecake:
Preheat the oven to 160°C (320°F). Pour the cheesecake filling into the prepared biscuit base. Bake for 55-60 minutes, or until the edges are set and the center slightly jiggles. Let it cool in the oven with the door ajar for 30 minutes, then refrigerate for 4 hours or overnight. -
Make the Strawberry Sauce:
In a saucepan, combine fresh or frozen strawberries, sugar, cornflour, lemon juice, and vanilla. Simmer over medium heat for 10-15 minutes until thickened. Allow the sauce to cool. -
Assemble the Cheesecake:
Once the cheesecake has cooled, pour the strawberry sauce over the top, spreading it evenly. Garnish with additional halved strawberries if desired. -
Serve and Enjoy:
Slice the cheesecake, serve chilled, and enjoy your homemade strawberry cheesecake!
Latest Amazon Finds
Notes
- If you prefer a firmer cheesecake, you can bake it longer, but be cautious not to overbake. A slight jiggle in the center is perfect.
- For a more decadent variation, swirl in some chocolate or caramel sauce into the filling before baking.
- The strawberry topping can be swapped for other fruits like blueberries or raspberries for a different flavor profile.
- Prep Time: 30 minutes
- Cook Time: 1 hour
- Category: Cheesecake
- Method: Baking ,Chilling
- Cuisine: American
Nutrition
- Calories: 489 kcal
- Sugar: 41g
- Sodium: 284mg
- Fat: 28g
- Saturated Fat: 15g
- Unsaturated Fat: ~10g
- Trans Fat: 0g
- Carbohydrates: 55g
- Fiber: 1g
- Protein: 5g
- Cholesterol: 114mg
Keywords: No-Bake Cheesecake, Strawberry Cheesecake, Easy Cheesecake Recipes, Strawberry Dessert
FAQs About Strawberry Cheesecake
There’s a lot to know about strawberry cheesecake, and sometimes questions arise along the way. To make sure you feel confident in your cheesecake-making skills, here are some frequently asked questions about this delicious dessert.
Can You Make Strawberry Cheesecake in Advance?
Yes! In fact, making strawberry cheesecake in advance is a great way to ensure it has plenty of time to set and develop its full flavor. You can prepare the cheesecake a day or two before you plan to serve it. Just be sure to cover it tightly with plastic wrap and store it in the fridge. This also gives the strawberry sauce time to settle into the cheesecake, making it even more flavorful when served.
How Do You Store Leftover Cheesecake?
To store leftover strawberry cheesecake, keep it in an airtight container in the fridge. It’s best eaten within 3-4 days, but it can last a little longer if needed. If you have a large portion left over, you can also freeze slices of the cheesecake for up to a month. Just be sure to wrap it tightly in plastic wrap and then foil to prevent freezer burn.
What are Some Variations to Try with Strawberry Cheesecake?
While classic strawberry cheesecake is delicious, you can easily make variations to suit different tastes. Try swapping out the strawberry topping for other fruits, such as blueberries, raspberries, or even mixed berries. You can also experiment with adding a swirl of chocolate or caramel into the filling for extra richness. The possibilities are endless!
Final Tips
Tips for a Showstopping Strawberry Cheesecake Every Time
Making the perfect strawberry cheesecake may take a bit of time and effort, but the result is always worth it. Remember, the key to success lies in the balance of textures—the creamy filling, the buttery base, and the sweet strawberry topping. Take your time, follow the steps carefully, and don’t be afraid to get a little creative with the presentation!
Why This Recipe is Sure to Impress Your Guests
Whether you’re hosting a dinner party or celebrating a special occasion, your strawberry cheesecake is guaranteed to be a hit. It’s a dessert that not only looks amazing but tastes even better. So go ahead—make this recipe, and get ready for the compliments to roll in!
If you’re ready to impress your family and friends with the ultimate strawberry cheesecake, don’t wait any longer—gather your ingredients and start baking today! Whether it’s for a special occasion or just a sweet treat to enjoy at home, this recipe is sure to be a crowd-pleaser.
For more delicious dessert ideas, check out our other recipes and keep the sweet treats coming. Happy baking!

