

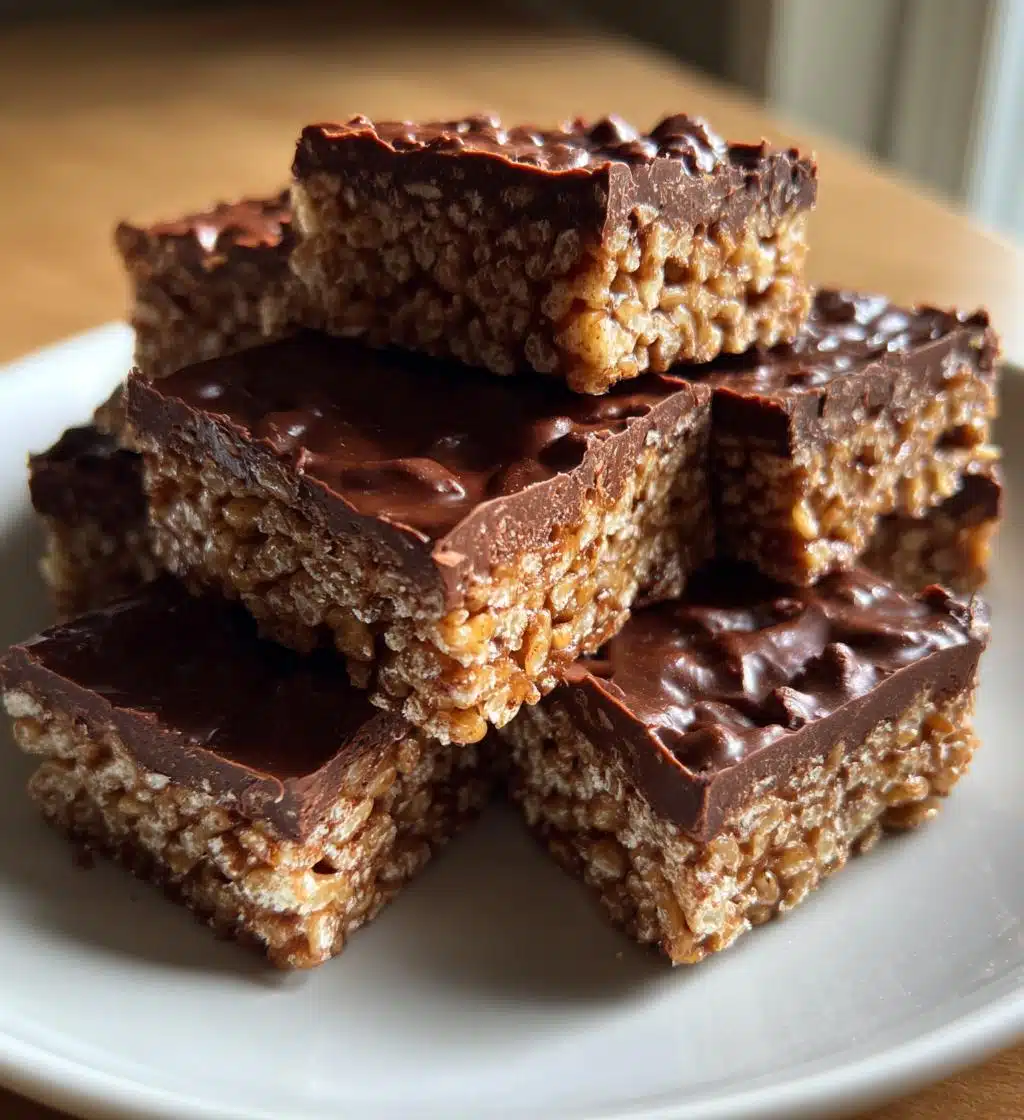
Oh my goodness, let me tell you about the joy of making these no bake homemade crunch bars! They’re like a little hug in a snack form, and trust me, they’re so easy to whip up. I remember the first time I made them; it was a rainy afternoon, and I wanted something sweet. I looked in my pantry and found chocolate chips, peanut butter, and crispy rice cereal. Before I knew it, I was stirring up this delightful mixture, and the smell of melting chocolate filled my kitchen. It was pure bliss! The best part? No oven required! Just a little melting, mixing, and then some time in the fridge, and you’ve got a delicious treat waiting for you. They’re not just tasty; they’re a fun activity to do, whether you’re cooking with kids or treating yourself. I just know you’re going to love these as much as I do!
Ingredients List
- 2 cups crispy rice cereal: This is the star of your crunch bars, adding that delightful snap and crunch! Make sure you use the classic variety for the best texture.
- 1 cup chocolate chips: I love using semi-sweet chocolate chips, but feel free to mix it up with milk or dark chocolate for a richer flavor!
- 1/2 cup peanut butter: Creamy or crunchy, it’s totally up to you! The peanut butter adds that lovely creaminess and a hint of savory goodness that balances the sweetness.
- 1/4 cup honey: This is your natural sweetener! It not only sweetens the bars but also helps bind everything together for that perfect chewy texture.
How to Prepare No Bake Homemade Crunch Bars
Alright, let’s dive into the fun part—making these scrumptious no bake homemade crunch bars! You’ll see just how simple it is to bring this delightful treat to life. Follow these steps, and you’ll have a batch ready to enjoy in no time!
Step 1: Melt the Mixture
First things first, grab a medium saucepan and place it over low heat. Toss in the chocolate chips, peanut butter, and honey. Stir them gently as they melt together, creating a luscious, gooey mixture. It’s crucial to keep the heat low—this will prevent the chocolate from burning and ensure everything blends beautifully.
Step 2: Combine Ingredients
Once everything is melted and smooth, take a moment to admire your handiwork—it should look like liquid gold! Now, just keep stirring until it’s completely combined. You want a silky, uniform mixture that’s ready for the next step. Trust me, it’s going to smell heavenly!
Step 3: Mix in Cereal
Now, carefully remove the saucepan from the heat. It’s time to add in the crispy rice cereal. I like to add it gradually, folding it in gently with a spatula. This way, you coat each piece of cereal without crushing them. The goal is to create a delightful crunch throughout the mixture!
Step 4: Press into Dish
Next, line an 8×8-inch baking dish with parchment paper for easy removal later. Pour the cereal mixture into the dish and spread it out evenly. Using your hands or the back of a spatula, press it down firmly but gently. You want it packed well enough so it holds together, but not so much that it loses its crunch!
Step 5: Refrigerate
Now comes the hardest part—waiting! Pop your baking dish into the refrigerator and let it chill for about 1 hour. This step is super important because it helps the bars firm up so they’re easy to cut and hold their shape when you’re ready to dig in.
Step 6: Cut and Serve
After an hour, take your dish out of the fridge and carefully lift the mixture out using the parchment paper. Place it on a cutting board and slice it into bars. You’ll want to serve these right away because they’re best enjoyed fresh! But don’t worry—if you can resist, they’ll keep in the fridge for several days. Enjoy every crunchy, chocolatey bite!
Why You’ll Love This Recipe
- Quick preparation: You can whip these up in just 15 minutes—perfect for when a sweet craving hits!
- No baking required: Just melt, mix, and chill. It’s as easy as that!
- Delicious flavor: The combination of chocolate and peanut butter is simply irresistible.
- Customizable: Feel free to add nuts, dried fruits, or use different types of chocolate to make it your own.
- Kid-friendly: This recipe is a fun activity to do with little ones, and they’ll love the tasty results!
- Great for sharing: Perfect for parties, school lunches, or just keeping on hand for a quick snack.
Tips for Success
Alright, let’s ensure your no bake homemade crunch bars turn out perfectly every time! Here are my top tips to keep in mind:
- Use fresh ingredients: This makes a big difference in flavor! Make sure your chocolate chips and peanut butter are fresh for the best taste.
- Don’t rush the melting: Keep the heat low and stir patiently. If the chocolate burns, it can ruin your mixture, so take your time!
- Even pressure is key: When pressing the mixture into the dish, use the back of a spatula or your hands to apply even pressure. This helps the bars hold together without becoming too dense.
- Chill long enough: Make sure to refrigerate for a full hour! This is essential for them to firm up properly, so resist the urge to cut too soon.
- Experiment with mix-ins: Feel free to add in your favorite nuts or dried fruits for a personal touch. Just keep the ratios in mind so they still hold together!
With these simple tips, you’ll be well on your way to crunchy, chocolatey perfection!
Variations
If you’re feeling a bit adventurous, there are so many fun ways to mix up these no bake homemade crunch bars! Here are some of my favorite variations:
- Chocolate Lovers: Use a blend of dark chocolate and milk chocolate chips for a richer flavor. You can even swirl in some melted white chocolate on top for a gorgeous finish!
- Nutty Delight: Add a handful of chopped nuts—like almonds, walnuts, or pecans—into the mixture for extra crunch and flavor.
- Dried Fruit Surprise: Toss in some dried cranberries, raisins, or chopped apricots for a chewy contrast to the crispy cereal.
- Cookie Crunch: Crush up some of your favorite cookies—like Oreos or graham crackers—and mix them in for an extra layer of deliciousness.
- Flavor Boost: Try adding a teaspoon of vanilla extract or a sprinkle of cinnamon to the mixture for a warm, inviting taste.
Feel free to get creative and make these bars your own! You’ll love experimenting with different flavors and textures.
Storage & Reheating Instructions
To keep your no bake homemade crunch bars fresh and tasty, store any leftovers in an airtight container in the refrigerator. They’ll stay good for about a week—if they last that long! Just remember, there’s no need to reheat these delicious treats; they’re best enjoyed chilled and straight from the fridge. If you find yourself with some extra bars, you can also freeze them! Just wrap each bar tightly in plastic wrap and place them in a freezer-safe container. They’ll keep for up to two months, and you can thaw them overnight in the fridge when you’re ready to enjoy a crunchy snack again!
Nutritional Information
Before you indulge in these delightful no bake homemade crunch bars, it’s always good to know what you’re munching on! Just a heads up—nutrition values can vary based on the specific ingredients and brands you use. Here’s a general idea of what you can expect per bar:
- Calories: 180
- Fat: 8g
- Saturated Fat: 3g
- Carbohydrates: 24g
- Sugar: 10g
- Protein: 4g
- Fiber: 2g
- Sodium: 50mg
Enjoy these tasty treats as a satisfying snack while keeping an eye on those numbers!
FAQ Section
Got questions about these delightful no bake homemade crunch bars? Don’t worry, I’ve got you covered!
How long do these bars last? If stored in an airtight container in the fridge, they’ll stay fresh for about a week. But I doubt they’ll last that long—they’re too tasty!
Can I substitute ingredients? Absolutely! If you’re not a fan of peanut butter, try almond butter or sunflower seed butter for a nut-free option. And feel free to switch out honey for maple syrup for a vegan treat.
What’s the best way to serve them? These bars are perfect for snacking on-the-go, in lunchboxes, or at parties. You can slice them into smaller pieces for bite-sized treats, or serve them alongside fresh fruit for a balanced snack.
Can I freeze them? Yes! Just wrap each bar tightly in plastic wrap and pop them in the freezer. They’ll keep for up to two months. Thaw overnight in the fridge before enjoying!
Print
No Bake Homemade Crunch Bars: 5 Simple Steps to Bliss
- Total Time: 1 hour 20 minutes
- Yield: 12 bars 1x
- Diet: Vegetarian
Description
Delicious no bake homemade crunch bars made with chocolate and crispy rice.
Ingredients
- 2 cups crispy rice cereal
- 1 cup chocolate chips
- 1/2 cup peanut butter
- 1/4 cup honey
Instructions
- In a saucepan, melt chocolate chips, peanut butter, and honey over low heat.
- Stir until smooth and well combined.
- Remove from heat and mix in crispy rice cereal.
- Press the mixture into a lined baking dish.
- Refrigerate for 1 hour until firm.
- Cut into bars and serve.
Notes
- Store in an airtight container in the fridge.
- Feel free to add nuts or dried fruits.
- Use dark chocolate for a richer flavor.
- Prep Time: 15 minutes
- Cook Time: 5 minutes
- Category: Snack
- Method: No Bake
- Cuisine: American
Nutrition
- Serving Size: 1 bar
- Calories: 180
- Sugar: 10g
- Sodium: 50mg
- Fat: 8g
- Saturated Fat: 3g
- Unsaturated Fat: 5g
- Trans Fat: 0g
- Carbohydrates: 24g
- Fiber: 2g
- Protein: 4g
- Cholesterol: 0mg
Keywords: no bake homemade crunch bars