
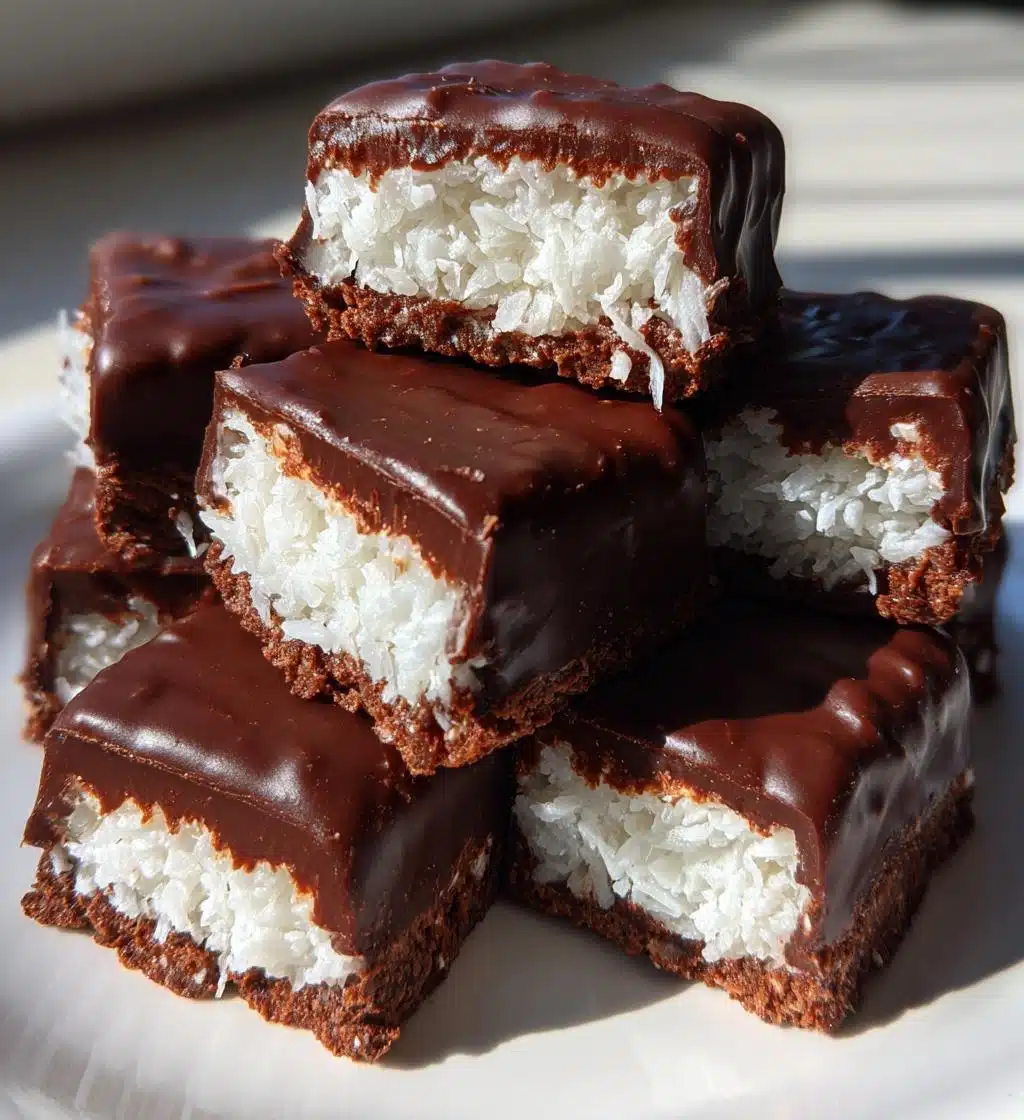
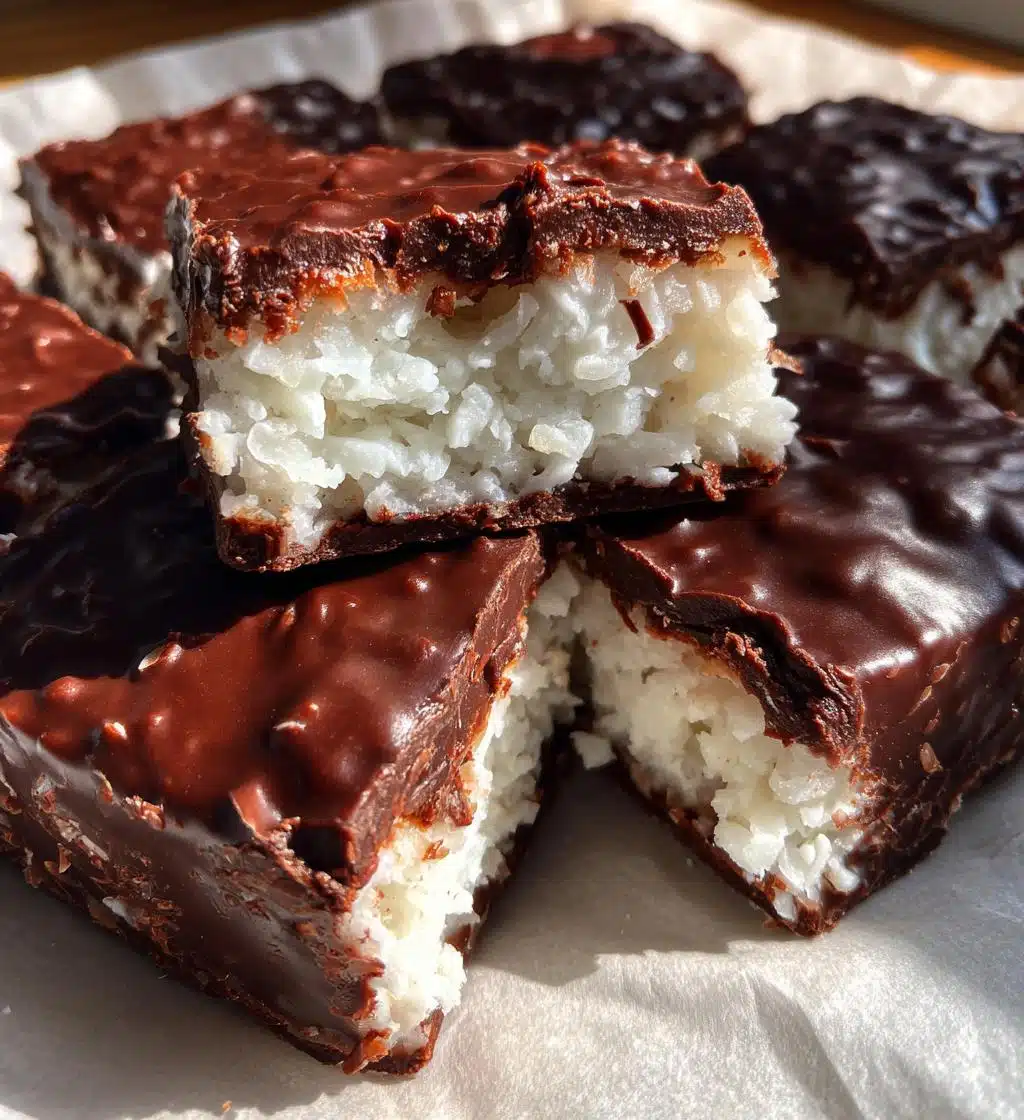
Let me tell you, there’s just something magical about homemade candy! It’s like you’re giving a little piece of your heart to each bite. And when it comes to Mounds bars, oh boy, they’re definitely a crowd-pleaser! The best part? You can whip them up at home with just a handful of ingredients. Seriously, it’s as simple as mixing shredded coconut with sweetened condensed milk, pressing it into a dish, and then adding a luscious chocolate coating. No fancy equipment needed, just your hands and a little love. The joy of taking a bite into that chewy coconut center, perfectly enveloped in smooth chocolate, is something you just can’t get from store-bought versions. Plus, making them yourself means you can customize them just the way you like! Imagine the satisfaction of knowing you created these little bites of bliss. Trust me, once you try making Mounds bars with just a few ingredients, you’ll never look at candy the same way again!
Ingredients for Mounds Bars with Just
Let’s gather the simple ingredients that’ll make these Mounds bars shine! You’ll need:
- 2 cups shredded coconut: This is the star of the show! Shredded coconut gives that delightful chewy texture and rich flavor.
- 1/2 cup sweetened condensed milk: This creamy goodness binds everything together and adds just the right amount of sweetness.
- 1 cup dark chocolate chips: For that luscious coating! Dark chocolate provides a rich contrast to the sweet coconut filling.
- 1 tablespoon coconut oil: This helps the chocolate melt smoothly and gives it a beautiful sheen when you dip the bars.
That’s it! Just four ingredients to create a candy experience that feels indulgent yet is so easy to make. You’ll be amazed at how these simple elements combine to create something so delicious!
How to Prepare Mounds Bars with Just
Now, let’s dive into the delightful process of making these Mounds bars! I promise it’s as easy as pie—well, easier actually! Follow these simple steps, and you’ll be enjoying your homemade candy in no time.
Step-by-Step Instructions
- Preheat your oven: Start by preheating your oven to 350°F (175°C). This ensures that your coconut base bakes evenly and turns golden brown.
- Mix the coconut filling: In a large mixing bowl, combine the 2 cups of shredded coconut with the 1/2 cup of sweetened condensed milk. Stir until the coconut is fully coated. You want a sticky mixture that holds together beautifully!
- Press into the baking dish: Line an 8×8-inch baking dish with parchment paper for easy removal. Next, spoon the coconut mixture into the dish and press it down firmly. Use your hands or a spatula to create an even layer. Don’t be shy; you want this to be compact!
- Bake: Pop the dish into the oven and bake for about 10 minutes. You’ll know it’s ready when the edges are lightly golden and the top looks set. It’s all about that perfect golden hue!
- Cool completely: Once baked, remove the dish from the oven and let it cool completely at room temperature. This is key because it allows the bars to firm up before coating them in chocolate.
Baking the Coconut Base
When baking the coconut base, watch for that lovely golden color. It should be just starting to turn golden around the edges—this means you’ve got the perfect texture. Trust me, the aroma wafting through your kitchen at this point will make it hard to wait!
Coating with Chocolate
Now for the fun part! To melt the chocolate, combine the 1 cup of dark chocolate chips and the 1 tablespoon of coconut oil in a microwave-safe bowl. Heat in 30-second intervals, stirring in between until it’s smooth and glossy. This method helps prevent burning. Once melted, dip each cooled coconut bar into the chocolate mixture, making sure it’s fully coated. Let any excess chocolate drip off, and then place the bars on a piece of parchment paper. You’ll want to let them set at room temperature, or if you’re feeling impatient (like I often am!), pop them in the fridge for a quicker firm-up. And there you have it—your Mounds bars are ready to be devoured!
Why You’ll Love This Recipe
- Quick preparation: You can whip these up in just 25 minutes—perfect for when that sweet tooth strikes unexpectedly!
- Minimal ingredients: With only four simple ingredients, you won’t have to hunt down anything fancy.
- No special tools required: Just basic kitchen items like a bowl and a baking dish—no fancy gadgets needed!
- Delicious flavor: The combination of chewy coconut and rich chocolate is a classic that never gets old.
- Customizable: Feel free to experiment! Add a sprinkle of sea salt or drizzle some caramel for a twist.
- Perfect for sharing: These bars are great for parties, potlucks, or just to keep on hand for a sweet treat.
Trust me, once you try this recipe, you’ll be hooked on making your own homemade Mounds bars again and again!
Tips for Success with Mounds Bars with Just
Alright, let’s make sure your Mounds bars turn out perfectly every time! Here are some tried-and-true tips that I’ve picked up along the way:
- Use fresh coconut: If you can, opt for fresh shredded coconut. It enhances the flavor and texture of your bars significantly. But if you only have the bagged stuff, don’t worry—it’ll still work just fine!
- Don’t skip cooling: Letting the coconut base cool completely is crucial. If you dip it in chocolate too soon, it might melt the chocolate, and we don’t want that mess!
- Be patient while melting chocolate: When melting chocolate, keep an eye on it. Chocolate can go from perfect to burned in seconds, so stirring frequently helps prevent that dreaded burnt taste!
- Experiment with flavors: Want to spice things up? Try adding a touch of vanilla extract or even almond extract to the coconut mixture for an extra layer of flavor.
- Store properly: Keep your Mounds bars in an airtight container at room temperature or in the fridge. This will keep them fresh and delicious for days. Trust me, they won’t last long!
With these tips in your back pocket, you’re all set to create Mounds bars that are not only easy but absolutely delightful. Happy baking!
Nutritional Information Disclaimer
Just a quick note: the nutritional values for these Mounds bars can vary depending on the specific ingredients and brands you choose. Always check the labels for the most accurate information! Each bar is a delightful treat, but keep in mind that factors like different chocolate brands or types of coconut can affect the calories and other nutritional content. So, enjoy these sweet bites while being mindful of your own dietary needs!
FAQ About Mounds Bars with Just
Got questions about making these delicious Mounds bars? Don’t worry, I’ve got you covered! Here are some common queries I hear, along with my answers:
Can I use unsweetened coconut?
Absolutely! If you prefer a less sweet flavor, unsweetened coconut works just as well. Just keep in mind that you might want to adjust the sweetness by adding a bit more sweetened condensed milk or a touch of sugar.
How should I store my Mounds bars?
Keep your Mounds bars in an airtight container at room temperature for about a week. If you want to keep them longer, pop them in the fridge, and they’ll stay fresh for up to two weeks! Just make sure they’re sealed well to avoid any moisture.
Can I make these vegan?
Yes! For a vegan version, simply substitute the sweetened condensed milk with coconut cream or a similar plant-based alternative. It’ll still be just as delicious!
What can I do with leftovers?
If you happen to have any leftovers (which is rare, trust me!), you can crumble them over yogurt or ice cream for a tasty twist. Or just enjoy them as a quick snack!
Can I freeze these bars?
Definitely! Just wrap them in plastic wrap or place them in a freezer-safe container. They’ll hold up beautifully in the freezer for up to a month. When you’re ready to enjoy, just let them thaw in the fridge overnight!
Storage & Reheating Instructions
Storing your homemade Mounds bars is super simple! Just place them in an airtight container to keep them fresh and delicious. They’ll last at room temperature for about a week, but if you want to extend their life, pop them in the fridge where they can stay good for up to two weeks. Just make sure they’re well-sealed to prevent any moisture from sneaking in!
If you find yourself with leftovers (a rare occurrence, I know!), you can also freeze them. Wrap each bar tightly in plastic wrap or place them in a freezer-safe container, and they’ll be good for up to a month. When you’re ready to indulge again, just let them thaw in the fridge overnight. No reheating needed—just enjoy them chilled for that perfect treat anytime!
Print
Mounds Bars with Just 4 Ingredients: A Cozy Homemade Treat
- Total Time: 25 minutes
- Yield: 12 bars 1x
- Diet: Vegetarian
Description
Delicious homemade Mounds bars with a coconut filling and chocolate coating.
Ingredients
- 2 cups shredded coconut
- 1/2 cup sweetened condensed milk
- 1 cup dark chocolate chips
- 1 tablespoon coconut oil
Instructions
- Preheat your oven to 350°F (175°C).
- In a bowl, mix shredded coconut and sweetened condensed milk.
- Press the coconut mixture into a lined baking dish.
- Bake for 10 minutes until golden.
- Let it cool completely.
- Melt dark chocolate and coconut oil in a microwave.
- Dip cooled coconut bars in the chocolate mixture.
- Place on parchment paper and let them set.
Notes
- Store in an airtight container.
- Use unsweetened coconut for less sweetness.
- For a vegan version, use coconut cream instead of sweetened condensed milk.
- Prep Time: 15 minutes
- Cook Time: 10 minutes
- Category: Dessert
- Method: Baking
- Cuisine: American
Nutrition
- Serving Size: 1 bar
- Calories: 150
- Sugar: 10g
- Sodium: 30mg
- Fat: 8g
- Saturated Fat: 7g
- Unsaturated Fat: 1g
- Trans Fat: 0g
- Carbohydrates: 18g
- Fiber: 2g
- Protein: 2g
- Cholesterol: 0mg
Keywords: mounds bars, coconut bars, homemade candy