
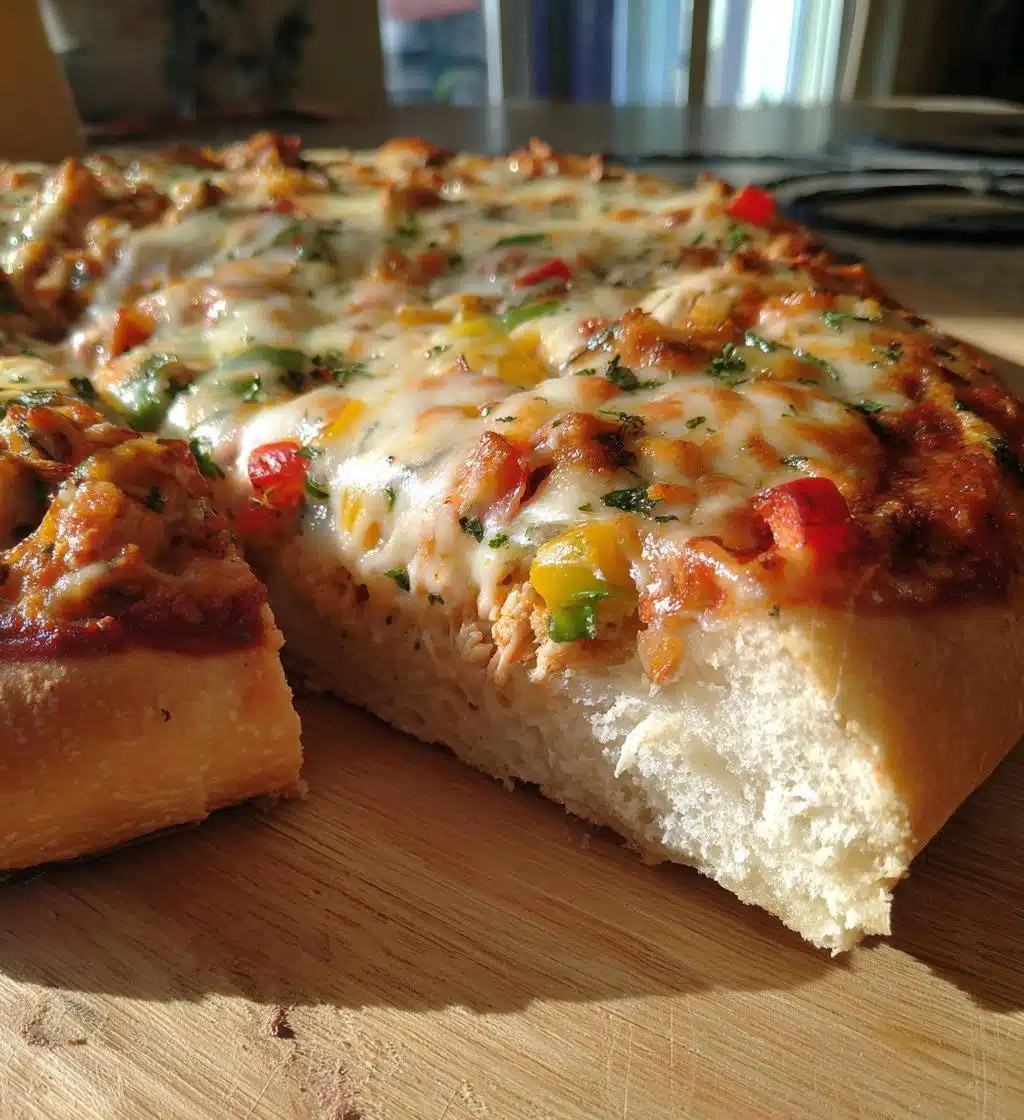
Let me tell you, the convenience of using canned chicken is a total game changer! Seriously, it’s like having a secret weapon in your pantry. When you’re craving pizza but don’t want to fuss with traditional dough, this canned chicken pizza crust is the answer. It’s super easy to whip up, and you won’t believe how delicious it turns out! I remember the first time I made it—I was skeptical, but the moment I took that first bite, I was hooked! It’s a fun twist on a classic that’s not only gluten-free but also packed with protein. Plus, you can customize it with your favorite toppings. Trust me, once you try it, you’ll be making this crust over and over again!
Ingredients for Canned Chicken Pizza Crust
Gathering your ingredients is super simple and quick! Here’s what you’ll need to create this delicious canned chicken pizza crust:
- 1 can of chicken (12.5 oz): Make sure to pick up a can of chunked or shredded chicken, which is perfect for this recipe.
- 1 cup of shredded mozzarella cheese: The gooey, melty goodness of mozzarella is a must for that classic pizza flavor!
- 1/2 cup of almond flour: This adds a nice texture and keeps the crust gluten-free. It’s a fantastic low-carb alternative!
- 1 egg: This binds everything together and helps the crust hold its shape.
- 1 teaspoon of Italian seasoning: For that herby, savory kick! Feel free to adjust this based on your taste preferences.
- 1/2 teaspoon of garlic powder: Just a smidge adds a delightful flavor punch—trust me, you’ll love it!
- Salt and pepper to taste: Seasoning is key! Don’t forget to add a pinch of salt and a dash of pepper to elevate the flavors.
That’s it! You’ve got everything you need for a scrumptious pizza crust that’s ready to be topped with your favorite goodies.
How to Prepare Canned Chicken Pizza Crust
Now that you’ve gathered all your ingredients, let’s dive into the fun part—making that delicious canned chicken pizza crust! Follow these steps, and you’ll be savoring a mouthwatering pizza in no time.
Preheat the Oven
First things first, you’ll want to preheat your oven to 400°F (200°C). This step is super important because it helps the crust bake evenly and achieve that golden perfection. While your oven heats up, you can get everything else ready!
Prepare the Chicken Mixture
Grab your can of chicken and drain it well. I like to give it a little squeeze in the strainer to get rid of any excess liquid. Then, toss the drained chicken into a mixing bowl. Add in the shredded mozzarella cheese, almond flour, egg, Italian seasoning, garlic powder, and a sprinkle of salt and pepper. Now, it’s time to roll up your sleeves! Mix everything together until it’s well combined. You want to make sure the chicken is evenly coated with all those delicious flavors!
Shape the Pizza Crust
Next, line a baking sheet with parchment paper. This makes clean-up a breeze and prevents sticking. Now, take your chicken mixture and spread it out onto the parchment, shaping it into a crust. Aim for a thickness of about 1/2 inch. Don’t worry if it’s not perfect—it’s going to taste amazing no matter what!
Bake the Crust
Pop that baking sheet into your preheated oven and let it bake for about 15-20 minutes. You’ll know it’s ready when the crust is golden brown and firm to the touch. It’s such a satisfying sight, trust me!
Add Toppings and Final Bake
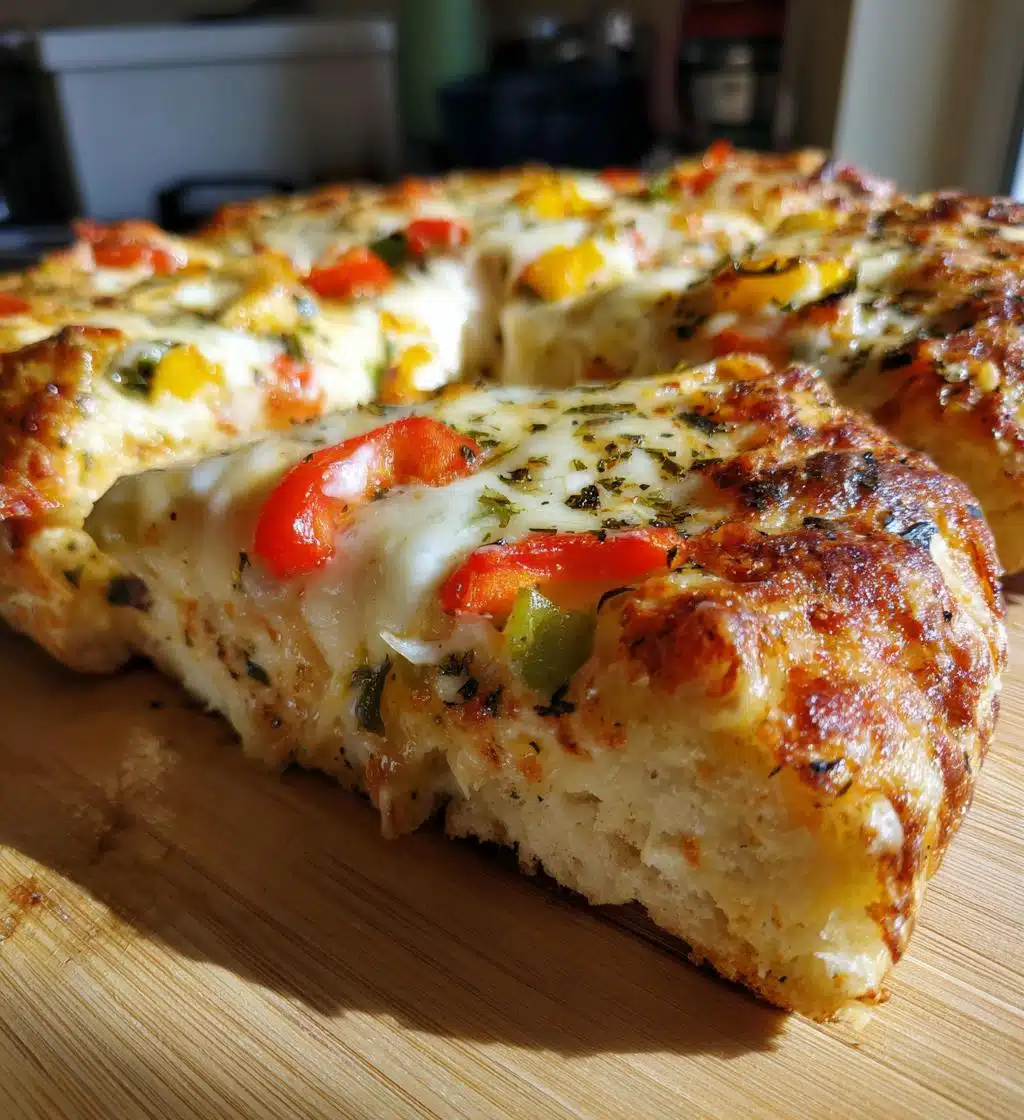
Once your crust is baked, take it out of the oven and let your creativity flow! Add your favorite pizza toppings—whether it’s classic pepperoni, fresh veggies, or a drizzle of pesto. After topping it, return your pizza to the oven for an additional 10-15 minutes, until the cheese is all bubbly and melted. Oh, the aroma wafting through your kitchen at this point is just divine!
Tips for Success
Alright, let’s make sure your canned chicken pizza crust turns out absolutely perfect! Here are some of my favorite tips to guarantee success:
- Mix it well: When combining your ingredients, don’t rush! Make sure the chicken is thoroughly mixed with the cheese, almond flour, and seasonings. This ensures every bite is packed with flavor!
- Watch your baking time: Every oven is a bit different, so keep an eye on your crust as it bakes. You want that lovely golden color—too light, and it might be soggy; too dark, and it’ll be dry.
- Use parchment paper: Using parchment paper not only makes clean-up a breeze but also prevents the crust from sticking. Trust me, this little step saves a lot of heartache!
- Go for toppings that complement: Think about what flavors you love! Pairing fresh herbs or a sprinkle of chili flakes right before serving can really elevate your pizza experience.
- Let it cool slightly: Once you take the pizza out of the oven, let it sit for a few minutes before slicing. This helps the cheese set a bit and makes for easier cutting.
- Experiment with spices: Don’t hesitate to tweak the seasonings! If you’re feeling adventurous, toss in some dried oregano or basil to the mix for an extra flavor boost.
With these tips, you’re all set to whip up a delicious canned chicken pizza crust that’ll impress everyone at your table!
Variations of Canned Chicken Pizza Crust
The beauty of this canned chicken pizza crust is how adaptable it is! You can easily customize it to suit your cravings or the ingredients you have on hand. Here are some fun variations that I absolutely love:
- Herb-Infused Crust: Swap out the Italian seasoning for a mix of fresh herbs like basil, oregano, or parsley. This adds a fresh, vibrant flavor that’s perfect for summer!
- Spicy Kick: If you like a bit of heat, add some red pepper flakes or a pinch of cayenne pepper to the chicken mixture. It gives the crust an exciting kick that pairs beautifully with your toppings.
- Cheesy Delight: Mix in some grated Parmesan cheese along with the mozzarella for an extra cheesy flavor. You can’t go wrong with more cheese, right?
- Vegetable Medley: Finely chop some bell peppers, onions, or spinach and mix them into the crust for added nutrition and flavor. It’s a great way to sneak in some veggies!
- Mexican Flair: Incorporate taco seasoning instead of Italian seasoning and top with salsa, jalapeños, and shredded cheddar for a fun twist. This variation is perfect for taco night!
- Savory Garlic: Increase the garlic powder to 1 teaspoon and add a sprinkle of garlic salt for a crust that’s bursting with garlicky goodness. It’s a great pairing for a white pizza!
With these variations, you can mix and match to create a canned chicken pizza crust that’s uniquely yours! Get creative and enjoy every bite!
Nutritional Information
Let’s talk numbers! Here’s the typical nutritional breakdown for one slice of this delicious canned chicken pizza crust. Keep in mind that these values are estimates and can vary based on your specific ingredients and toppings:
- Calories: 250
- Fat: 15g
- Saturated Fat: 5g
- Unsaturated Fat: 8g
- Trans Fat: 0g
- Carbohydrates: 6g
- Fiber: 2g
- Sugar: 1g
- Protein: 20g
- Sodium: 300mg
- Cholesterol: 70mg
This scrumptious crust is not only gluten-free but also packed with protein, making it a satisfying option for any meal. Enjoy knowing you’re indulging in something hearty yet healthy!
FAQ About Canned Chicken Pizza Crust
I know you might have some questions about this fabulous canned chicken pizza crust, so let’s tackle a few of the most common ones here!
Can I use fresh chicken instead of canned?
Absolutely! If you prefer fresh chicken, just cook and shred it before mixing it into the crust. Just make sure it’s well-drained to avoid excess moisture!
How should I store leftovers?
If you happen to have any leftovers (which is rare in my house!), store them in an airtight container in the refrigerator for up to 3 days. They make for a quick snack or lunch the next day!
Can I freeze the crust?
Yes, you can! Just bake the crust, let it cool completely, then wrap it tightly in plastic wrap and freeze. When you’re ready to use it, just thaw it in the fridge and add your toppings before baking again.
What can I substitute for almond flour?
If you don’t have almond flour on hand, you can use coconut flour or even regular all-purpose flour, but keep in mind that this will change the texture and make it not gluten-free.
Is this recipe suitable for a low-carb diet?
Yes! With only 6 grams of carbohydrates per slice, this canned chicken pizza crust is a great option for those following a low-carb lifestyle.
Can I use a different type of cheese?
Definitely! Feel free to experiment with different cheeses like cheddar, provolone, or even a spicy pepper jack for an extra kick! Just keep in mind that the flavor and melting qualities may vary.
Does it taste like traditional pizza crust?
While it’s not identical to traditional wheat-based crust, it’s incredibly tasty in its own right! The flavors from the chicken and seasonings really shine through, and it’s a satisfying alternative.
Are there any dietary restrictions to consider?
This recipe is gluten-free due to the use of almond flour. However, always check your ingredients if you’re cooking for someone with specific allergies or dietary needs!
Got more questions? I’m here to help! Don’t hesitate to reach out if you’re curious about anything else related to this delicious canned chicken pizza crust!
Why You’ll Love This Recipe
- Quick Preparation: This recipe comes together in no time—perfect for those busy weeknights when you want something delicious without the fuss!
- Gluten-Free: Using almond flour makes this crust a fantastic option for anyone avoiding gluten. Enjoy pizza without worry!
- High Protein Content: Packed with protein from the canned chicken and cheese, this crust is not only filling but also a great choice for a healthy meal.
- Customizable: You can easily mix and match toppings and spices to suit your taste. Get creative with flavors and make it your own!
- Kid-Friendly: Kids love pizza, and this recipe is a fun way to sneak in extra protein! Plus, they can help with the toppings.
- Deliciously Unique: It’s a fun twist on traditional pizza crust that’s sure to impress your family and friends. You’ll be surprised at how tasty it is!
Canned chicken pizza crust: 5 reasons you’ll adore it
- Total Time: 40 minutes
- Yield: 2 servings 1x
- Diet: Gluten Free
Description
A simple recipe for making pizza crust using canned chicken.
Ingredients
- 1 can of chicken (12.5 oz)
- 1 cup of shredded mozzarella cheese
- 1/2 cup of almond flour
- 1 egg
- 1 teaspoon of Italian seasoning
- 1/2 teaspoon of garlic powder
- Salt and pepper to taste
Instructions
- Preheat your oven to 400°F (200°C).
- Drain the canned chicken and place it in a mixing bowl.
- Add mozzarella cheese, almond flour, egg, Italian seasoning, garlic powder, salt, and pepper.
- Mix until well combined.
- Spread the mixture onto a parchment-lined baking sheet, shaping it into a crust.
- Bake for 15-20 minutes until golden.
- Remove from oven and add your favorite toppings.
- Bake for an additional 10-15 minutes until cheese is bubbly.
Notes
- For a spicier crust, add red pepper flakes.
- Store leftovers in the refrigerator for up to 3 days.
- This crust is gluten-free.
- Prep Time: 10 minutes
- Cook Time: 30 minutes
- Category: Main Dish
- Method: Baking
- Cuisine: Italian
Nutrition
- Serving Size: 1 slice
- Calories: 250
- Sugar: 1g
- Sodium: 300mg
- Fat: 15g
- Saturated Fat: 5g
- Unsaturated Fat: 8g
- Trans Fat: 0g
- Carbohydrates: 6g
- Fiber: 2g
- Protein: 20g
- Cholesterol: 70mg
Keywords: canned chicken pizza crust