
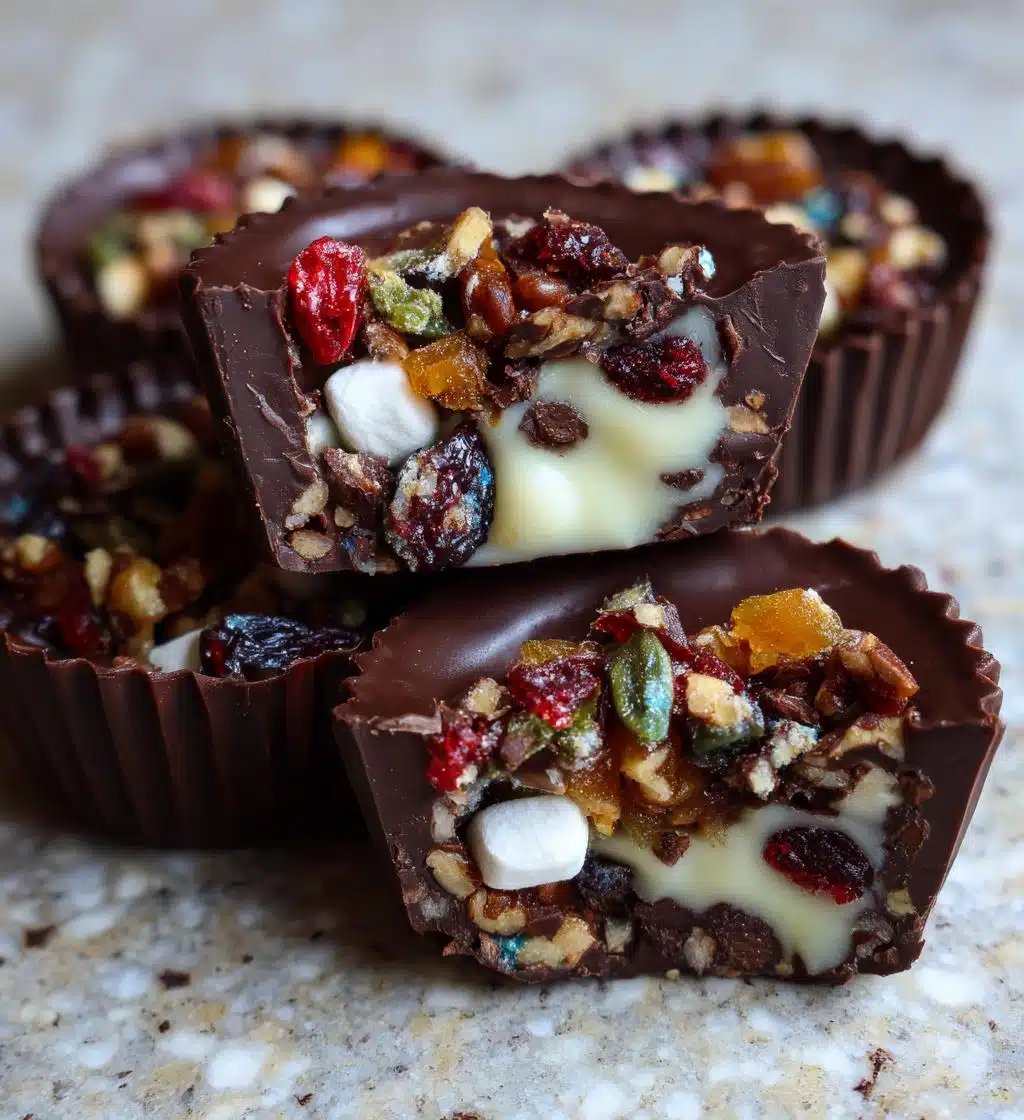
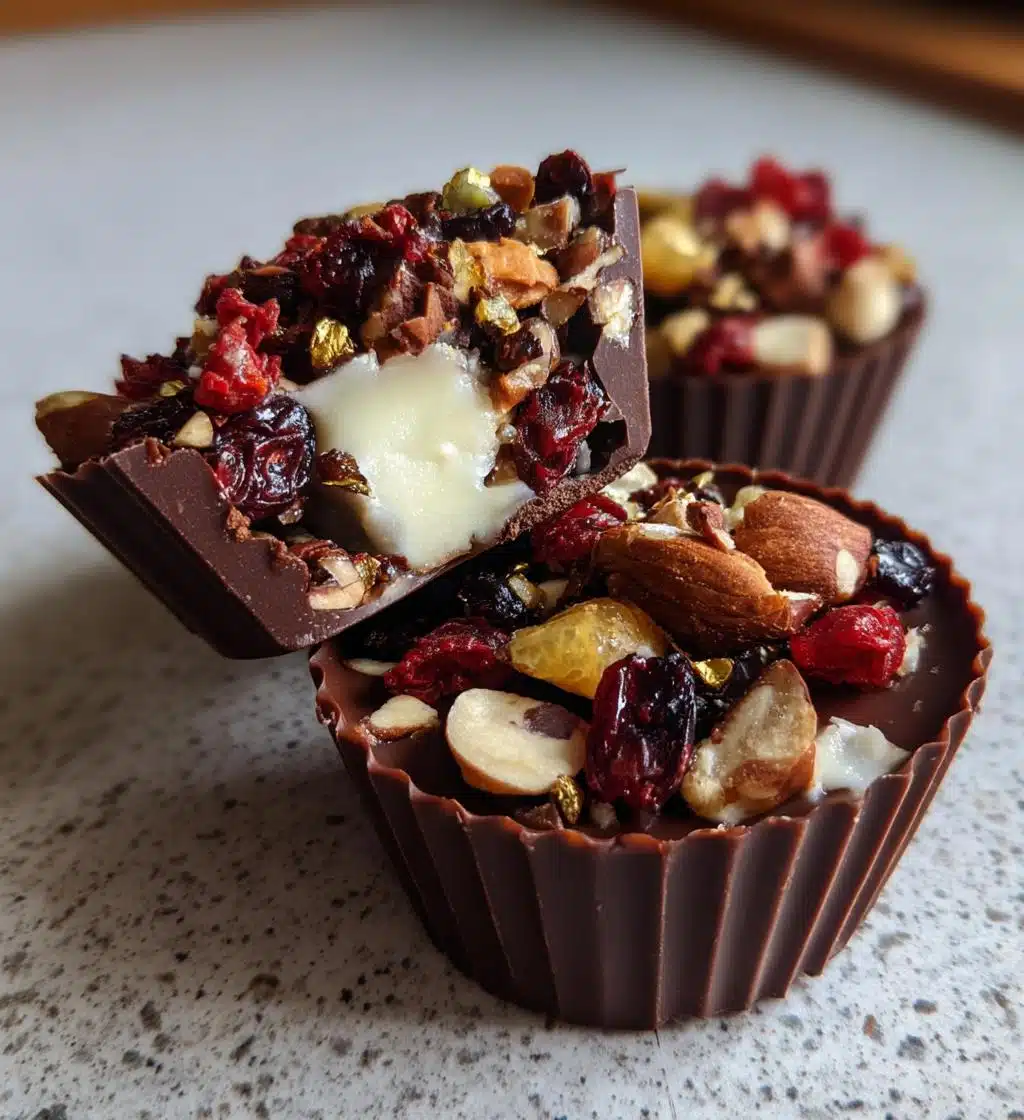
Oh my goodness, let me tell you about these Christmas Chocolate Cups! They’re like little gifts of joy wrapped in chocolate! Every year, as the holiday season rolls around, I find myself making these delightful treats for family gatherings. They’re not just delicious; they’re also super fun to customize! You can fill them with all sorts of festive goodies like nuts, dried fruits, and mini marshmallows. The best part? They’re no-bake, which means you can whip them up without breaking a sweat! The chocolate melts, the layers come together, and soon you have these adorable cups that are perfect for sharing (or hoarding, no judgment here!). Trust me, they’ll steal the show at any holiday gathering!
Ingredients for Christmas Chocolate Cups
- 200g dark chocolate, finely chopped
- 100g milk chocolate, finely chopped
- 50g white chocolate, finely chopped
- 1 cup crushed nuts of your choice (like walnuts, almonds, or pecans)
- 1 cup dried fruits (such as cranberries, raisins, or apricots)
- 1/2 cup mini marshmallows
How to Prepare Christmas Chocolate Cups
Getting started on these Christmas Chocolate Cups is a breeze, and I promise you’ll be delighted with the result! Let’s dive right in!
Step-by-Step Instructions
- First, melt the dark chocolate. You can do this in a microwave-safe bowl, heating it in 30-second intervals and stirring in between, or use a double boiler if you prefer. Just be careful not to overheat it—burnt chocolate is a sad sight!
- Once melted, take a spoon and pour the chocolate into your cup molds, swirling it around to coat the sides. You want a good layer, so don’t be shy! Pop these in the fridge for about 10 minutes to set.
- While that’s chilling, melt the milk chocolate in the same way. When your dark chocolate cups are nice and firm, pour the milk chocolate on top, filling them about halfway.
- Now comes the fun part! Sprinkle in your crushed nuts, dried fruits, and mini marshmallows, pressing them down gently so they’re nestled in the chocolate.
- Next, melt the white chocolate. Pour it over the filled cups to create a beautiful top layer. It’s like the icing on the cake, but chocolatey!
- Finally, chill the entire tray in the fridge until everything is set—this usually takes about 30 minutes. Be patient; it’s worth it!
- Once they’re set, carefully pop them out of the molds. And voilà! You’ve got yourself some stunning Christmas Chocolate Cups ready to impress!
Why You’ll Love This Recipe
- Quick preparation—whip these up in just 35 minutes!
- No-bake method means no fussing with ovens or complicated techniques.
- Festive presentation that looks impressive on any holiday table.
- Customizable with your favorite nuts and dried fruits, making each batch uniquely yours!
- Perfect for sharing with family and friends, or keeping all to yourself (I won’t tell!).
- Great for gifting—just package them up in cute boxes or bags!
- They’re a fun project to do with kids or friends, making holiday memories in the kitchen.
Tips for Success
Alright, let’s make sure your Christmas Chocolate Cups turn out absolutely perfect! Here are my go-to tips that I swear by:
- Chocolate Melting Magic: When melting chocolate, be patient! If you’re using the microwave, heat in 30-second intervals and stir well in between. This helps prevent that dreaded burnt chocolate. If you notice it’s starting to clump, just keep stirring; the residual heat will melt it all together.
- Chill Time is Key: Don’t rush the chilling process. Let each layer set properly before adding the next. This ensures your layers stay distinct and don’t mix together. Trust me, a good 10 to 30 minutes in the fridge makes all the difference!
- Mold Matters: Use silicone molds if you can. They make popping out the chocolate cups a breeze! If you’re using plastic or metal molds, a light coating of cooking spray can help with removal.
- Customize Wisely: Feel free to mix and match your nuts and dried fruits! Just make sure they’re chopped small enough to fit into the cups nicely. You want every bite to have a little bit of everything!
- Avoid Overfilling: While it’s tempting to stuff your cups with goodies, leave a little room at the top for the white chocolate layer. This ensures they seal well and look lovely when served.
- Presentation Counts: For a festive touch, consider drizzling extra melted chocolate on top or adding sprinkles before the final chill. It makes them look even more enticing!
With these tips, you’ll be well on your way to creating stunning and delicious Christmas Chocolate Cups that will wow everyone at your holiday gatherings!
Nutritional Information
Now, let’s talk about the nutritional side of these delightful Christmas Chocolate Cups! Each cup is a little treat, and here’s what you can expect:
- Serving Size: 1 chocolate cup
- Calories: Approximately 150
- Fat: 9g
- Saturated Fat: 5g
- Unsaturated Fat: 3g
- Trans Fat: 0g
- Cholesterol: 5mg
- Sodium: 5mg
- Carbohydrates: 15g
- Fiber: 2g
- Sugar: 10g
- Protein: 2g
Keep in mind that these values are approximate and can vary based on the specific ingredients you choose. If you’re swapping out nuts or using different chocolates, it might change things a bit. But trust me, these little cups of joy are worth every bite! Enjoy them as part of a balanced holiday treat!
FAQ Section
Got questions about these delightful Christmas Chocolate Cups? Don’t worry, I’ve got you covered! Here are some common queries I’ve come across, along with my best answers:
How should I store my chocolate cups?
To keep your Christmas Chocolate Cups fresh, store them in an airtight container in a cool place or in the refrigerator. They’ll last about a week—if they don’t disappear first!
Can I use different types of chocolate?
Absolutely! Feel free to mix it up with your favorite chocolate varieties. Dark, milk, or even white chocolate can work beautifully, and you can experiment with flavored chocolates too, like caramel or mint!
What nuts and fruits work best?
You can use any combination you like! I love walnuts and cranberries, but almonds, pecans, raisins, and apricots are also fantastic. Just make sure to chop them small enough to fit nicely in the cups.
Can I make these ahead of time?
You bet! These chocolate cups are perfect for prepping ahead of time. Make them a few days in advance and store them in the fridge until you’re ready to serve. They’ll taste just as delicious!
What if I don’t have silicone molds?
No worries! You can use paper cupcake liners or plastic molds instead. Just make sure to grease them lightly with cooking spray to help with easy removal.
Are there any variations I can try?
Definitely! You can add flavors like peppermint extract to the chocolate for a minty twist, or even sprinkle in some crushed candy canes for that festive touch. Get creative and have fun with it!
Can I freeze these chocolate cups?
Yes, you can! Just make sure they’re in a single layer in an airtight container. They’ll keep well in the freezer for up to a month. Thaw in the fridge before serving for the best texture.
I hope these FAQs help spark your creativity and answer any burning questions you have about making your own Christmas Chocolate Cups! Enjoy every delicious bite!
Storage & Reheating Instructions
Once you’ve made your Christmas Chocolate Cups, you’ll want to make sure they stay fresh and delicious for as long as possible! Here’s how to properly store your tasty creations:
First things first, if you have any leftovers (though I can’t imagine these lasting long!), place them in an airtight container. This is key to keeping them from drying out or absorbing any unwanted odors from your fridge. You can store them in a cool place, but I recommend keeping them in the refrigerator, especially if your kitchen tends to get warm. They should last about a week, but they’re so good, I doubt they’ll be around that long!
When you’re ready to enjoy your Christmas Chocolate Cups, just take them out of the fridge and let them sit at room temperature for a few minutes. This will enhance their flavor and texture, making each bite even more delightful. There’s no need to reheat these little gems—enjoy them chilled or at room temperature for the best experience!
If you find yourself with a surplus of these festive treats, you can also freeze them! Just make sure they’re in a single layer in a freezer-safe, airtight container. They’ll keep well for up to a month. When you’re ready to indulge, simply thaw them in the fridge overnight. That way, they’ll be ready to go for your next holiday gathering or cozy night in! Enjoy!
Serving Suggestions
Now that you’ve whipped up these delightful Christmas Chocolate Cups, let’s make sure they shine when it comes time to serve them! Here are some fun ideas to elevate your presentation and enjoyment:
- Pair with Coffee or Hot Chocolate: There’s something magical about enjoying a rich chocolate cup alongside a warm mug of coffee or hot chocolate. It’s the perfect cozy combination for those chilly holiday evenings!
- Holiday Dessert Platter: Arrange your chocolate cups on a festive platter along with other holiday treats like cookies, brownies, and peppermint bark. It creates a beautiful and inviting dessert spread that’s sure to impress your guests!
- Gift-Worthy Treats: Package them up in cute little boxes or clear bags tied with a ribbon. They make wonderful homemade gifts for friends, family, or neighbors during the holiday season!
- Ice Cream Topping: Crumble a chocolate cup over a scoop of vanilla or peppermint ice cream for an extra indulgent treat. The chocolate adds a delightful crunch and festive flair!
- Decorate with Edible Glitter: For an extra festive touch, sprinkle some edible glitter or colorful sprinkles on top of your chocolate cups right before serving. It adds a fun pop of color and holiday spirit!
- Share at Holiday Gatherings: Bring them along to holiday parties or potlucks. Trust me, these little cups will be the star of the show! Everyone will be clamoring for the recipe, and you’ll be the hero of the celebration!
With these serving suggestions, your Christmas Chocolate Cups will not only taste amazing but also look stunning and festive. Enjoy sharing them with your loved ones this holiday season!
Print
Christmas Chocolate Cups: 7 Joyful Holiday Treats to Make
- Total Time: 35 minutes
- Yield: 12 servings 1x
- Diet: Vegetarian
Description
Delicious chocolate cups filled with festive treats.
Ingredients
- 200g dark chocolate
- 100g milk chocolate
- 50g white chocolate
- 1 cup crushed nuts
- 1 cup dried fruits
- 1/2 cup mini marshmallows
Instructions
- Melt the dark chocolate in a microwave or double boiler.
- Pour melted dark chocolate into cup molds, covering the sides.
- Chill in the fridge for 10 minutes.
- Melt the milk chocolate and pour over the chilled dark chocolate layer.
- Add crushed nuts, dried fruits, and mini marshmallows.
- Top with melted white chocolate and chill until set.
- Remove from molds and serve.
Notes
- Use any combination of nuts and fruits.
- Store in a cool place.
- Can be made ahead of time for the holidays.
- Prep Time: 20 minutes
- Cook Time: 15 minutes
- Category: Dessert
- Method: No-bake
- Cuisine: American
Nutrition
- Serving Size: 1 chocolate cup
- Calories: 150
- Sugar: 10g
- Sodium: 5mg
- Fat: 9g
- Saturated Fat: 5g
- Unsaturated Fat: 3g
- Trans Fat: 0g
- Carbohydrates: 15g
- Fiber: 2g
- Protein: 2g
- Cholesterol: 5mg
Keywords: Christmas Chocolate Cups