

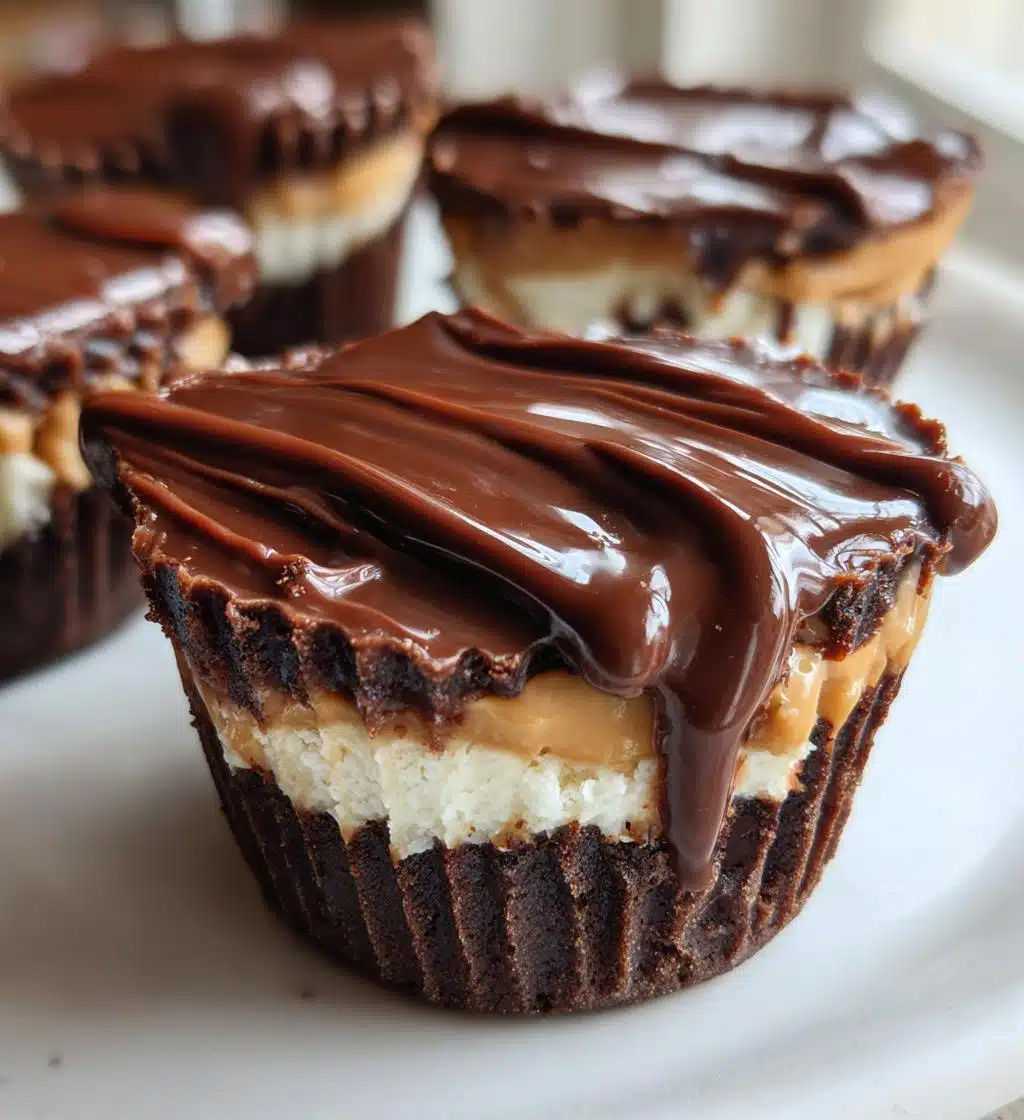
Oh my goodness, let me tell you about the joy of making these peanut butter chocolate cups! They’re like little bites of heaven, and they remind me of my childhood when my mom would whip them up as a special treat. I can still picture the warm, gooey chocolate melting in my mouth, perfectly paired with that creamy peanut butter. It’s such a simple recipe, yet the flavor combination is out of this world! I love making these for gatherings or just for a cozy night in with a movie. Trust me, once you try making these delightful treats, you’ll understand why they’ve become my go-to dessert. So, let’s get started on creating your own batch of these delicious peanut butter chocolate cups!
Ingredients for Peanut Butter Chocolate Cups
Gathering the right ingredients is so important for these scrumptious peanut butter chocolate cups! Here’s what you’ll need:
- 1 cup creamy peanut butter
- 1 cup semi-sweet chocolate chips
- 1/4 cup raw honey
- 1/2 teaspoon pure vanilla extract
That’s it! Just four simple ingredients, all working together to create that perfect balance of rich chocolate and creamy peanut butter. Trust me, using creamy peanut butter makes spreading it on top a breeze, and the semi-sweet chocolate chips add just the right amount of sweetness. I always keep these staples on hand, because you never know when a peanut butter chocolate craving might hit!
How to Prepare Peanut Butter Chocolate Cups
Now, let’s dive into the fun part—making these peanut butter chocolate cups! Follow these simple steps, and you’ll have a batch ready in no time. I promise you’ll be amazed at how easy it is!
Step 1: Melt the Chocolate
First things first, grab a microwave-safe bowl and toss in your chocolate chips. I usually start by microwaving them on high for about 30 seconds. Then, give them a good stir to help them melt evenly. If they’re not quite melted, pop them back in for another 15 seconds. Just be careful not to overheat them! You want that beautiful, smooth chocolate without any burning.
Step 2: Mix in Honey and Vanilla
Once your chocolate is melted and silky, it’s time to add in the honey and vanilla extract. Just drizzle the honey in and stir until everything is well combined. The vanilla adds such a lovely depth of flavor, so don’t skip it! This mixture should be glossy and deliciously aromatic.
Step 3: Layering the Chocolate
Now, let’s get that chocolate into cupcake liners! I like to pour a generous layer into each liner, making sure to coat the bottom evenly. You want a nice base here, so don’t be shy with the chocolate. It’s the foundation of your cups!
Step 4: Chilling the Base
Once you’ve poured the chocolate, pop the tray in the fridge for about 10 minutes. This helps the chocolate set up just enough to hold that next layer of peanut butter. You can use this time to sneak a taste of any leftover melted chocolate—no judgment here!
Step 5: Adding Peanut Butter
After chilling, it’s time to spread that creamy peanut butter on top of the chocolate layer. Use a spoon or a small spatula to get an even layer. I love making sure it reaches the edges for that perfect peanut butter to chocolate ratio!
Step 6: Covering with More Chocolate
Now, take the rest of your melted chocolate and pour it over the peanut butter layer, covering it completely. This is where the magic happens! Make sure the chocolate completely encases the peanut butter so that every bite is heavenly.
Step 7: Final Chill
Back to the fridge it goes! Chill for another 20 minutes, or until the chocolate is firm to the touch. This is the hardest part—waiting! But trust me, it’s worth it.
Step 8: Serve and Enjoy
Once everything is set, gently remove the cups from the liners. You can serve them as is, or for a little extra flair, sprinkle some sea salt on top. Take a moment to appreciate your creation, then dig in! You’ll be in peanut butter chocolate bliss, and I can’t wait for you to experience it!
Nutritional Information
When it comes to indulging in these delicious peanut butter chocolate cups, it’s nice to know what you’re getting, right? Here’s a typical breakdown of the nutritional values per cup, but remember, these are just estimates:
- Calories: 150
- Fat: 10g
- Saturated Fat: 5g
- Unsaturated Fat: 5g
- Trans Fat: 0g
- Carbohydrates: 15g
- Fiber: 2g
- Sugar: 10g
- Protein: 4g
- Sodium: 50mg
- Cholesterol: 0mg
These little cups pack a satisfying punch of flavor while keeping things relatively balanced! Enjoy them as a treat, and don’t feel guilty about that creamy peanut butter goodness. Just be mindful of portion sizes, and you’ll be all set to enjoy every last bite!
Tips for Success
Ah, the secret to perfect peanut butter chocolate cups lies in a few simple tips that can elevate your treats from good to absolutely glorious! Here’s what I’ve learned over the years:
- Don’t Overheat the Chocolate: This is key! When melting chocolate, go slow and steady. Microwaving in short bursts and stirring in between helps prevent burning. Trust me, burnt chocolate is a sad day for everyone!
- Quality Ingredients Matter: Use good-quality chocolate chips and peanut butter. It really makes a difference in flavor. I recommend semi-sweet chocolate for that perfect balance, and a creamy peanut butter that’s smooth and spreadable.
- Be Patient with Chilling: Allowing enough chilling time is crucial for the layers to set properly. Don’t rush it! If you skip the chill, you might end up with a gooey mess instead of those beautiful, layered cups.
- Experiment with Toppings: Once you’ve mastered the basics, feel free to get creative! A sprinkle of sea salt or some crushed nuts on top can add an extra layer of flavor and texture that takes these cups to the next level.
- Use the Right Tools: A good set of cupcake liners makes it easier to remove the cups once they’re set. Plus, they look so cute! I love using colorful liners to make them extra fun.
With these tips in your back pocket, you’ll be well on your way to making the best peanut butter chocolate cups ever! Enjoy the process and happy cooking!
Variations of Peanut Butter Chocolate Cups
Once you’ve nailed the classic peanut butter chocolate cups, it’s time to get creative! There are so many fun variations you can try that will keep things exciting and cater to different taste buds. Here are some of my top picks:
- Dark Chocolate Delight: Swap out the semi-sweet chocolate for dark chocolate chips. This gives your cups a richer, more intense flavor that pairs beautifully with the creamy peanut butter. Trust me, if you’re a dark chocolate lover, this one’s for you!
- Nut Butter Swap: If you want to switch things up, try using almond butter or cashew butter instead of peanut butter. Each nut butter brings its unique flavor, and it’s a great way to mix things up while still keeping that creamy texture.
- Sea Salt Sprinkles: For a sweet and salty combo that’s to die for, sprinkle a little sea salt on top before the final chill. The salt enhances the flavors and adds a delightful crunch that makes each bite even more satisfying.
- Nutty Crunch: Add some chopped nuts like walnuts, almonds, or peanuts into the peanut butter layer for extra texture. This not only amps up the flavor but also gives your cups a delightful crunch!
- Minty Fresh: For a refreshing twist, mix in a few drops of peppermint extract into your melted chocolate. The minty flavor combined with peanut butter is surprisingly delicious—perfect for the holidays or when you’re feeling fancy!
- Cookies and Cream: Crumble some chocolate sandwich cookies into the peanut butter layer for a cookies and cream version. This adds a fun flavor and texture that’s sure to impress!
- Fruit Fusion: For a fruity touch, consider adding a layer of fruit puree (like raspberry or strawberry) between the chocolate and peanut butter layers. It adds a nice tartness that complements the sweetness perfectly!
Feel free to mix and match these ideas based on your preferences. The sky’s the limit when it comes to making these peanut butter chocolate cups your own! Have fun experimenting, and I can’t wait to hear about your tasty creations!
Storage & Reheating Instructions
Storing your delicious peanut butter chocolate cups properly is key to keeping them fresh and tasty! Once they’ve set and you’ve enjoyed a few (or a lot—no judgment here!), make sure to keep the rest in an airtight container. This helps prevent any moisture from getting in and ruining that lovely texture you worked so hard to create.
I like to layer parchment paper between the cups if I’m stacking them, just to keep them from sticking together. You can store them in the fridge for up to a week, but trust me, they rarely last that long in my house! If you want to keep them for a longer time, you can freeze them. Just wrap each cup individually in plastic wrap and then place them in a freezer-safe container. They’ll stay good for about two months.
When you’re ready to enjoy a frozen treat, simply pull a cup out and let it thaw in the fridge for a couple of hours. No need to reheat these—enjoy them chilled for that perfect creamy texture. If you’re feeling adventurous, you can even pop them in the microwave for about 10 seconds for a slightly melty experience, but be careful not to overdo it! The magic of these peanut butter chocolate cups is best enjoyed just the way they are. Happy snacking!
FAQ About Peanut Butter Chocolate Cups
Got questions about these delightful peanut butter chocolate cups? Don’t worry, I’ve got you covered! Here are some common queries I hear, along with my answers to help you on your peanut butter chocolate journey.
Can I use almond butter?
Absolutely! Almond butter is a fantastic substitute for peanut butter. It adds a slightly different flavor but still maintains that creamy goodness we love. Just make sure to choose a smooth variety for easy spreading!
How long do they last?
If stored in an airtight container in the fridge, these tasty cups will last up to a week. But honestly, they probably won’t last that long because they’re just too delicious to resist!
What type of chocolate is best?
I recommend using semi-sweet chocolate for that perfect balance of sweetness and richness. However, if you’re a dark chocolate fan, go ahead and use dark chocolate chips! Just remember, the type of chocolate you choose will affect the overall flavor, so pick whichever you love most.
Can I make these vegan?
Yes, you can definitely make these vegan! Just swap out the honey for maple syrup or agave nectar, and use dairy-free chocolate chips. This way, you can enjoy the same deliciousness while keeping it plant-based!
Can I add other ingredients?
For sure! Feel free to get creative with add-ins like chopped nuts, dried fruit, or even a sprinkle of sea salt on top. The possibilities are endless, and it’s a great way to customize these cups to your liking!
Is it okay to double the recipe?
Absolutely! Doubling the recipe is a great idea if you’re planning for a crowd or just want more of these scrumptious treats on hand. Just make sure you have enough cupcake liners and room in your fridge!
I hope these FAQs help you feel more confident as you whip up your own batch of peanut butter chocolate cups. Enjoy the process, and happy snacking!
chocolate chip cheesecake cookies are another delightful treat to try!
Peanut butter cookies are a classic that pairs well with these cups!
Peanut butter banana chocolate chip oatmeal bars are a great way to use up any extra peanut butter!

Peanut Butter Chocolate Cups: 8 Irresistible Steps to Bliss
- Total Time: 45 minutes
- Yield: 12 cups 1x
- Diet: Vegetarian
Description
Delicious peanut butter chocolate cups that combine rich chocolate and creamy peanut butter.
Ingredients
- 1 cup peanut butter
- 1 cup chocolate chips
- 1/4 cup honey
- 1/2 teaspoon vanilla extract
Instructions
- Melt the chocolate chips in a microwave-safe bowl.
- Mix in honey and vanilla extract.
- Pour a layer of chocolate into cupcake liners.
- Chill in the fridge for 10 minutes.
- Add a layer of peanut butter on top of the chocolate.
- Cover with more melted chocolate.
- Chill for another 20 minutes until set.
- Remove from liners and serve.
Notes
- Store in an airtight container.
- Use dark chocolate for a richer flavor.
- Can substitute almond butter for peanut butter.
- Prep Time: 15 minutes
- Cook Time: 30 minutes
- Category: Dessert
- Method: No-bake
- Cuisine: American
Nutrition
- Serving Size: 1 cup
- Calories: 150
- Sugar: 10g
- Sodium: 50mg
- Fat: 10g
- Saturated Fat: 5g
- Unsaturated Fat: 5g
- Trans Fat: 0g
- Carbohydrates: 15g
- Fiber: 2g
- Protein: 4g
- Cholesterol: 0mg
Keywords: peanut butter chocolate cups