
Hey there, breakfast lovers! Let me tell you, starting your day with a healthy breakfast can make all the difference. These vegan gluten free waffles are not just delicious; they’re wholesome, packed with goodness, and oh-so-easy to whip up! I remember the first time I made these waffles for a lazy Sunday brunch. The smell of vanilla wafting through the kitchen was heavenly, and when I took that first bite, I was hooked! They’re crispy on the outside, fluffy on the inside, and you won’t even miss the gluten or dairy. Trust me, whether you’re vegan, gluten-free, or just looking to switch up your breakfast routine, these waffles will bring a smile to your face and fuel your day. Let’s get cooking!
Ingredients List
Here’s what you’ll need to create these scrumptious vegan gluten free waffles. Each ingredient plays a vital role in achieving that perfect fluffy texture and delightful flavor. Let’s dive in!
- 1 cup gluten free flour: Choose a good-quality all-purpose gluten free flour blend for the best results. This is the base of your waffles, so make sure it’s fresh!
- 1 tablespoon baking powder: This helps your waffles rise and become fluffy. Make sure it’s still active for the best outcome!
- 1 tablespoon sugar: Just a touch of sweetness to balance the flavors. You can use coconut sugar or maple syrup if you prefer a natural sweetener.
- 1/4 teaspoon salt: A pinch of salt enhances all the flavors in your waffles. Don’t skip this step!
- 1 cup almond milk: Unsweetened almond milk works beautifully here, but feel free to use your favorite plant-based milk—just keep it unsweetened for a more balanced taste.
- 2 tablespoons vegetable oil: This adds moisture and helps create that crispy exterior. You can substitute with melted coconut oil for a richer flavor.
- 1 teaspoon vanilla extract: This is my secret ingredient! It elevates the flavor of your waffles to a whole new level. Trust me, you’ll love it!
How to Prepare Vegan Gluten Free Waffles Healthy Recipe
Alright, let’s get into the nitty-gritty of making these scrumptious waffles! Follow along with me, and you’ll have a stack of fluffy goodness in no time.
Mixing the Dry Ingredients
First things first, grab a large mixing bowl and combine your gluten free flour, baking powder, sugar, and salt. Whisk them together until they’re well blended. This is a crucial step because it helps ensure an even rise and consistent texture in the waffles. I like to take a moment to really enjoy the smell of the flour and baking powder—so good!
Combining the Wet Ingredients
Now, in another bowl, mix together your almond milk, vegetable oil, and vanilla extract. Make sure to stir it well so everything is nicely combined. This mixture is where the magic happens! The aroma of the vanilla is simply irresistible, and it’s going to make your waffles taste amazing.
Combining Wet and Dry Ingredients
Next up, it’s time to bring the two mixtures together! Pour the wet ingredients into the bowl with the dry ingredients. Now, here’s a little tip: stir gently until just combined. You don’t want to overmix; a few lumps are totally okay! Overmixing can make your waffles tough, and we definitely want them light and fluffy.
Cooking the Waffles
Now for the fun part! Preheat your waffle iron and give it a light grease with some cooking spray or a little oil. Once it’s hot and ready, pour the batter onto the iron—about 1/2 cup per waffle should do. Close the lid and cook until they’re golden brown, which usually takes about 5 minutes. The smell wafting through your kitchen will have everyone gathering around! When they’re done, carefully remove them and get ready to enjoy!
Tips for Success
To ensure your vegan gluten free waffles turn out perfectly every time, here are a few handy tips! First, keep that batter thick! A thicker batter will give you those wonderfully crispy edges while keeping the inside fluffy. If you find your batter is too runny, just add a little more gluten free flour until you reach the right consistency.
Also, don’t forget to preheat your waffle iron properly; this step is crucial for achieving that lovely golden brown color. If you have any leftovers (which might be a challenge!), store them in an airtight container in the fridge for up to three days. When you’re ready to enjoy them again, just pop them in the toaster for a quick reheat. Trust me, they’ll taste just as fresh!
Nutritional Information
Here’s the scoop on the nutritional values for these delightful vegan gluten free waffles! Each waffle is packed with wholesome ingredients, making it a great choice for a healthy breakfast. Keep in mind that these values are estimates and can vary based on specific brands and ingredients used. Here’s what you can expect:
- Calories: 150
- Fat: 7g
- Saturated Fat: 1g
- Unsaturated Fat: 6g
- Trans Fat: 0g
- Cholesterol: 0mg
- Sodium: 150mg
- Carbohydrates: 20g
- Fiber: 2g
- Sugar: 2g
- Protein: 3g
These waffles are not just delicious but also a guilt-free way to kickstart your day with energy! Enjoy knowing you’re making a healthy choice with every bite.
FAQ Section
Can I use a different type of milk?
Absolutely! While I love using almond milk for these vegan gluten free waffles, you can easily swap it out for other plant-based milks like soy, oat, or coconut milk. Just make sure they’re unsweetened to keep the flavor balanced. Each type of milk will bring its own unique taste and texture, so feel free to experiment and find your favorite!
How do I store leftovers?
If you find yourself with any leftover waffles (which is rare, but it can happen!), just pop them in an airtight container and store them in the fridge for up to three days. When you’re ready to enjoy them again, just reheat them in the toaster for that perfect crispy texture. They’ll taste just as good as the first time around!
Can I freeze the waffles?
Yes, you can! Freezing these waffles is a great way to have a quick breakfast on hand. Just let them cool completely, then stack them between layers of parchment paper in a freezer-safe bag or container. They can be frozen for up to two months. When you’re ready to eat, simply toast them from frozen, and they’ll be deliciously warm and ready to top with your favorites!
Why You’ll Love This Recipe
- Deliciously Light and Fluffy: These waffles have the perfect balance of crispy edges and soft, airy centers—just like the classic ones!
- Vegan and Gluten-Free: You can enjoy these waffles guilt-free, as they fit both vegan and gluten-free diets without sacrificing flavor.
- Quick and Easy: With just a few simple ingredients and minimal prep time, you can whip up a batch in no time!
- Customizable: Top them with your favorite fruits, syrups, or nut butters for a breakfast that’s uniquely yours.
- Healthy Start: Packed with wholesome ingredients, these waffles are a nutritious way to kick off your day!
- Perfect for Meal Prep: Make a big batch, freeze them, and you’ll have a quick breakfast option ready whenever you need it!
Equipment List
Before you dive into making these delightful vegan gluten free waffles, let’s make sure you have the right tools on hand. Here’s what you’ll need:
- Waffle Iron: This is the star of the show! A good-quality waffle iron is key to achieving that perfect crispy exterior and fluffy interior. Make sure to preheat it properly for the best results.
- Mixing Bowls: You’ll need at least two mixing bowls—one for your dry ingredients and another for the wet ones. I always prefer using glass or stainless steel bowls for easy mixing and cleaning.
- Whisk: A whisk is essential for blending your dry ingredients and ensuring everything is mixed well. If you have a set of measuring spoons for accurate measurements, that’s even better!
- Spatula: A rubber spatula will help you fold the ingredients together without overmixing, ensuring your waffles come out light and fluffy.
- Cooking Spray or Oil: Use this to lightly grease your waffle iron before pouring in the batter. It helps prevent sticking and ensures easy removal of your waffles.
With these tools in your kitchen arsenal, you’re all set to whip up a batch of delicious waffles that will have everyone asking for seconds!
Serving Suggestions
Now that you’ve got your delicious vegan gluten free waffles ready, let’s talk about how to make them even more irresistible! There are so many tasty toppings and sides that work beautifully with these waffles, and I can’t wait to share some of my favorites.
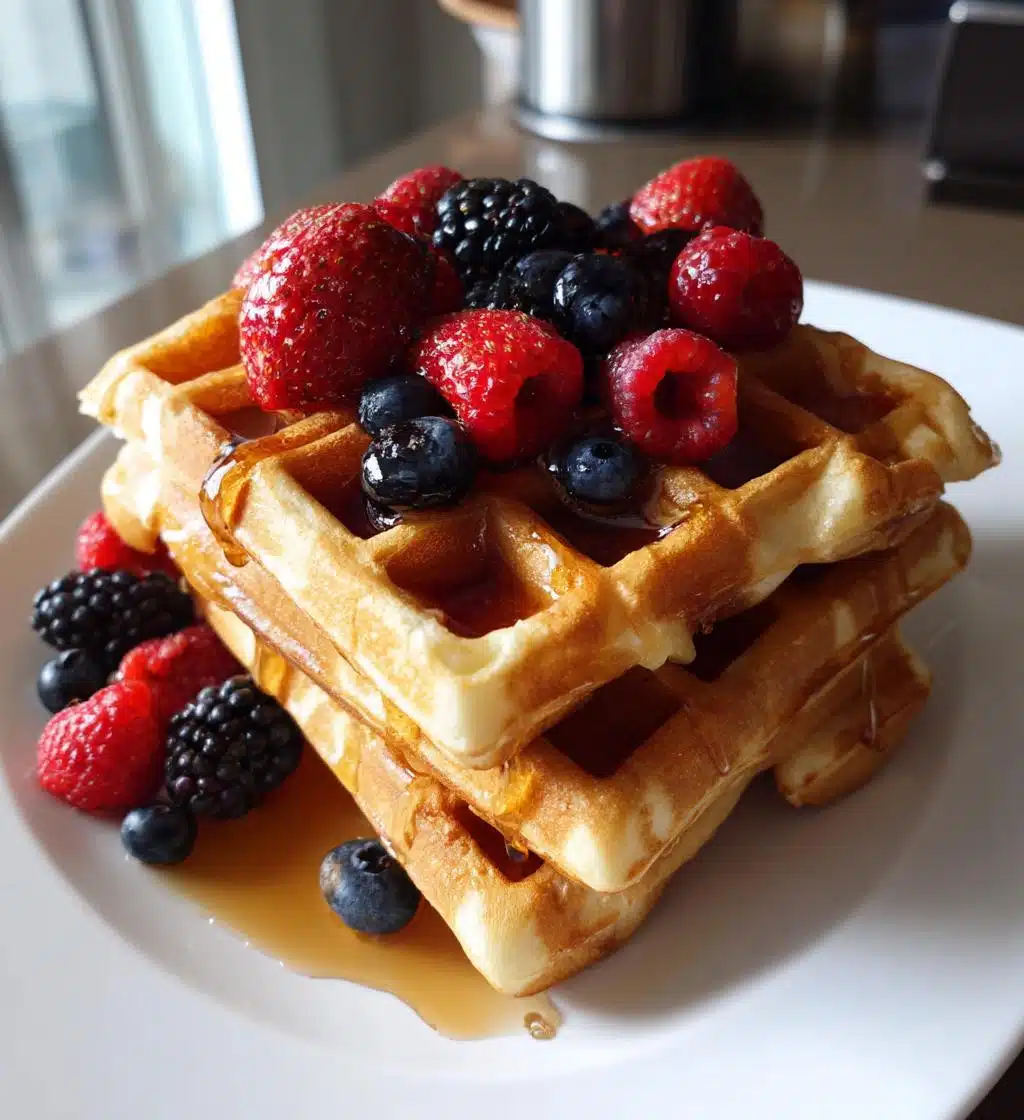
- Fresh Fruits: Top your waffles with a medley of fresh berries—strawberries, blueberries, and raspberries are all fantastic options. They add a lovely burst of flavor and natural sweetness!
- Nut Butters: Spread a generous layer of almond butter or peanut butter across your waffles for a protein boost. It creates a creamy contrast that’s simply divine!
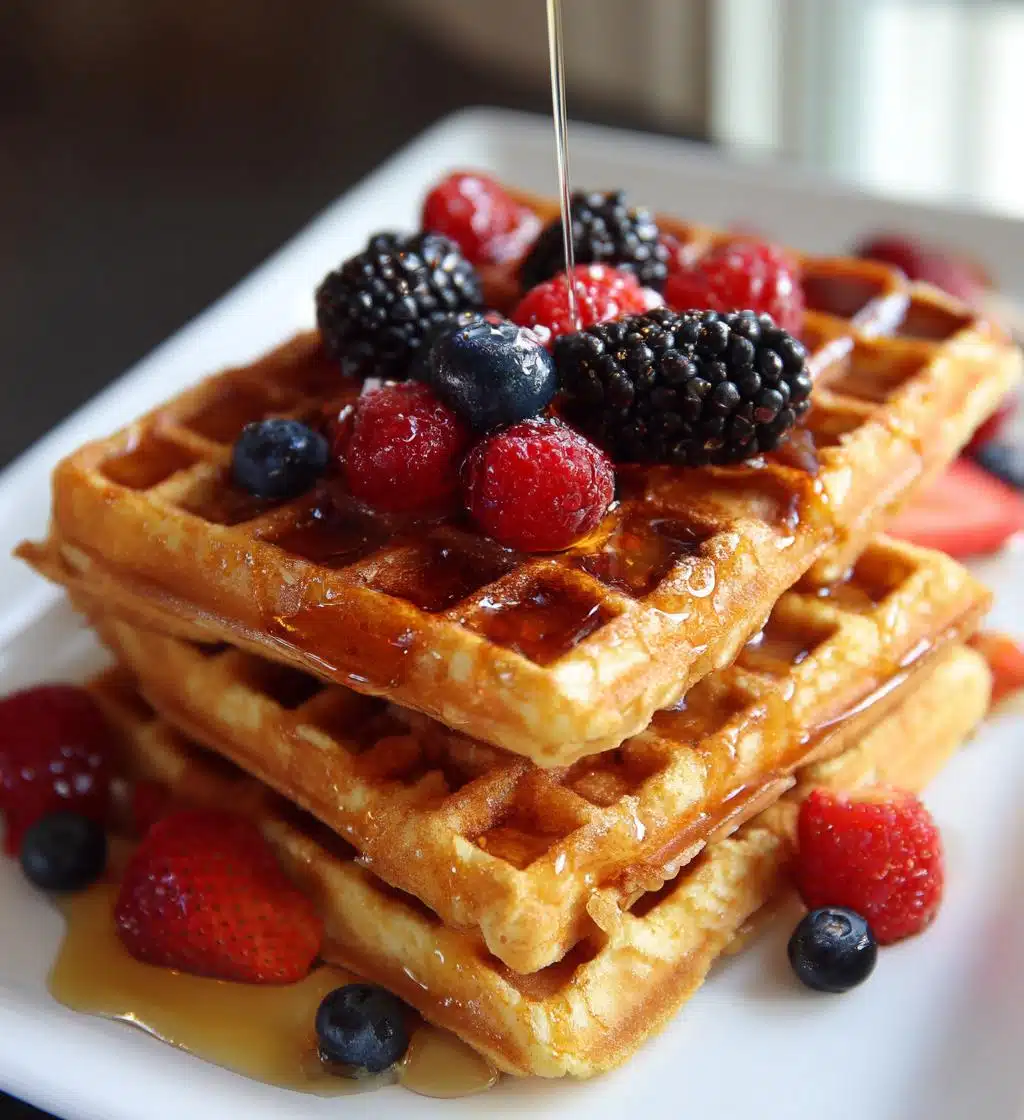
- Maple Syrup: A drizzle of pure maple syrup is a classic pairing that brings that sweet, sticky goodness to your breakfast. You can also try agave syrup for a lighter option.
- Coconut Whipped Cream: For a little indulgence, dollop some coconut whipped cream on top. It’s creamy, dreamy, and adds a touch of luxury!
- Chopped Nuts: Sprinkle on some chopped walnuts or pecans for a crunchy texture that complements the soft waffles perfectly.
- Chia Seed Jam: If you’re feeling a bit adventurous, try making a quick chia seed jam with your favorite fruits. It’s healthy and adds a pop of flavor!
Feel free to mix and match these toppings to create your perfect waffle masterpiece. Trust me, every bite will be a delightful experience, and you’ll be coming back for more! Enjoy your breakfast adventure!
Print
Vegan Gluten Free Waffles Healthy Recipe to Delight Your Day
- Total Time: 25 minutes
- Yield: 4 waffles 1x
- Diet: Vegan
Description
Healthy vegan gluten free waffles recipe.
Ingredients
- 1 cup gluten free flour
- 1 tablespoon baking powder
- 1 tablespoon sugar
- 1/4 teaspoon salt
- 1 cup almond milk
- 2 tablespoons vegetable oil
- 1 teaspoon vanilla extract
Instructions
- In a bowl, mix gluten free flour, baking powder, sugar, and salt.
- In another bowl, combine almond milk, vegetable oil, and vanilla extract.
- Pour wet ingredients into dry ingredients. Stir until combined.
- Preheat waffle iron and lightly grease it.
- Pour batter onto the waffle iron. Cook until golden brown.
- Serve with your favorite toppings.
Notes
- Keep the batter thick for crispy waffles.
- Store leftovers in the fridge for up to three days.
- Reheat in a toaster for best results.
- Prep Time: 10 minutes
- Cook Time: 15 minutes
- Category: Breakfast
- Method: Waffle maker
- Cuisine: American
Nutrition
- Serving Size: 1 waffle
- Calories: 150
- Sugar: 2g
- Sodium: 150mg
- Fat: 7g
- Saturated Fat: 1g
- Unsaturated Fat: 6g
- Trans Fat: 0g
- Carbohydrates: 20g
- Fiber: 2g
- Protein: 3g
- Cholesterol: 0mg
Keywords: vegan gluten free waffles healthy recipe