
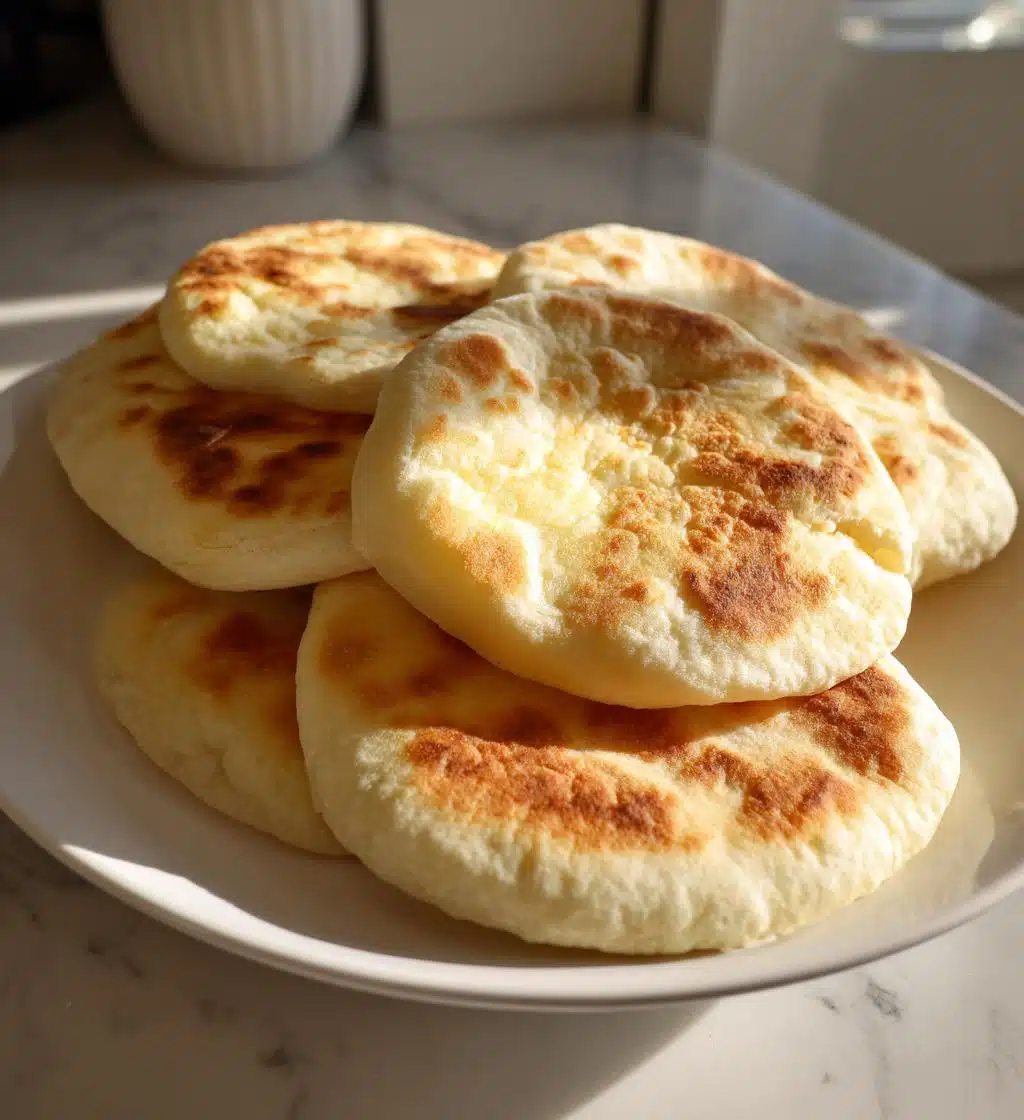
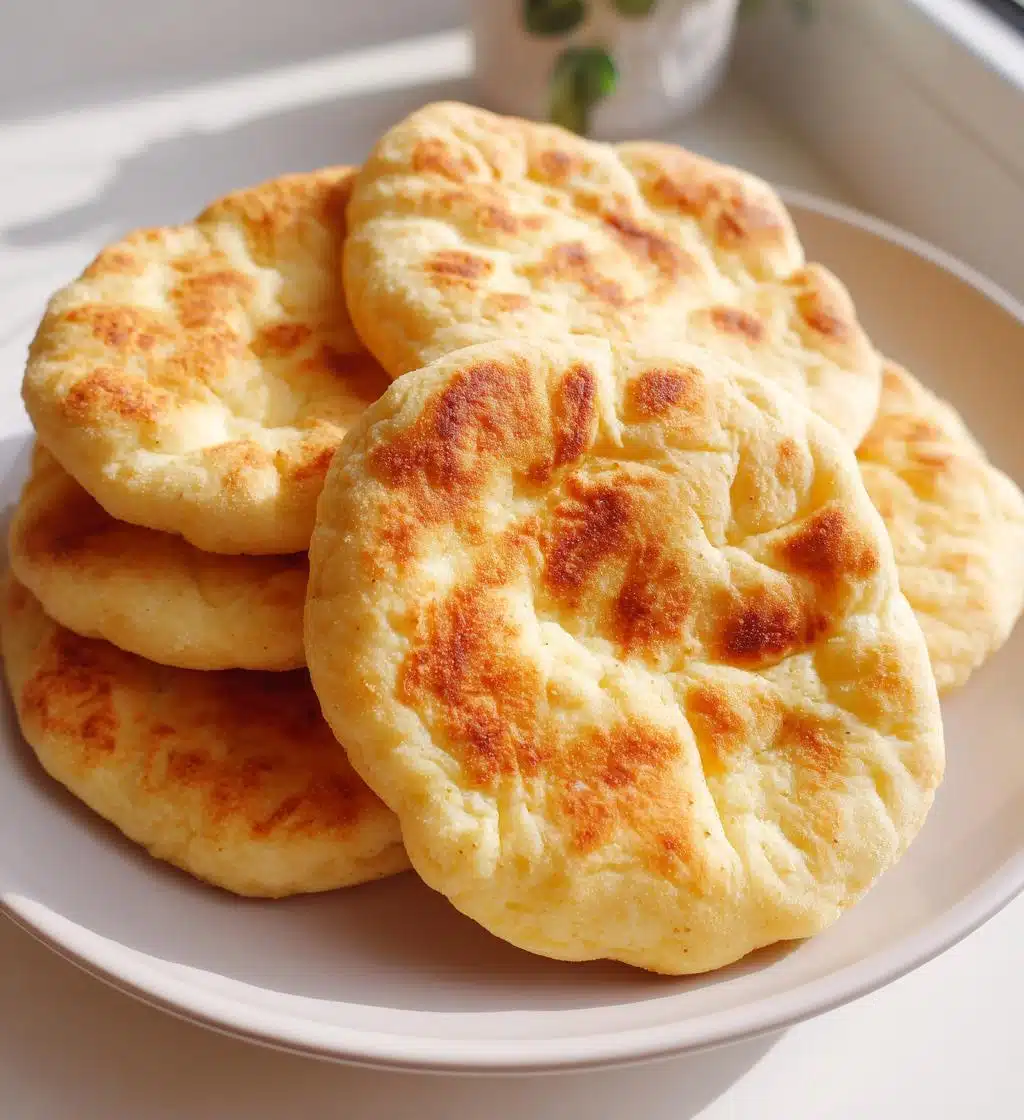
Oh my goodness, let me tell you, making gluten free pita bread at home is an absolute game changer! It’s soft, chewy, and the perfect companion for so many meals. Imagine tearing into a warm, fresh pita filled with your favorite ingredients or using it to scoop up dips—yum! Whether you’re prepping a delicious wrap for lunch or serving it alongside a savory dip for dinner, this pita bread is just right. Plus, it’s so easy to whip up! Trust me, once you try this recipe, you’ll never want to go back to store-bought. It’s all about that homemade goodness that really makes the difference!
Ingredients List
- 1 cup gluten free all-purpose flour
- 1 teaspoon baking powder
- 1/2 teaspoon salt
- 1 tablespoon olive oil
- 1/2 cup warm water
Make sure to grab a good quality gluten free all-purpose flour for the best results. It’s really the key to achieving that lovely, soft texture. The baking powder helps the pitas puff up beautifully while baking, and don’t skimp on the salt—it really enhances the flavor! The olive oil adds a touch of richness, and warm water is essential for bringing everything together. Trust me, you’ll love how simple and straightforward this ingredient list is!
How to Prepare Gluten Free Pita Bread
Preheat the Oven
First things first, you’ll want to preheat your oven to a sizzling 450°F (230°C). Preheating is super important because it ensures that your pitas puff up nicely as soon as they hit the heat. This way, they’ll get that lovely soft and chewy texture right from the start!
Mixing the Dry Ingredients
In a large mixing bowl, combine the gluten free all-purpose flour, baking powder, and salt. I like to use a whisk here to make sure everything is fully blended; it also helps aerate the flour a bit. This step is crucial because it ensures that the baking powder gets evenly distributed, which is key for your pitas to rise beautifully!
Forming the Dough
Next, drizzle in the olive oil and pour in the warm water. Now, grab a fork or your hands and start stirring until a dough begins to form. It might look a little shaggy at first, but don’t worry! Just keep mixing until it all comes together into a cohesive ball. You’ll know it’s ready when it’s not too sticky but still slightly tacky to the touch.
Kneading and Shaping
Now it’s kneading time! Lightly flour your work surface with a bit of gluten free flour and turn out the dough. Knead it gently for about 2-3 minutes until it’s smooth and elastic. It’s such a satisfying feeling! Then, divide the dough into 4 equal pieces. Roll each piece into a circle about 1/4 inch thick. Don’t stress about making them perfect; a little rustic charm is what makes them homemade!
Baking the Pita Bread
Finally, place your rolled-out circles onto a baking sheet lined with parchment paper. Pop the sheet in your preheated oven and bake for about 5-7 minutes. You’ll see them puffing up like little clouds, and that’s exactly what you want! Keep an eye on them; you want them lightly golden but not too brown. Once they’re done, take them out and let them cool slightly before diving in!
Tips for Success
Alright, let’s talk about how to nail this gluten free pita bread and make it absolutely perfect every time! I’ve got a few handy tips that I swear by.
- Don’t skimp on the kneading: Make sure you knead the dough until it’s smooth and elastic. This helps develop the texture, which is crucial for that lovely chewiness we all crave!
- Keep your workspace floured: When rolling out the dough, use a little extra gluten free flour on your surface. This prevents sticking and makes it so much easier to shape those pitas.
- Watch the baking time: Ovens can vary, so keep a close eye on your pitas as they bake. They should puff up and turn a lovely light golden color, but you don’t want them to overbake or they’ll become tough!
- Use warm water: Make sure your water is warm, not hot. This helps activate the baking powder and creates that soft texture. If it’s too hot, it can mess with the dough.
- Store them properly: If you have leftovers (which you might not because they’re so good!), let them cool completely before storing in an airtight container. This keeps them fresh and soft!
With these tips in your back pocket, you’re well on your way to making the best gluten free pita bread ever! Enjoy the process and happy baking!
Nutritional Information
Now, let’s chat about the nutritional info! Keep in mind that these values can vary based on the specific ingredients and brands you use, so they’re not set in stone. But here’s a general idea of what you can expect per serving (1 pita):
- Calories: 150
- Fat: 5g
- Saturated Fat: 1g
- Unsaturated Fat: 4g
- Trans Fat: 0g
- Carbohydrates: 25g
- Fiber: 2g
- Protein: 3g
- Sodium: 150mg
- Sugar: 0g
- Cholesterol: 0mg
So, if you’re looking for a wholesome, gluten free option that’s also delicious, this pita bread is a winner! Just remember, these numbers are approximate. It’s always a good idea to check your specific ingredients for the most accurate nutritional information.
FAQ Section
Can I use other gluten free flours?
Absolutely! You can experiment with other gluten free flours like almond flour, brown rice flour, or chickpea flour. Just keep in mind that each flour has its unique properties, which may affect the texture and flavor of your pita. For example, almond flour tends to be a bit denser, while brown rice flour can give a nuttier taste. If you decide to substitute, you might need to adjust the liquid amounts, so keep an eye on the dough’s consistency!
How should I store the pita bread?
To keep your pita bread fresh, let it cool completely first, then store it in an airtight container at room temperature for up to 2-3 days. If you want to keep them longer, I recommend wrapping them in plastic wrap or placing them in a zip-top bag and popping them in the fridge. Just remember to reheat them gently before serving to bring back that soft texture!
Can I freeze gluten free pita bread?
Yes, you can! Freezing is a great option if you want to make a batch in advance. Just wrap each pita tightly in plastic wrap and then place them in a freezer bag to prevent freezer burn. When you’re ready to enjoy them, simply thaw them in the fridge overnight or pop them in the microwave for a few seconds. They’ll be just as delicious as the day you made them!
Why You’ll Love This Recipe
- Quick and Easy: With just a few simple ingredients and only 17 minutes from start to finish, you can have fresh pita bread ready to go!
- Soft and Chewy Texture: This recipe yields pitas that are perfect for wrapping or dipping, giving you that delightful chew in every bite.
- Versatile: Whether you’re filling them with savory ingredients for a lunch wrap or serving them with your favorite dips at dinner, these pitas are incredibly adaptable!
- Gluten Free: Enjoy the goodness of homemade bread without gluten, making it suitable for various diets and preferences.
- Homemade Goodness: There’s something so satisfying about making your own bread. The smell of fresh pitas baking in the oven is simply irresistible!
- Perfect for Meal Prep: Make a batch ahead of time, freeze them, and have fresh pita bread on hand whenever you need it!
Serving Suggestions
Now that you’ve got your delicious gluten free pita bread ready to go, let’s talk about how to enjoy it! There are so many tasty options to pair with your pitas that it can be hard to choose. Here are some of my absolute favorites:
- Classic Hummus: There’s nothing quite like dipping warm pita bread into creamy hummus. Whether you go for traditional, roasted red pepper, or garlic-infused, it’s a match made in heaven!
- Fresh Veggie Wraps: Load up your pita with fresh veggies like cucumbers, bell peppers, and lettuce, along with your choice of protein. A drizzle of tahini or a zesty dressing takes it to the next level!
- Chicken Shawarma: Fill your pita with spiced chicken, pickled veggies, and a dollop of garlic sauce. Trust me, this flavor explosion will have you coming back for seconds!
- Falafel Pockets: Stuff your pitas with crispy falafel, lettuce, tomatoes, and a drizzle of tahini or tzatziki. It’s a satisfying and hearty meal that’s sure to please!
- Greek Salad Pita: Chop up some tomatoes, cucumbers, olives, and red onion, mix with feta, and fill your pita for a refreshing Mediterranean delight.
- Sweet Treat: Don’t forget about dessert! Try filling your pita with nut butter and sliced bananas or a sprinkle of cinnamon sugar for a sweet treat that’s both simple and satisfying.
With these serving ideas, your gluten free pita bread will shine in any meal. Get creative, mix and match, and enjoy every bite!
For more tips on gluten-free baking, check out this guide on gluten-free baking.
If you’re interested in more delicious recipes, visit our blog for a variety of options!
Print
Gluten Free Pita Bread: 5 Secrets to Perfect Texture
- Total Time: 17 minutes
- Yield: 4 pitas 1x
- Diet: Gluten Free
Description
This gluten free pita bread is soft and chewy, perfect for wraps or dipping.
Ingredients
- 1 cup gluten free all-purpose flour
- 1 teaspoon baking powder
- 1/2 teaspoon salt
- 1 tablespoon olive oil
- 1/2 cup warm water
Instructions
- Preheat your oven to 450°F (230°C).
- In a bowl, mix the gluten free flour, baking powder, and salt.
- Add the olive oil and warm water. Stir until a dough forms.
- Knead the dough for a few minutes until smooth.
- Divide the dough into 4 equal pieces and roll each out into a circle.
- Place the circles on a baking sheet.
- Bake for 5-7 minutes until puffy and lightly golden.
- Remove from the oven and let cool slightly before serving.
Notes
- Store leftovers in an airtight container.
- Can be frozen for later use.
- Great for sandwiches or as a side with dips.
- Prep Time: 10 minutes
- Cook Time: 7 minutes
- Category: Bread
- Method: Baking
- Cuisine: Middle Eastern
Nutrition
- Serving Size: 1 pita
- Calories: 150
- Sugar: 0g
- Sodium: 150mg
- Fat: 5g
- Saturated Fat: 1g
- Unsaturated Fat: 4g
- Trans Fat: 0g
- Carbohydrates: 25g
- Fiber: 2g
- Protein: 3g
- Cholesterol: 0mg
Keywords: gluten free pita bread