
There’s something truly magical about making chocolate at home, don’t you think? The rich aroma of roasted cocoa beans fills your kitchen, and you get to create a treat that’s both indulgent and made from scratch. Learning how to make chocolate from cocoa beans is not just about the end result, but the entire process is a delicious journey. Each step, from roasting to mixing, allows you to connect with the ingredients in a way that store-bought chocolate simply can’t offer. Trust me, once you try making your own chocolate, you’ll never look at a chocolate bar the same way again!
Ingredients List
- 1 cup cocoa beans
- 1/2 cup sugar
- 1/4 cup cocoa butter
- 1 teaspoon vanilla extract
- 1/4 teaspoon salt
How to Make Chocolate
Alright, let’s dive into the delightful process of making chocolate from scratch! It may sound a bit daunting, but trust me, it’s easier than you think and oh-so-rewarding. First up, you’ll want to roast your cocoa beans. Preheat your oven to 350°F (175°C) and spread the beans on a baking sheet. Roast them for about 10-15 minutes, keeping an eye on them. You’ll know they’re done when they start to crack and smell heavenly—like, seriously, your whole house will smell like a chocolate factory!
Step-by-Step Instructions
Roasting the Cocoa Beans
As the beans roast, give them a gentle stir halfway through to ensure even roasting. Once they’re cracking and fragrant, take them out and let them cool for a few minutes before handling.
Grinding the Beans
Now comes the fun part! After they cool, you’ll want to remove the shells. I like to give them a little squeeze; the shells should pop off easily. You can use a blender or a food processor to grind the nibs (the insides of the beans) into a paste. It’s a bit like magic watching them turn from solid to liquid!
Mixing Ingredients
Next, mix your cocoa paste with sugar, cocoa butter, vanilla extract, and salt in a bowl. Stir it all together until it’s nicely combined, and the texture is smooth and luscious. This is where you can adjust the sweetness to your liking—don’t be shy to take a taste!
Heating the Mixture
Now, gently heat the mixture over a double boiler or in a microwave, stirring frequently until it’s silky and smooth. You want that perfect consistency that flows beautifully but isn’t too runny.
Molding and Cooling
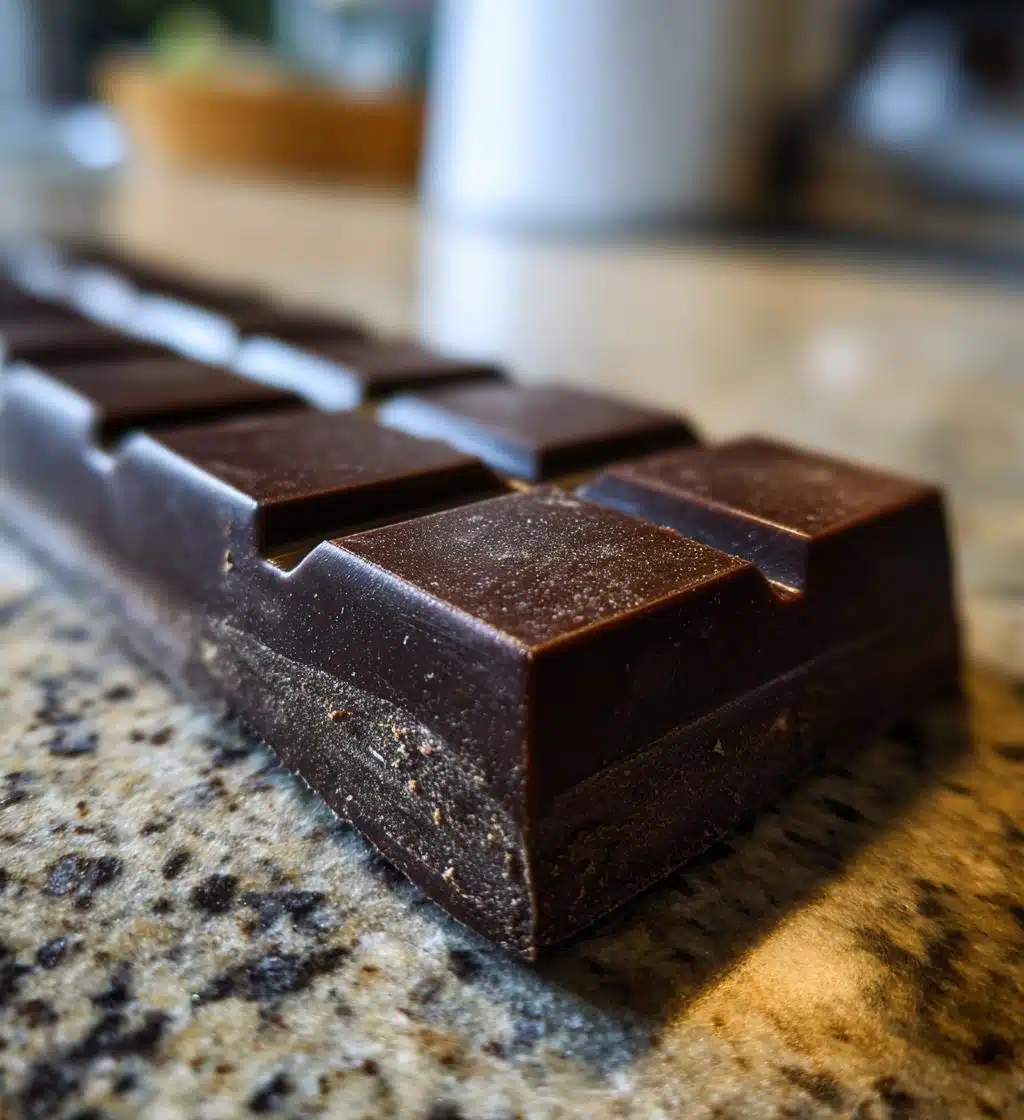
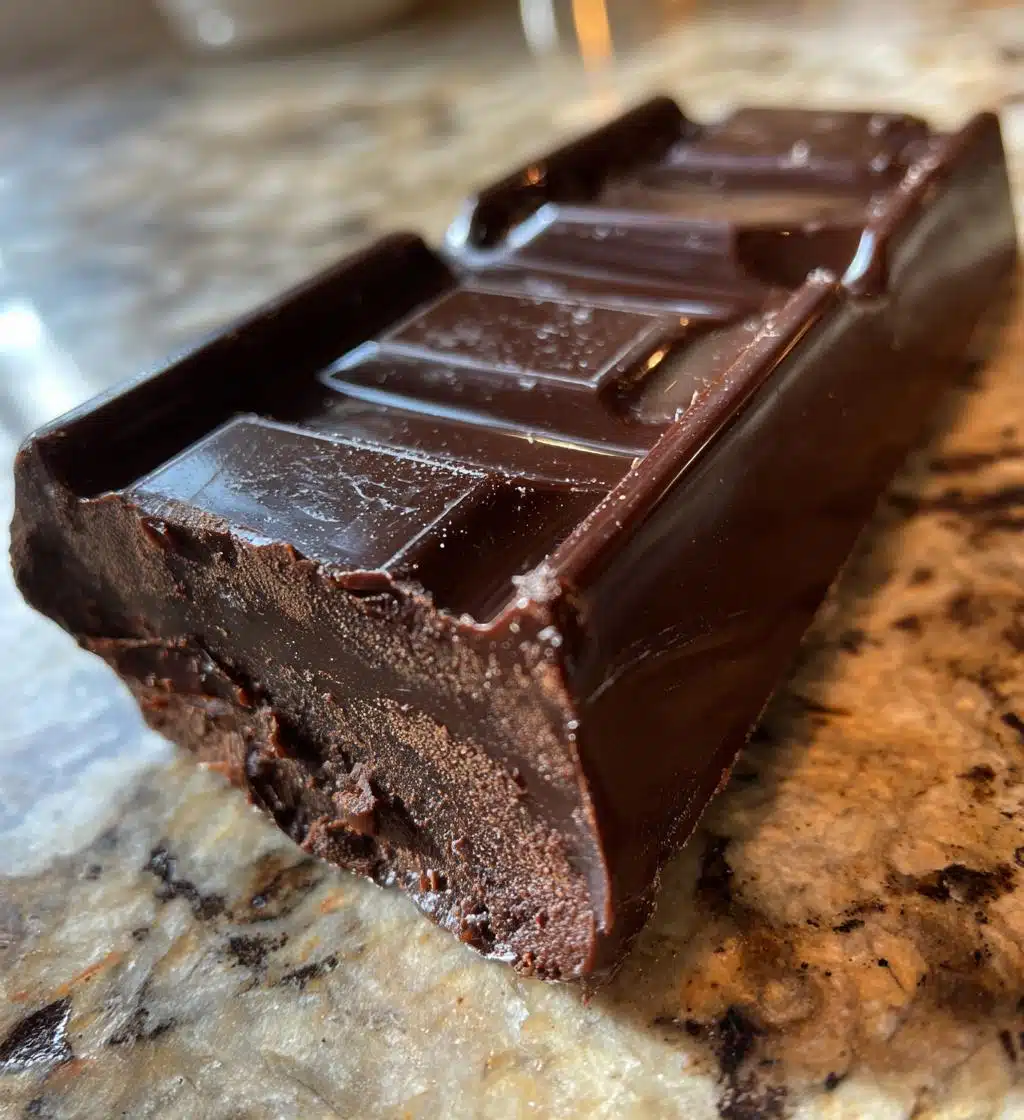
Finally, pour your melted chocolate into molds of your choice—silicone molds work great! Let them cool at room temperature for a bit, then pop them in the fridge to set completely. Once firm, you can enjoy your homemade chocolate, and trust me, it’s going to taste amazing!
Why You’ll Love This Recipe
- Simple and easy to follow—perfect for both beginners and experienced cooks!
- Made with natural ingredients, so you know exactly what’s in your chocolate.
- Customizable flavors to suit your taste—add spices or extracts to create your own masterpiece!
- A rewarding homemade dessert that brings joy not just when you eat it, but during the whole process of making it.
Tips for Success
To make sure your chocolate turns out perfectly, here are a few tips I swear by! First, don’t hesitate to adjust the sweetness to match your taste—start with less sugar, and you can always add more if needed. If you’re feeling adventurous, try adding a pinch of cinnamon or a few drops of peppermint extract for a fun twist! When it comes to storage, keep your chocolate in a cool, dry place, away from sunlight. This will help maintain its luscious texture and flavor. And remember, homemade chocolate makes a fantastic gift—just be sure to share some with friends!
Nutritional Information
Here’s a quick look at the estimated nutritional information for your delicious homemade chocolate. Keep in mind that these values can vary based on the specific ingredients you use, but this should give you a good idea of what to expect per 1 oz serving:
- Calories: 150
- Sugar: 10g
- Fat: 9g
- Saturated Fat: 5g
- Unsaturated Fat: 3g
- Trans Fat: 0g
- Carbohydrates: 15g
- Fiber: 3g
- Protein: 2g
- Cholesterol: 0mg
- Sodium: 5mg
Enjoying your homemade chocolate is not just a treat for your taste buds, but it also provides a little bit of everything in moderation. So go ahead and indulge, knowing you made it from scratch with love!
FAQ Section
Can I use different types of sugar?
Absolutely! You can experiment with different types of sugar to find your perfect sweetness. Brown sugar will give your chocolate a deeper, caramel-like flavor, while coconut sugar offers a more earthy sweetness. Just keep in mind that some sugars may dissolve differently, so you might need to adjust your measurements a bit. It’s all about finding what pleases your palate!
How can I add different flavors?
Oh, the flavor possibilities are endless! You can infuse your chocolate with extracts like almond or hazelnut, or add a splash of orange juice or zest for a refreshing twist. Want it spicy? A pinch of cayenne can add a delightful kick! Just remember to start with small amounts and taste as you go—this way, you can create your own unique chocolate blend.
What should I do if my chocolate doesn’t set?
If your chocolate doesn’t set, don’t panic! It might be due to too much liquid, so gently reheat it and add a bit more cocoa powder or cocoa butter to help it firm up. If it still refuses to cooperate, consider pouring it into a mold and refrigerating it longer. Sometimes patience is key—it’ll be worth it when you finally get to enjoy your homemade creation!
Storage & Reheating Instructions
Storing your homemade chocolate is super simple! Just keep it in an airtight container in a cool, dry place—this helps preserve its flavor and texture. If you live in a warmer climate, I recommend refrigerating it to prevent melting. Just remember to let it come to room temperature before enjoying to get that perfect melt-in-your-mouth experience!
Now, if you ever find yourself needing to reheat your chocolate—maybe for drizzling or dipping—use a double boiler or a microwave in short bursts. Be careful not to overheat it, as chocolate can seize up if it gets too hot. Just warm it gently until it’s silky smooth again, and you’re good to go!
Print
how to make chocolate: 7 easy steps to pure bliss
- Total Time: 45 minutes
- Yield: 1 bar of chocolate 1x
- Diet: Vegetarian
Description
A simple guide on how to make chocolate from cocoa beans.
Ingredients
- 1 cup cocoa beans
- 1/2 cup sugar
- 1/4 cup cocoa butter
- 1 teaspoon vanilla extract
- 1/4 teaspoon salt
Instructions
- Roast the cocoa beans at 350°F for 10-15 minutes.
- Remove the shells and grind the beans into a paste.
- Mix in sugar, cocoa butter, vanilla extract, and salt.
- Heat the mixture gently until smooth.
- Pour the mixture into molds and cool.
- Refrigerate until set, then enjoy your chocolate.
Notes
- Adjust sugar to taste.
- Experiment with different flavorings.
- Store in a cool, dry place.
- Prep Time: 15 minutes
- Cook Time: 30 minutes
- Category: Dessert
- Method: Cooking
- Cuisine: Global
Nutrition
- Serving Size: 1 oz
- Calories: 150
- Sugar: 10g
- Sodium: 5mg
- Fat: 9g
- Saturated Fat: 5g
- Unsaturated Fat: 3g
- Trans Fat: 0g
- Carbohydrates: 15g
- Fiber: 3g
- Protein: 2g
- Cholesterol: 0mg
Keywords: how to make chocolate, homemade chocolate, cocoa recipe