
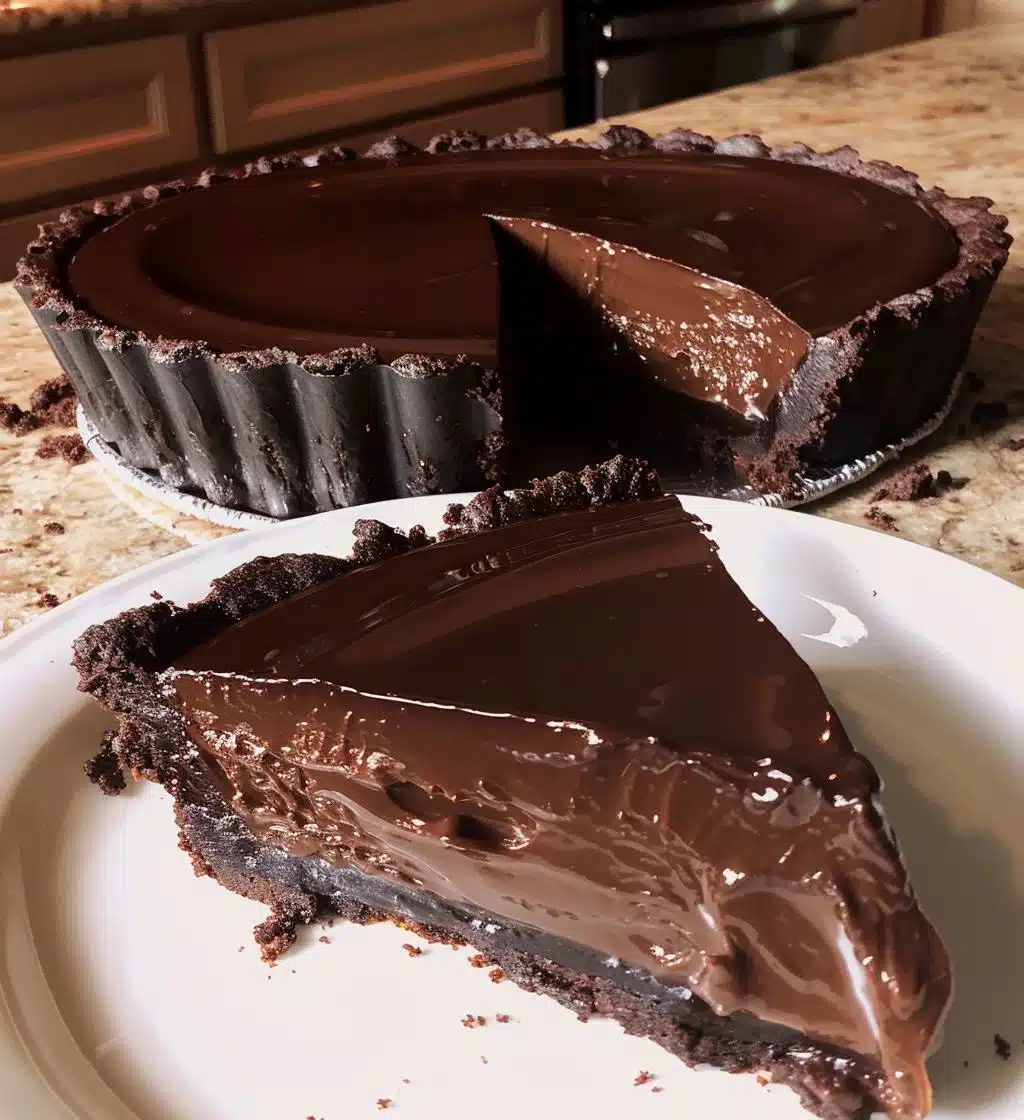
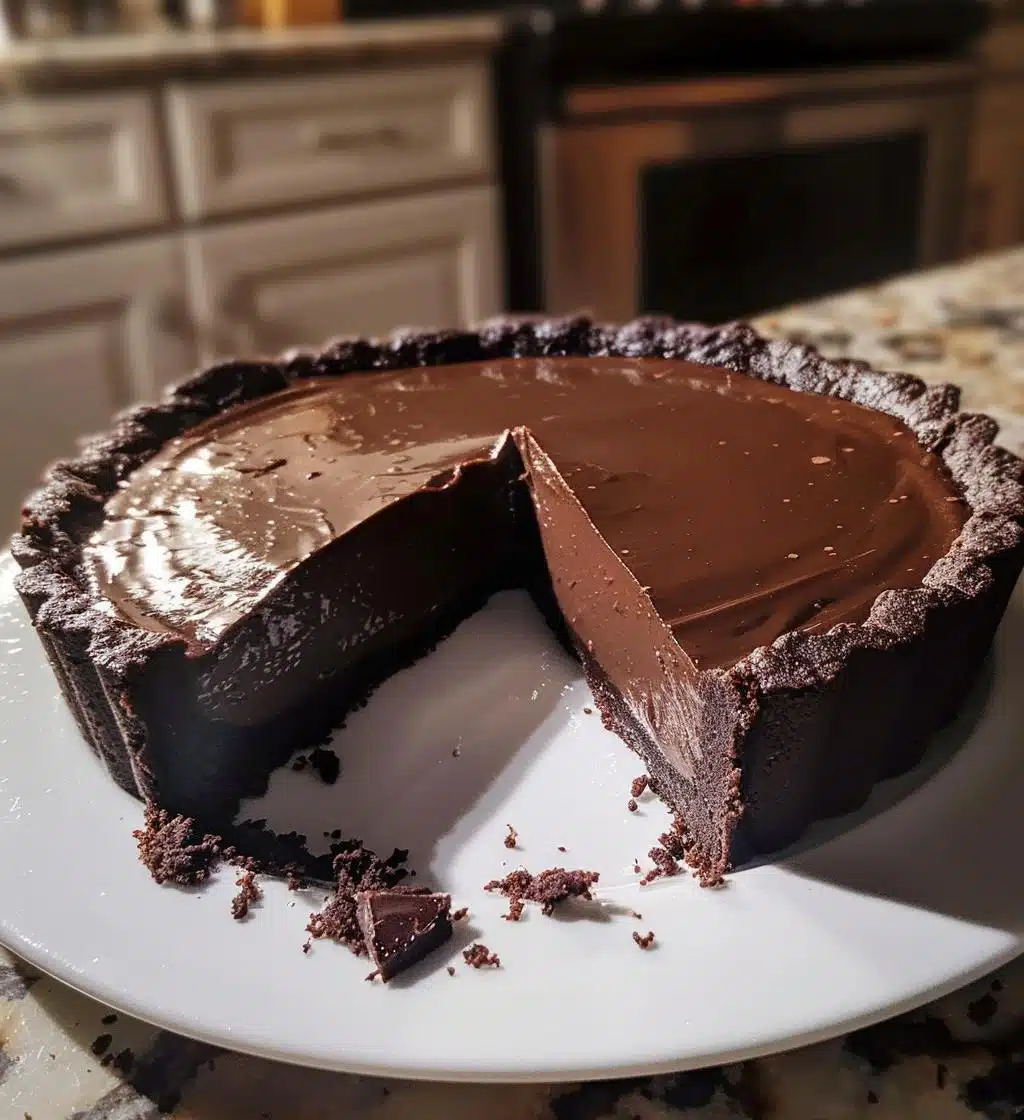
Oh my goodness, let me tell you about this chocolate tart! It’s one of those desserts that just wraps you in a cozy, chocolatey hug. The rich flavor and creamy texture create a dessert experience that’s simply unforgettable. When I make this chocolate tart, I can’t help but get a little giddy knowing how much joy it’s going to bring to my family and friends. Trust me, the moment you slice into that crisp crust and reveal the luscious filling, you’ll understand why this is one of my all-time favorites. It’s perfect for any occasion, or just because you deserve a treat!
Ingredients List
Here’s what you’ll need to create this delectable chocolate tart. Each ingredient plays a vital role in bringing out that rich, chocolatey goodness, so make sure you have everything ready before you start!
- 1 1/4 cups all-purpose flour: This forms the base of your crust, giving it structure and that delightful crunch.
- 1/2 cup unsweetened cocoa powder: This is where the chocolate flavor really comes in! It adds depth and richness to the crust.
- 1/2 cup powdered sugar: This sweetens the crust without making it grainy, creating a smooth texture.
- 1/2 cup unsalted butter, softened: This is essential for a buttery flavor and to help bind the crust together. Make sure it’s softened for easy mixing!
- 1/4 teaspoon salt: Just a pinch to enhance all those lovely flavors in the crust.
- 1 large egg yolk: This helps to enrich the crust and gives it a tender, melt-in-your-mouth quality.
- 1 cup heavy cream: The star of the filling that provides that luscious, silky texture you’ll love.
- 8 oz dark chocolate, chopped: Use high-quality chocolate for the best flavor—this is what makes the filling so indulgent!
- 2 tablespoons sugar: A little sweetness in the filling to balance the rich chocolate.
- 1 teaspoon vanilla extract: This adds a beautiful aroma and enhances the chocolate flavor. Trust me, you don’t want to skip this!
How to Prepare Instructions
Alright, let’s get down to the nitty-gritty of making this chocolate tart! The process is super straightforward, and I promise you’ll be so pleased with how it all comes together. Just follow these steps, and you’ll have a stunning tart that’ll wow everyone!
Prepping the Crust
First things first, let’s make that delicious crust! In a large mixing bowl, combine 1 1/4 cups of all-purpose flour, 1/2 cup of unsweetened cocoa powder, 1/2 cup of powdered sugar, and a pinch of 1/4 teaspoon salt. Give it a good whisk to blend everything together—this is the base of your tart, so it’s important! Next, add in 1/2 cup of softened unsalted butter and 1 large egg yolk. Use your hands or a pastry cutter to mix until it resembles coarse crumbs. Don’t worry if it looks a bit crumbly; it’ll come together when you press it into the tart pan!
Baking the Crust
Now, press that dough into a tart pan evenly across the bottom and up the sides. You want a nice, even layer here. Once it’s all pressed in, pop it into a preheated oven at 350°F (175°C) and bake for about 15 minutes. The crust should be set but not too hard—just enough to hold all that luscious filling later! After baking, let it cool completely on a wire rack while you prepare the filling.
Making the Chocolate Filling
For the filling, grab a saucepan and heat 1 cup of heavy cream with 2 tablespoons of sugar over medium heat. Stir occasionally until it’s just simmering—this is when the magic happens! Remove it from the heat, and immediately add in 8 oz of chopped high-quality dark chocolate and 1 teaspoon of vanilla extract. Stir it until the chocolate is completely melted and you have a smooth, shiny mixture. It should smell heavenly!
Assembling the Tart
Now, the best part! Carefully pour that luscious chocolate filling into your cooled crust, making sure it’s evenly distributed. Then, cover it with plastic wrap and pop it into the refrigerator to chill for at least 2 hours. This helps the filling set up perfectly. Once it’s chilled and ready to go, slice it up, and serve it cold. You’ll be amazed at how beautifully it comes together. Enjoy every rich, chocolatey bite!
Why You’ll Love This Recipe
- It’s incredibly rich and creamy, delivering a chocolate experience that’s hard to resist!
- The crust is perfectly crisp, providing a delightful contrast to the smooth filling.
- It’s quick to whip up, with simple steps that even beginner bakers can master.
- Perfect for any occasion—whether it’s a dinner party, holiday gathering, or just a cozy night in!
- Can easily be made ahead of time, giving you more freedom to relax and enjoy your time with friends and family.
- Customize it with toppings like whipped cream or fresh berries for an extra touch of elegance.
- Using high-quality chocolate elevates the flavor, making every bite indulgent.
- It’s a showstopper dessert that will impress your guests and leave them wanting more.
Tips for Success
Here are some of my favorite tips to ensure your chocolate tart turns out perfectly every time. Trust me, these little tricks can make a big difference!
- Choose high-quality chocolate: This is key! The better the chocolate, the richer and more delicious your filling will be. I always go for a dark chocolate with at least 60% cocoa for that perfect balance of flavor.
- Chill your crust: After pressing the dough into the tart pan, I like to chill it in the fridge for about 15 minutes before baking. This helps prevent shrinking and ensures a beautifully shaped crust.
- Watch your baking time: Keep an eye on the crust while it’s in the oven. You want it to be set but not overly hard. If it looks too dark, it might be overbaked, and we definitely don’t want that!
- Let it cool completely: After baking, let your crust cool completely before adding the filling. This prevents the filling from melting the crust and helps maintain that delightful texture we’re going for.
- Be patient with chilling: I know it’s tempting to dig in right away, but letting the tart chill for at least 2 hours (or even overnight!) will allow the filling to set beautifully. It’s worth the wait!
- Store it properly: If you have leftovers (which is rare, but hey, it happens!), cover the tart with plastic wrap or keep it in an airtight container in the fridge. It’ll stay fresh for up to 3 days—though I doubt it will last that long!
- Get creative with toppings: While this tart is amazing on its own, don’t hesitate to dress it up! Fresh berries, a dollop of whipped cream, or a drizzle of caramel can take it to the next level.
With these tips in your back pocket, you’re all set to create a stunning chocolate tart that will impress everyone who gets a slice. Happy baking!
Nutritional Information Section
Now, let’s talk about the nutritional information for this decadent chocolate tart. Keep in mind that these values are estimates and can vary based on the specific ingredients you use. Here’s what you can expect per slice:
- Calories: 350
- Fat: 25g
- Saturated Fat: 15g
- Unsaturated Fat: 8g
- Trans Fat: 0g
- Cholesterol: 50mg
- Sodium: 50mg
- Carbohydrates: 30g
- Sugar: 25g
- Fiber: 3g
- Protein: 4g
This chocolate tart is definitely a treat, so enjoy it in moderation! Each slice offers a rich experience that’s worth every bite. Happy indulging!
FAQ Section
Got questions about this chocolate tart? Don’t worry, I’ve got you covered! Here are some of the most common queries, along with my answers to help you create the perfect dessert.
Can I use milk chocolate instead of dark chocolate?
Absolutely! While I love the richness of dark chocolate, you can definitely substitute it with milk chocolate if that’s your preference. Just keep in mind that it will result in a sweeter filling, so you might want to adjust the sugar accordingly.
What can I use instead of unsalted butter?
If you need a dairy-free option, you can use a vegan butter substitute or margarine. Just make sure it’s softened so that it mixes well into the crust. You could also try coconut oil, but it may alter the flavor slightly.
Can I make this tart gluten-free?
Yes! To make a gluten-free version, simply substitute the all-purpose flour with a 1:1 gluten-free flour blend. Just make sure it’s a blend that works well for baking—some can be a bit tricky!
What are some good toppings for the chocolate tart?
The possibilities are endless! I love topping mine with freshly whipped cream and berries for a pop of freshness. You can also drizzle some caramel or chocolate sauce on top, or even sprinkle some sea salt for a delightful contrast. Get creative!
How long can I store the chocolate tart?
If you happen to have leftovers (which is rare!), you can store the tart in the fridge for up to 3 days. Just make sure to cover it with plastic wrap or keep it in an airtight container to keep it fresh.
Can I freeze the chocolate tart?
Yes, you can! Just make sure to wrap it tightly in plastic wrap and then in aluminum foil. It should be good in the freezer for about a month. When you’re ready to enjoy it, simply thaw it in the fridge overnight.
Is it necessary to refrigerate the tart?
Yes, it’s best to keep the tart refrigerated, especially because of the creamy filling. Plus, serving it chilled makes each slice even more refreshing and delightful!
I hope these answers help you on your chocolate tart journey! If you have any other questions, feel free to reach out. Happy baking!
Print
Indulge in 7 Reasons to Love Chocolate Tart
- Total Time: 2 hours 35 minutes
- Yield: 8 servings 1x
- Diet: Vegetarian
Description
A rich and creamy chocolate tart with a crisp crust.
Ingredients
- 1 1/4 cups all-purpose flour
- 1/2 cup unsweetened cocoa powder
- 1/2 cup powdered sugar
- 1/2 cup unsalted butter, softened
- 1/4 teaspoon salt
- 1 large egg yolk
- 1 cup heavy cream
- 8 oz dark chocolate, chopped
- 2 tablespoons sugar
- 1 teaspoon vanilla extract
Instructions
- Preheat the oven to 350°F (175°C).
- In a bowl, mix flour, cocoa powder, powdered sugar, and salt.
- Add butter and egg yolk, mix until combined.
- Press the dough into a tart pan.
- Bake for 15 minutes, then let cool.
- In a saucepan, heat heavy cream and sugar until simmering.
- Remove from heat, add chopped chocolate and vanilla.
- Stir until smooth and pour into the cooled crust.
- Refrigerate for 2 hours to set.
- Slice and serve chilled.
Notes
- Use high-quality chocolate for best flavor.
- Store leftovers in the refrigerator.
- Top with whipped cream if desired.
- Prep Time: 20 minutes
- Cook Time: 15 minutes
- Category: Dessert
- Method: Baking
- Cuisine: French
Nutrition
- Serving Size: 1 slice
- Calories: 350
- Sugar: 25g
- Sodium: 50mg
- Fat: 25g
- Saturated Fat: 15g
- Unsaturated Fat: 8g
- Trans Fat: 0g
- Carbohydrates: 30g
- Fiber: 3g
- Protein: 4g
- Cholesterol: 50mg
Keywords: Chocolate tart, dessert, baking, French cuisine