

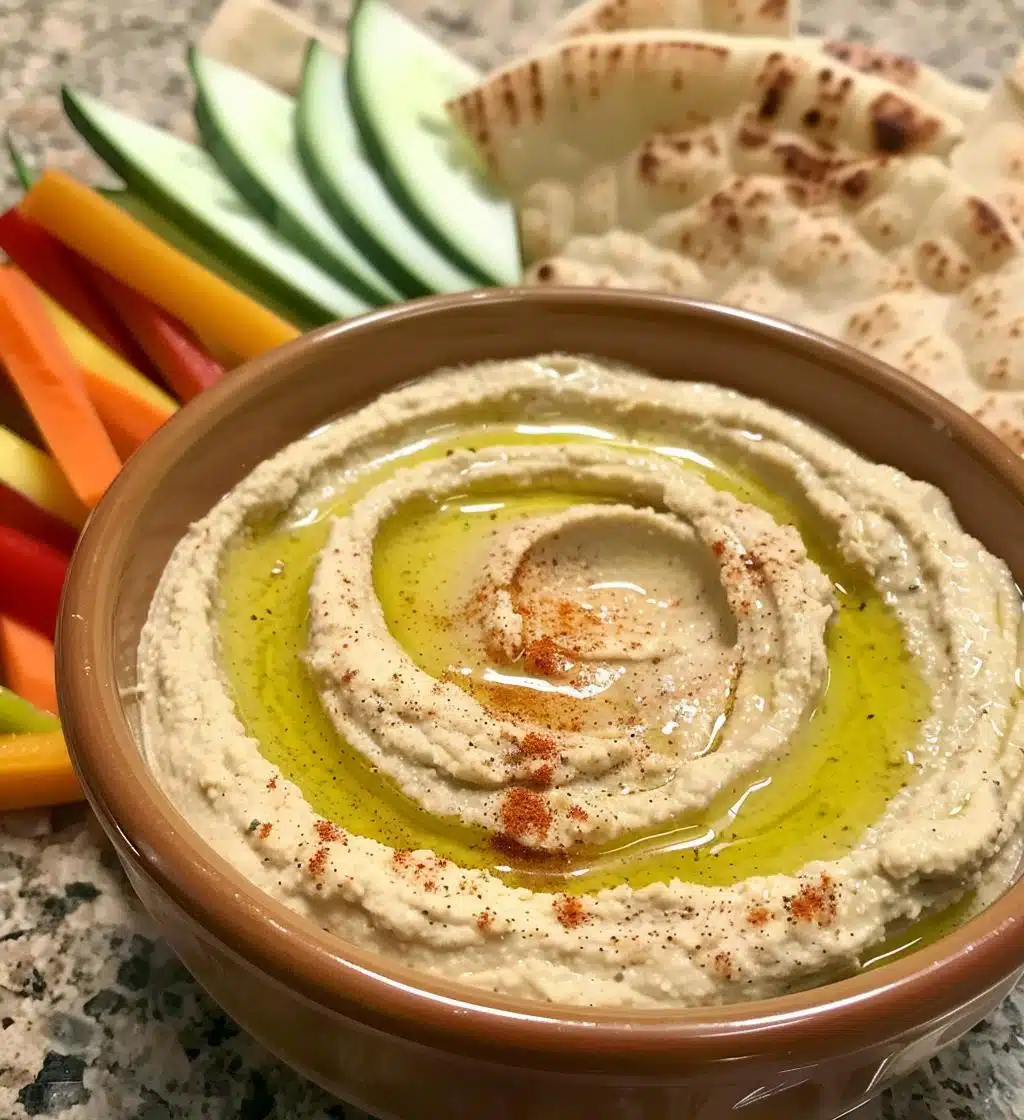
Oh my goodness, let me tell you about hummus! This smooth and creamy spread made from chickpeas is absolutely one of my all-time favorites. Whether I’m hosting a gathering or just craving a healthy snack, hummus is my go-to. It’s so versatile! You can use it as a dip for fresh veggies, smear it on a sandwich, or just scoop it up with pita bread. Trust me, there’s something magical about that first bite—the way it feels velvety on your tongue and the burst of flavor from the garlic and lemon. I remember a time at a friend’s potluck, and I brought a big bowl of my homemade hummus. It disappeared in minutes! Everyone was asking for the recipe, and I couldn’t help but share my secret. And the best part? This version skips the tahini, making it lighter and even more accessible! You’re going to love how easy it is to whip up a batch for any occasion or just to enjoy on a cozy night in.
Ingredients for Hummus
Gathering the right ingredients is key to making the best hummus! Here’s what you’ll need:
- 1 can (15 oz) chickpeas, drained and rinsed
- 2 cloves garlic, minced
- 3 tablespoons olive oil
- 2 tablespoons lemon juice
- 1/2 teaspoon ground cumin
- Salt to taste
- Water as needed (to achieve your desired consistency)
Make sure to rinse those chickpeas well! It really helps to get rid of any canning liquid and gives your hummus the best flavor. And if you’re feeling adventurous, you can always adjust the garlic or lemon juice to match your taste. Enjoy experimenting!
How to Prepare Hummus
Alright, let’s dive into making this delicious hummus! It’s super simple, and I promise you’ll be blending it up in no time. Here’s how to do it:
Step-by-Step Instructions
- First things first, grab your food processor. It’s time to combine all those lovely ingredients! Toss in the drained and rinsed chickpeas, minced garlic, olive oil, lemon juice, ground cumin, and a pinch of salt.
- Now, here comes the fun part—blend it all together! Start the processor and let it run for about 30 seconds. You want everything to start coming together, but it might look a bit chunky at first. Don’t worry!
- While the processor is running, slowly add water a tablespoon at a time. This is key for that creamy texture! Keep blending until it reaches your desired consistency—smooth and velvety is what you’re aiming for. If you like it a bit thicker, hold off on adding too much water.
- Once it’s blended, stop and taste it! This is your moment to shine. You might want to add a bit more salt or lemon juice to suit your palate. Just give it a quick blend to mix in any adjustments.
- Finally, transfer your beautiful hummus to a serving bowl. Drizzle a bit of olive oil on top for that gorgeous finishing touch, and you’re ready to dig in!
Remember, if you want an extra smooth texture, you can blend a bit longer. But don’t overdo it—keep an eye on it! You’ll be amazed at how easy and delicious this is. Enjoy every bite!
Nutritional Information
Now, I know you’re probably curious about the nutrition side of this delicious hummus! Just a heads up—nutrition can vary based on the specific brands and ingredients you use, but here’s a general idea of what you can expect:
- Serving Size: 2 tablespoons
- Calories: 70
- Fat: 4g
- Saturated Fat: 0.5g
- Unsaturated Fat: 3.5g
- Trans Fat: 0g
- Carbohydrates: 6g
- Fiber: 2g
- Sugar: 1g
- Protein: 2g
- Sodium: 120mg
- Cholesterol: 0mg
This hummus is not just tasty; it’s also packed with good stuff! It’s a great source of plant-based protein and fiber, making it a fantastic choice for a healthy snack or appetizer. So, scoop away guilt-free!
Why You’ll Love This Recipe
- Quick and easy to whip up in just 10 minutes!
- Healthy and packed with plant-based protein and fiber.
- Versatile enough to use as a dip, spread, or sandwich filler.
- Customizable with your favorite spices and flavors.
- Perfect for gatherings, parties, or just a cozy night in.
- Great for various dietary needs—vegan, gluten-free, and dairy-free!
- Leftovers keep well in the fridge, so you can enjoy it for days!
Seriously, once you try making this hummus, you’ll understand why it’s such a beloved staple in my kitchen. It’s not just food; it’s a celebration of flavors that everyone can enjoy!
Tips for Success
Alright, here are some of my best tips to make sure your hummus turns out perfectly every time! I’ve learned a thing or two along the way, and I’m excited to share these little nuggets of wisdom with you.
- Ingredient Substitutions: If you don’t have olive oil on hand, feel free to use avocado oil or even a splash of tahini if you want to try a different flavor twist. Just remember, tahini will change the texture and richness a bit, but it can be delicious!
- Flavor Variations: Want to spice things up? Try adding roasted red peppers, sun-dried tomatoes, or fresh herbs like parsley or cilantro. Just toss them in the food processor along with your other ingredients for a unique twist!
- Texture Tips: For an ultra-smooth hummus, peel the chickpeas before blending. It’s a bit of a hassle, but it makes a huge difference in texture! Just gently pinch each chickpea to pop off the skin.
- Chill Out: If you have time, let your hummus chill in the fridge for about an hour before serving. This allows the flavors to meld beautifully, making every bite even tastier!
- Adjusting Consistency: Always add water gradually while blending to control the consistency. A little goes a long way! You can always add more, but it’s trickier to fix if it gets too runny.
- Garnish for Flair: Don’t skip the olive oil drizzle on top when serving! You can also sprinkle some paprika or sumac for a pop of color and flavor. It’s like the cherry on top for your hummus!
So, just remember these tips as you whip up your batch of hummus. The beauty of this recipe is that it’s so forgiving and adaptable! Have fun with it and make it your own. You’ll be a hummus pro in no time!
Serving Suggestions
Now that you’ve got this delightful hummus ready to go, let’s talk about how to enjoy it! There are so many delicious ways to serve hummus that you’ll never run out of ideas. Here are some of my favorites:
- Pita Bread: This is a classic pairing! Warm up some pita bread, cut it into triangles, and let everyone dip away. It’s such a fun and interactive way to serve it!
- Veggie Sticks: Fresh, crunchy veggies like carrots, cucumbers, bell peppers, and celery are perfect for dipping. It’s a healthy option that brings a nice crunch to your hummus experience.
- Sandwich Spread: Spread hummus on your favorite bread or wrap for a quick and nutritious lunch. It adds a creamy texture and tons of flavor, plus it’s a great way to boost your protein intake!
- Crackers and Chips: Serve it with your favorite crackers or pita chips for a simple snack that’s sure to impress. You can even use it as a dip for tortilla chips for a Mediterranean twist on nachos!
- Salad Dressing: Thin out your hummus with a little water or lemon juice to make a creamy salad dressing. It’s a great way to add flavor to your greens and make your salads more exciting!
- Bruschetta: Top toasted baguette slices with a generous dollop of hummus, then sprinkle with chopped herbs or sun-dried tomatoes for an elegant appetizer!
Honestly, the possibilities are endless! You can get creative and serve hummus in so many ways. I love to mix and match these ideas depending on what I have on hand. No matter how you serve it, you’re in for a treat! Enjoy every scoop!
Storage & Reheating Instructions
So, you’ve made this delicious hummus, and now you might have some leftovers—lucky you! Proper storage is key to keeping it fresh and tasty for days. Here’s how to do it:
- Storing Leftovers: Transfer any leftover hummus into an airtight container. This helps prevent it from drying out and keeps those flavors locked in. You can store it in the fridge for up to 5 days. Just make sure to keep it covered tight!
- Reheating: If you find yourself wanting to enjoy your hummus warm, you can gently heat it in the microwave. Just scoop out the portion you want to warm up and pop it in for about 20-30 seconds. Stir it well to ensure even heating. But honestly, I love it chilled, so I usually just dive in straight from the fridge!
- Texture Tip: If your hummus thickens in the fridge, don’t worry! Just add a little water or a splash of olive oil and give it a good stir or blend to bring it back to that creamy consistency you love.
Keeping your hummus fresh means you can enjoy that delightful flavor for days to come. So, go ahead and make a big batch—you know you’ll be wanting to snack on it later!
FAQ About Hummus
Got questions about hummus? No worries, I’ve got you covered! Here are some of the most common queries I get about this delightful spread, along with my answers.
How long does homemade hummus last in the fridge?
Homemade hummus can last in the fridge for about 5 days when stored in an airtight container. Just make sure it’s sealed well to keep it fresh!
Can I freeze hummus?
Yes, you can freeze hummus! Transfer it to an airtight container or freezer bag, and it’ll keep for about 3 months. When you’re ready to enjoy it, just thaw it in the fridge overnight. You might need to add a splash of water and blend it again to get the texture just right!
What can I use instead of tahini?
If you want to skip tahini, no problem! You can use extra olive oil, yogurt for creaminess, or even peanut butter for a unique twist. Each will give your hummus a different flavor, so feel free to experiment!
Can I make hummus without garlic?
Absolutely! If garlic isn’t your thing, just leave it out. You can add other flavors instead, like roasted red peppers or herbs, to keep it interesting without the garlic.
Is hummus gluten-free?
Yes, hummus is naturally gluten-free! Just be sure to check the labels on any add-ins or what you’re serving it with, like pita bread or crackers, to make sure they’re gluten-free as well.
What spices can I add to my hummus?
The sky’s the limit! You can add smoked paprika, cumin, cayenne pepper, or even za’atar for a Middle Eastern flair. Just start with a little and taste as you go to find your perfect blend!
Can I use dried chickpeas instead of canned?
Definitely! Just make sure to soak and cook them first. Dried chickpeas can give your hummus a richer flavor, but it does take a bit more time. I love using canned for quick snacks, but dried are great if you plan ahead!
Why does my hummus taste bland?
If your hummus is tasting a bit flat, it might need a little more salt, lemon juice, or garlic. The balance of flavors is key! Don’t be shy—taste as you go and adjust until it sings!
So there you have it! With these answers, you’ll be well on your way to becoming a hummus expert. If you have more questions, feel free to reach out—I’m always here to help you on your hummus journey!
For more information on the health benefits of chickpeas, check out this article.
Print
Hummus Delight: 7 Reasons You’ll Love This No-Tahini Recipe
- Total Time: 10 minutes
- Yield: 2 cups 1x
- Diet: Vegan
Description
A smooth and creamy spread made from chickpeas, perfect for dipping or as a spread.
Ingredients
- 1 can (15 oz) chickpeas, drained and rinsed
- 2 cloves garlic, minced
- 3 tablespoons olive oil
- 2 tablespoons lemon juice
- 1/2 teaspoon ground cumin
- Salt to taste
- Water as needed
Instructions
- In a food processor, combine the chickpeas, garlic, olive oil, lemon juice, cumin, and salt.
- Blend until smooth, adding water gradually to reach desired consistency.
- Taste and adjust seasoning if necessary.
- Serve in a bowl, drizzled with olive oil, and enjoy with pita or veggies.
Notes
- This recipe omits tahini for a lighter version.
- Store leftovers in an airtight container in the fridge for up to 5 days.
- Feel free to add spices like paprika or cayenne for extra flavor.
- Prep Time: 10 minutes
- Cook Time: 0 minutes
- Category: Appetizer
- Method: Blending
- Cuisine: Middle Eastern
Nutrition
- Serving Size: 2 tablespoons
- Calories: 70
- Sugar: 1g
- Sodium: 120mg
- Fat: 4g
- Saturated Fat: 0.5g
- Unsaturated Fat: 3.5g
- Trans Fat: 0g
- Carbohydrates: 6g
- Fiber: 2g
- Protein: 2g
- Cholesterol: 0mg
Keywords: Hummus, Chickpea dip, Vegan spread