

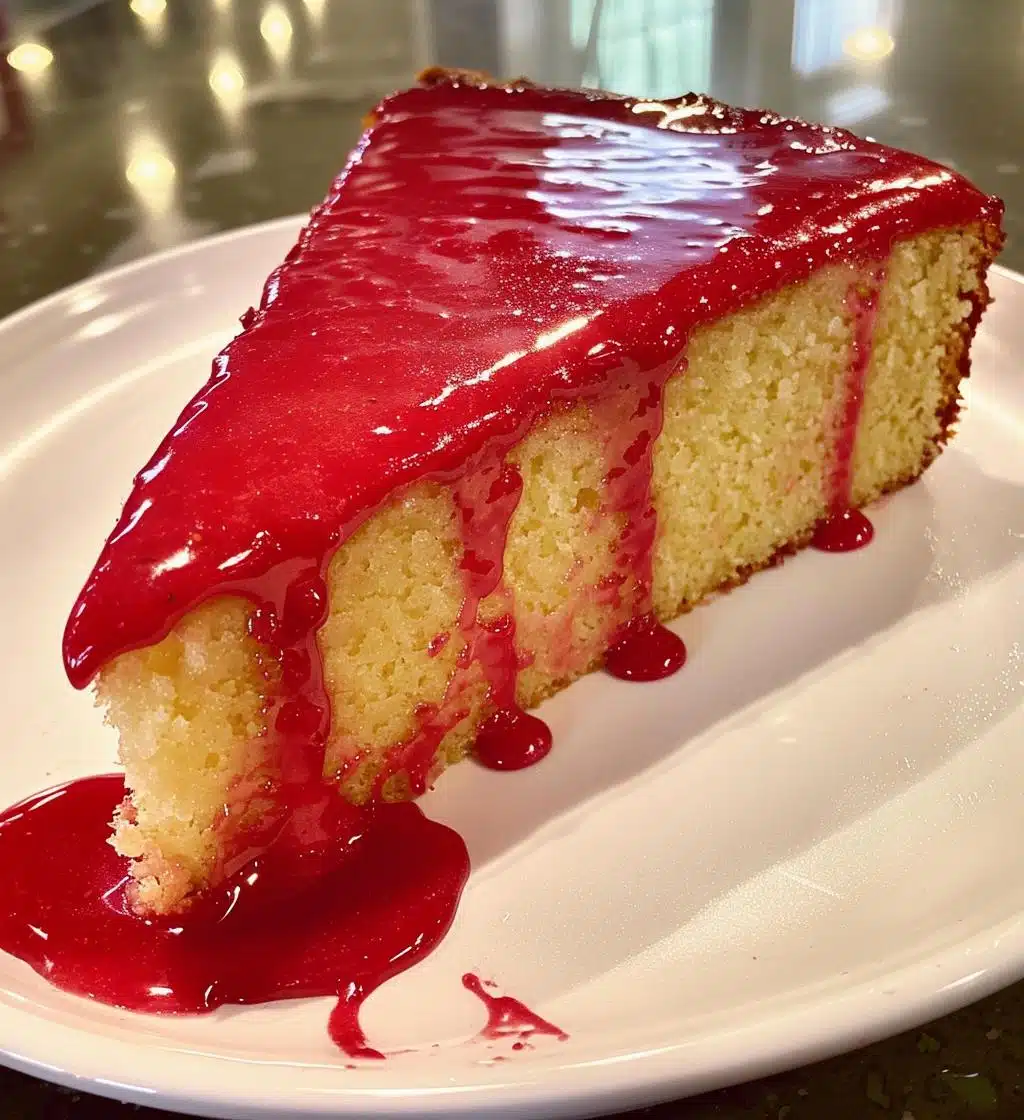
Let me tell you, the strawberry glaze is one of those magical toppings that can elevate just about any dessert! It’s sweet, shiny, and oh-so-delicious, making it the perfect finishing touch for cakes, pastries, or even fresh fruit. Picture this: a luscious layer of glistening strawberry goodness draped over a slice of cheesecake or a warm slice of pound cake. Wow! You’ll be amazed at how such a simple glaze can transform your desserts into something truly special. Plus, it’s super easy to whip up in just 15 minutes! Trust me, once you have this versatile glaze in your kitchen arsenal, you’ll find yourself wanting to drizzle it on everything. Let’s dive in and get started on making this delightful treat!
Ingredients List
- 1 cup fresh strawberries, pureed
- 1/4 cup granulated sugar
- 2 tablespoons cornstarch
- 1/4 cup water
- 1 tablespoon lemon juice
How to Prepare Strawberry Glaze
Making this strawberry glaze is super simple, and I promise you’ll be amazed at how quickly it comes together! Just follow these straightforward steps, and you’ll have a delightful topping ready in no time.
Step 1: Puree the Strawberries
First things first, let’s get those strawberries ready! Toss your fresh strawberries into a blender and blend them until they’re nice and smooth. You want that gorgeous, vibrant puree without any chunks. If you’ve got any stubborn bits, don’t hesitate to give it a little extra whirl. Trust me, a smooth consistency here is key for that silky glaze!
Step 2: Combine Ingredients
Now, grab a medium saucepan and add in your granulated sugar, cornstarch, and water. Give it a good stir to combine everything evenly before we heat it up. This step is crucial because it helps prevent any lumps when we start cooking. So, make sure it’s all mixed together nicely!
Step 3: Bring to a Boil
Time to heat things up! Place your saucepan over medium heat and keep stirring constantly. This is super important! You don’t want anything to stick or burn. As it heats, you’ll notice the mixture will start to bubble. Once it reaches a gentle boil, you’ll know you’re on the right track. Keep an eye on it, though; we don’t want it boiling over!
Step 4: Add Puree and Lemon Juice
Once your mixture is bubbling away, it’s time to add that beautiful strawberry puree and the lemon juice. Stir it all together to combine, and watch as it transforms into a vibrant, shiny glaze. The lemon juice adds a nice brightness, cutting through the sweetness and enhancing the strawberry flavor!
Step 5: Thicken the Glaze
Keep cooking the mixture for about 2–3 minutes, stirring continuously. You’ll notice it starting to thicken up nicely. It should coat the back of a spoon when it’s ready. If it’s still too runny, give it a little more time on the heat. Just remember, it’ll thicken a bit more as it cools, so don’t overdo it!
Step 6: Cool Before Use
Once your glaze has reached the perfect thickness, remove it from the heat and let it cool in the saucepan. This cooling step is important because it ensures the glaze sets up nicely. You can use it warm or let it cool completely before storing it in the fridge for later. Either way, you’re in for a treat!
Nutritional Information
Alright, let’s talk numbers! Here’s the estimated nutritional data for this delightful strawberry glaze. Keep in mind that these values are based on standard ingredients and can vary slightly depending on what you use.
- Serving Size: 2 tablespoons
- Calories: 50
- Fat: 0g
- Saturated Fat: 0g
- Trans Fat: 0g
- Cholesterol: 0mg
- Sodium: 0mg
- Carbohydrates: 13g
- Sugar: 10g
- Fiber: 1g
- Protein: 0g
So there you have it! This strawberry glaze is not just a sweet treat; it’s also a guilt-free way to add a burst of flavor to your desserts. Enjoy every spoonful without a worry!
Tips for Success
Making the perfect strawberry glaze is all about the little details! Here are some of my favorite tips to ensure yours turns out beautifully every time:
- Use Fresh Strawberries: The fresher the strawberries, the better the flavor! Look for ripe, bright red berries for the sweetest glaze. If they’re a little overripe, don’t worry; they can still work wonders!
- Check Your Thickness: Remember, the glaze will thicken a bit more as it cools, so don’t overcook it. Keep stirring and pay attention to how it coats the back of a spoon. That’s your best indicator!
- Adjust Sweetness: If you like your glaze a bit sweeter, feel free to add a little more sugar. Just taste as you go, and adjust to your preference!
- Experiment with Acidity: The lemon juice is key for balancing flavors, but you can also try adding a splash of orange juice or a bit of zest for a different twist!
- Let It Cool Completely: If you’re not using the glaze right away, let it cool completely before storing. This prevents condensation, keeping it nice and fresh!
- Have Fun with Flavors: Don’t hesitate to mix in other fruits! A touch of raspberry or blueberry puree can create a beautiful and vibrant glaze with a unique flavor profile.
With these tips in your back pocket, you’ll be a strawberry glaze pro in no time! Enjoy the process and happy cooking!
Why You’ll Love This Recipe
- Quick and Easy: You can whip up this strawberry glaze in just 15 minutes! It’s perfect for when you need a last-minute dessert boost.
- Versatile: This glaze is a chameleon in the kitchen! Use it on cakes, pastries, ice cream, or even pour it over fresh fruit for a burst of flavor.
- Fresh Ingredients: It’s made with real strawberries, so you know you’re getting a delicious, fruity taste without any artificial flavors.
- Make Ahead: You can prepare the glaze in advance and store it in the fridge for up to a week, making dessert planning a breeze!
- Customizable: Feel free to adjust the sweetness or add other fruit purees to create your unique flavor combinations!
- Guilt-Free Indulgence: With low calories and no fat, you can enjoy this glaze without any guilt while still adding a delightful touch to your desserts.
Storage & Reheating Instructions
Storing your strawberry glaze is super simple! Just let it cool completely, then transfer it to an airtight container. It’ll keep well in the refrigerator for up to one week, so you can enjoy that sweet, shiny goodness over several desserts. Trust me, having it ready to go makes dessert time so much easier!
If you find yourself with leftover glaze and want to use it later, just take it out of the fridge and give it a quick stir. If it has thickened up too much, don’t worry! You can gently reheat it on the stovetop or in the microwave. If using the microwave, heat it in short bursts (about 10-15 seconds at a time) and stir in between to ensure it heats evenly. Just be cautious not to overheat it; we want to keep that beautiful texture intact!
And there you have it! With these simple storage and reheating tips, you’ll always have delicious strawberry glaze on hand whenever the craving strikes!
FAQ Section
Okay, let’s chat about some of the most common questions I get when it comes to making this fabulous strawberry glaze. I want to make sure you feel totally confident whipping this up in your kitchen!
Can I use frozen strawberries instead of fresh?
Absolutely! Frozen strawberries work just as well. Just make sure to thaw them first and drain any excess liquid before pureeing. You might find that using frozen strawberries gives you an even richer color!
What can I use instead of cornstarch?
If you don’t have cornstarch on hand, you can substitute it with arrowroot powder or even all-purpose flour, but keep in mind that the texture might differ slightly. Just use about double the amount of flour as you would cornstarch.
How else can I use this strawberry glaze?
Oh, the possibilities are endless! You can drizzle it over pancakes or waffles for a delightful breakfast treat, or use it as a topping for yogurt and granola. It’s also fabulous on ice cream or mixed into whipped cream for a fruity twist!
Can I make this glaze ahead of time?
Yes! You can definitely make it in advance and store it in the fridge for up to a week. Just remember to give it a little stir before using, as it may thicken up a bit while sitting. So handy for when you want to impress guests!
Is there a way to make this glaze sugar-free?
For a sugar-free version, you can use sugar substitutes like erythritol or stevia. Just adjust the amount according to your taste preference, and it should still come out lovely! Just keep in mind, the flavor might vary slightly.
Can I mix in other fruits for a different flavor?
Absolutely! You can experiment by mixing in purees from other fruits like raspberries or blueberries. They’ll add a beautiful color and unique flavor to the glaze. It’s a fun way to customize your desserts!
Hopefully, these answers help you feel more prepared and excited to dive into making your own strawberry glaze. If you have any more questions, feel free to ask—I’m here to help!
For more delicious dessert ideas, check out this strawberry cheesecake recipe or this strawberry banana smoothie!
Print
Strawberry Glaze: 15-Minute Magic for Your Desserts
- Total Time: 15 minutes
- Yield: 1 cup 1x
- Diet: Vegetarian
Description
A sweet and shiny strawberry glaze perfect for desserts.
Ingredients
- 1 cup fresh strawberries, pureed
- 1/4 cup sugar
- 2 tablespoons cornstarch
- 1/4 cup water
- 1 tablespoon lemon juice
Instructions
- Puree the strawberries in a blender.
- In a saucepan, combine the sugar, cornstarch, and water.
- Bring the mixture to a boil over medium heat, stirring constantly.
- Add the strawberry puree and lemon juice to the saucepan.
- Continue to cook until the glaze thickens.
- Remove from heat and let it cool before using.
Notes
- Store in the refrigerator for up to one week.
- This glaze can be used on cakes, pastries, and fruit.
- Prep Time: 10 minutes
- Cook Time: 5 minutes
- Category: Dessert
- Method: Stovetop
- Cuisine: American
Nutrition
- Serving Size: 2 tablespoons
- Calories: 50
- Sugar: 10g
- Sodium: 0mg
- Fat: 0g
- Saturated Fat: 0g
- Unsaturated Fat: 0g
- Trans Fat: 0g
- Carbohydrates: 13g
- Fiber: 1g
- Protein: 0g
- Cholesterol: 0mg
Keywords: Strawberry Glaze, Dessert Glaze, Fruit Topping