
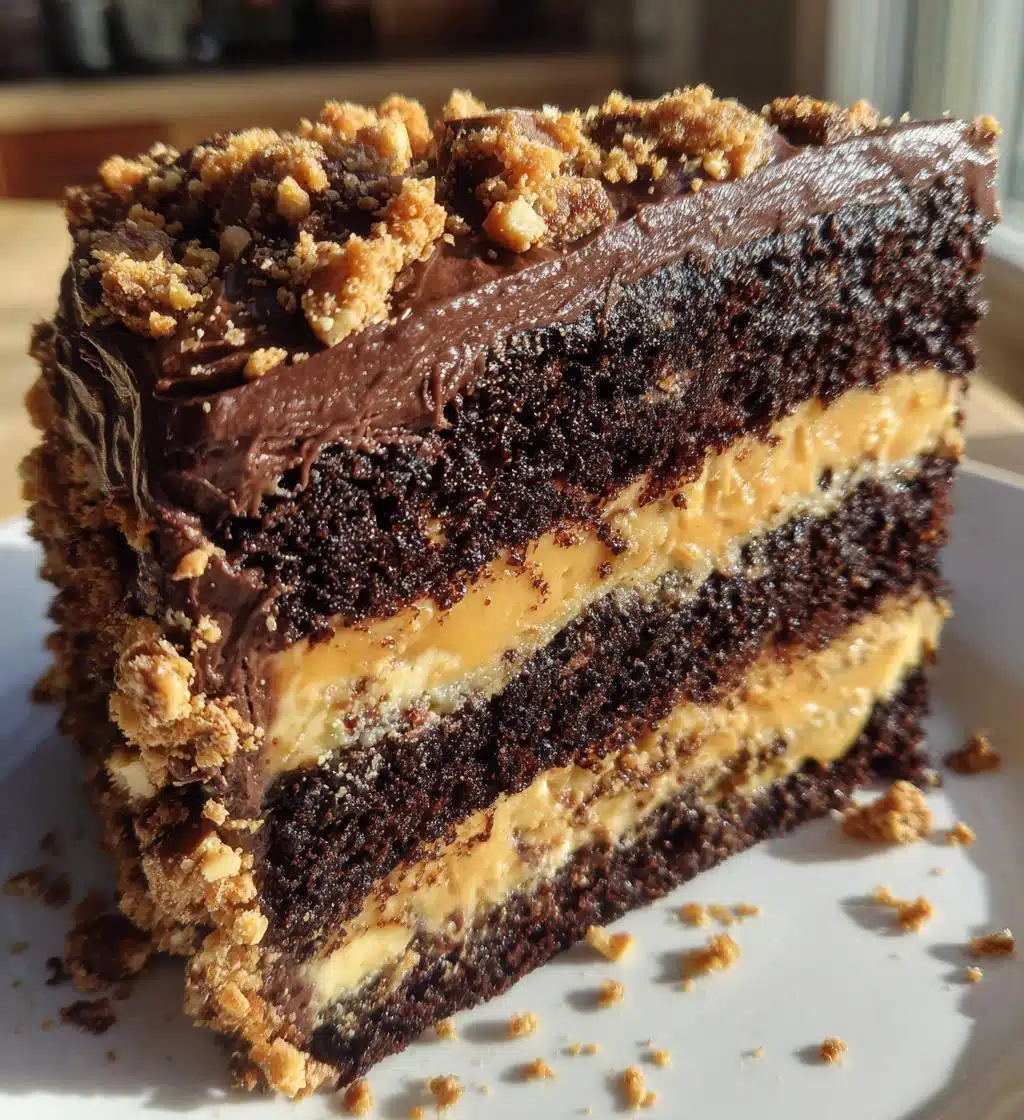
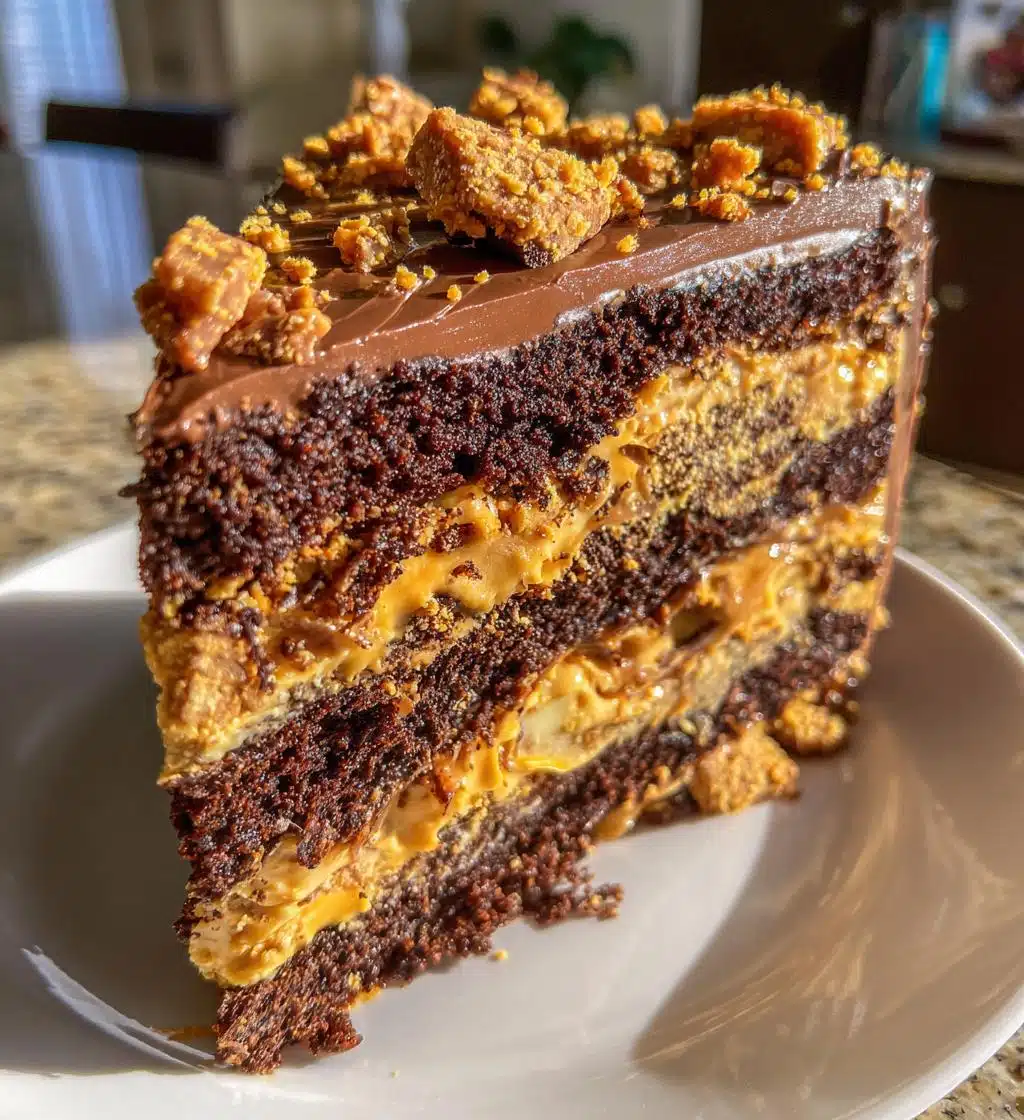
Oh my goodness, let me tell you about this Butterfinger cake! It’s like a dream come true for chocolate and peanut butter lovers. Trust me, every bite is a rich and decadent experience that you simply must try. The layers of chocolate cake are so moist, and when you add that creamy peanut butter layer, it’s pure bliss. And don’t even get me started on the crunchy Butterfinger pieces sprinkled throughout! This cake is perfect for celebrations or just a sweet indulgence on a cozy night in. Seriously, once you make it, you’ll be the star of every gathering!
Ingredients List
- 1 box chocolate cake mix
- 1 cup water
- 1/2 cup vegetable oil
- 3 large eggs
- 1 cup creamy peanut butter
- 1 cup packed powdered sugar
- 1 cup heavy cream
- 1 cup crushed Butterfinger candies
- 1 cup chocolate frosting
How to Prepare Butterfinger Cake Decadent Layers You Must Try
Prepping the Cake
First things first, preheat your oven to 350°F (175°C). It’s crucial to get that oven nice and hot! Now, grab your box of chocolate cake mix and follow the package instructions—mix it with 1 cup of water, 1/2 cup of vegetable oil, and those 3 large eggs. Once it’s all mixed up, you should have a smooth batter. Grease two 9-inch round cake pans to ensure the cakes come out easily later. Pour the batter evenly into each pan and pop them in the oven for about 30 to 35 minutes. You’ll know they’re done when a toothpick inserted in the center comes out clean. Let the cakes cool completely on a wire rack. Trust me, you don’t want to frost a warm cake—it’ll just melt all your hard work!
Making the Peanut Butter Layer
While the cakes are cooling, let’s whip up that dreamy peanut butter layer. In a bowl, combine 1 cup of creamy peanut butter with 1 cup of powdered sugar. Mix until it’s smooth and creamy—oh, the smell is heavenly! Then, take another bowl and whip 1 cup of heavy cream until stiff peaks form. This step is key for that light texture. Gently fold the whipped cream into your peanut butter mixture. Be careful here; you want to maintain that airy texture. It should look luscious and fluffy, ready to spread!
Assembling the Cake
Now comes the fun part—putting it all together! Start by placing one of your cooled cake layers on a serving plate. Spread a generous layer of the peanut butter mixture on top, then sprinkle a good amount of crushed Butterfinger candies over it. Trust me, this adds the perfect crunch! Place the second cake layer on top, and now it’s time to frost the whole thing with your chocolate frosting. Don’t be shy; cover it up nicely! Finally, sprinkle the remaining crushed Butterfinger on top for that extra flair. And voila! Your Butterfinger cake is ready to impress!
Nutritional Information
Alright, let’s talk numbers! Here’s the estimated nutritional breakdown for one slice of this glorious Butterfinger cake. Keep in mind, these values can vary based on specific brands and ingredients you use, but they’re a solid guideline:
- Calories: 450
- Fat: 25g
- Protein: 6g
- Carbohydrates: 50g
- Sugar: 35g
- Sodium: 300mg
- Fiber: 2g
- Cholesterol: 50mg
With all that chocolate and peanut butter goodness, it’s definitely a treat! Just remember to savor each bite, and maybe share with friends—if you can resist that is!
Tips for Success
To make your Butterfinger cake truly unforgettable, here are a few tips that I swear by! First, be sure to let your cakes cool completely before frosting; this helps avoid a melty mess. Using a serrated knife to level off your cakes can create perfect layers—trust me, it makes a difference! If you want to amp up the peanut butter flavor, feel free to add a splash of vanilla extract to the peanut butter mixture. And don’t skip the crushed Butterfinger on top—it adds that amazing crunch that everyone loves! Enjoy the process and have fun with it!
Why You’ll Love This Recipe
- Decadent Flavors: Rich chocolate and creamy peanut butter come together for an irresistible treat that tastes like a dream!
- Easy Preparation: With simple steps and familiar ingredients, even novice bakers can whip this up with confidence.
- Crowd-Pleasing Appeal: This cake is a showstopper at parties, guaranteed to impress friends and family alike.
- Perfect for Any Occasion: Whether it’s a birthday, holiday, or just because, this Butterfinger cake fits right in!
- Layered Delight: The layers of cake, peanut butter, and crunchy Butterfinger create a delightful texture that’s hard to resist!
Storage & Reheating Instructions
So, you’ve made this amazing Butterfinger cake and, wow, it’s a hit! But what if there are leftovers? No worries, I’ve got you covered! To store your delicious cake, simply wrap it in plastic wrap or place it in an airtight container. This will keep it fresh and moist for up to 3 days in the refrigerator. Trust me, it’s just as tasty the next day!
Now, if you want to enjoy it slightly warmed up, here’s what to do: slice a piece and pop it in the microwave for about 15-20 seconds. Just enough to take the chill off, but not so long that it melts away! And if you’re feeling fancy, you can serve it with a dollop of whipped cream or a scoop of ice cream on the side. Yum! Enjoy every last crumb!
FAQ Section
Can I use a different cake mix for this Butterfinger cake?
Absolutely! While I love the chocolate cake mix for its rich flavor, you can definitely experiment with other flavors like vanilla or even a funfetti mix. Just keep in mind that it will change the overall taste a bit, but I’m all for creativity in the kitchen!
How do I make this cake gluten-free?
Great question! You can use a gluten-free chocolate cake mix instead of the regular one. Just check the packaging to ensure it’s safe for your dietary needs. The rest of the ingredients, like peanut butter and Butterfinger candies, are typically gluten-free, but always double-check just in case!
Can I make this cake ahead of time?
Yes, you can! In fact, making it a day in advance can enhance the flavors as they meld together. Just store it in the refrigerator and make sure it’s well covered. When you’re ready to serve, let it sit at room temperature for a bit before slicing—it’s a little easier to cut that way!
What can I substitute for heavy cream in the peanut butter layer?
If you’re looking for a lighter option, you can use whipped topping instead of heavy cream. It won’t be quite as rich, but it’ll still taste delicious! You could also try using coconut cream for a dairy-free version—just chill a can of coconut milk and scoop out the solid part.
How do I store leftover Butterfinger cake?
To keep your leftover cake fresh, wrap it tightly with plastic wrap or place it in an airtight container. It’ll stay delicious in the fridge for up to 3 days. If you can resist, it’s best enjoyed within that time frame for optimal flavor!
Call to Action
Now that you’ve got the scoop on this incredible Butterfinger cake, I’d love to hear from you! If you decide to try this recipe, please leave a comment below. I’m excited to know how yours turned out! Don’t forget to rate the recipe—your feedback means the world to me! And if you know someone who’d love a slice of this decadent goodness, share the love on social media! Snap a pic of your cake creation and tag me—I can’t wait to see your delicious results! Let’s spread the joy of baking together!
Check out this Butterfinger cake recipe for more delicious ideas!
Print
Butterfinger Cake: 7 Decadent Layers You Must Try
- Total Time: 55 minutes
- Yield: 8 servings 1x
- Diet: Vegetarian
Description
A rich and decadent Butterfinger cake with layers of chocolate and peanut butter flavors.
Ingredients
- 1 box chocolate cake mix
- 1 cup water
- 1/2 cup vegetable oil
- 3 large eggs
- 1 cup creamy peanut butter
- 1 cup powdered sugar
- 1 cup heavy cream
- 1 cup crushed Butterfinger candies
- 1 cup chocolate frosting
Instructions
- Preheat your oven to 350°F (175°C).
- Prepare the chocolate cake mix as per package instructions.
- Pour the batter into two greased cake pans.
- Bake for 30-35 minutes or until a toothpick comes out clean.
- Allow cakes to cool completely.
- In a bowl, mix peanut butter and powdered sugar until smooth.
- Whip the heavy cream until stiff peaks form.
- Fold whipped cream into the peanut butter mixture.
- Layer one cake with peanut butter mixture and crushed Butterfinger.
- Place the second cake on top and frost with chocolate frosting.
- Top with remaining crushed Butterfinger.
Notes
- Store in the refrigerator for up to 3 days.
- Use a serrated knife for even cake layers.
- Adjust sweetness by adding more or less powdered sugar.
- Prep Time: 20 minutes
- Cook Time: 35 minutes
- Category: Dessert
- Method: Baking
- Cuisine: American
Nutrition
- Serving Size: 1 slice
- Calories: 450
- Sugar: 35g
- Sodium: 300mg
- Fat: 25g
- Saturated Fat: 10g
- Unsaturated Fat: 10g
- Trans Fat: 0g
- Carbohydrates: 50g
- Fiber: 2g
- Protein: 6g
- Cholesterol: 50mg
Keywords: butterfinger cake, decadent layers, dessert