

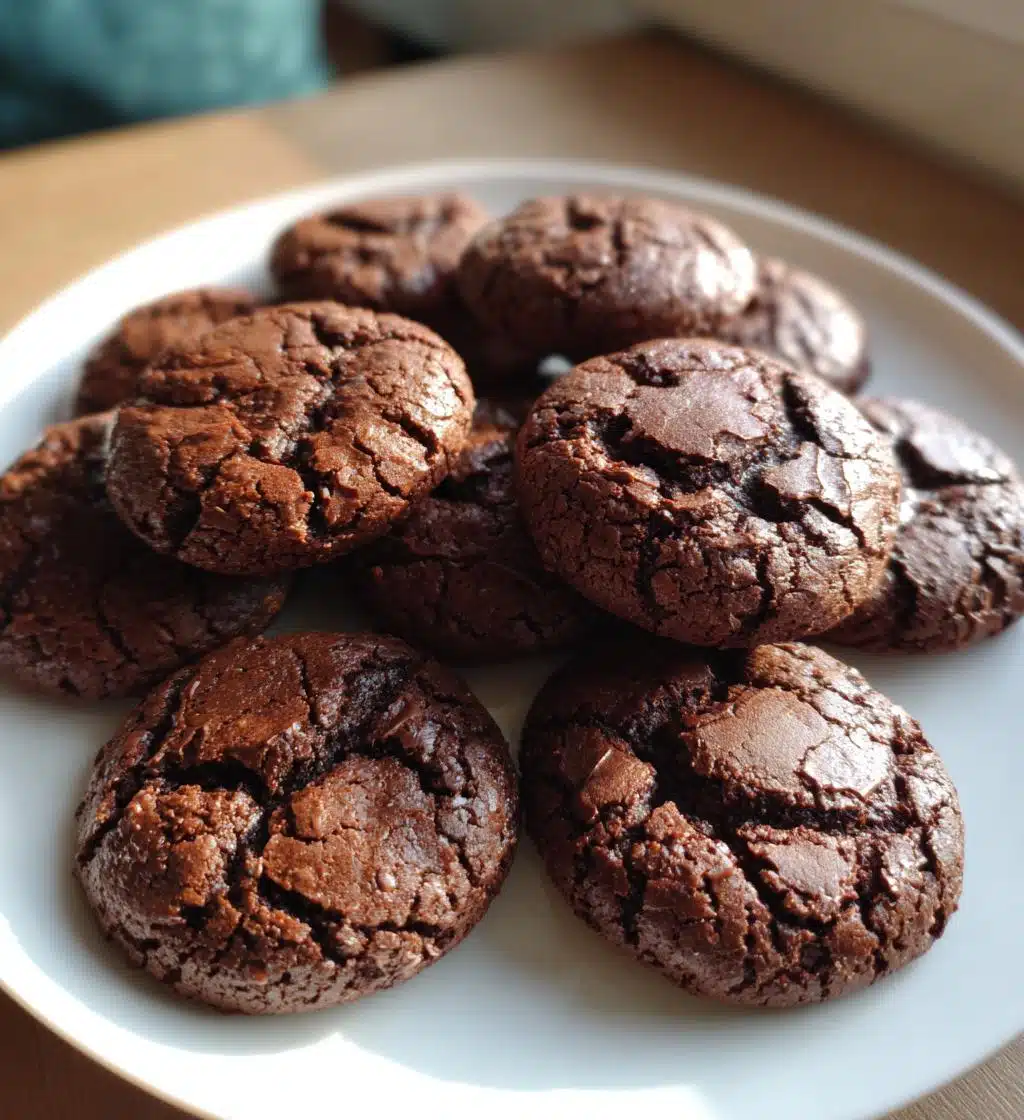
Oh, the joy of making Christmas treats! There’s something so magical about filling the kitchen with the rich aroma of chocolate during the holidays. That’s why I’m excited to share my recipe for Christmas Chocolate Wafers, which have become a beloved tradition in my home. These little delights are not only simple to whip up but are also perfect for sharing with friends and family. Imagine biting into a crisp, chocolaty wafer paired with a warm mug of hot cocoa. Trust me, they’re the ultimate holiday treat that will make your festivities even sweeter. So, let’s get started on creating these scrumptious Christmas Chocolate Wafers that everyone will adore!
Ingredients List
(Tip: You’ll find the full list of ingredients and measurements in the recipe card below.)
- 1 cup all-purpose flour
- 1/2 cup cocoa powder
- 1/2 cup sugar
- 1/2 cup unsalted butter, softened to room temperature
- 1/4 cup milk
- 1 tsp vanilla extract
- 1/2 tsp baking powder
How to Prepare Christmas Chocolate Wafers
Preheat the Oven
First things first, you’ll want to preheat your oven to 350°F (175°C). This step is crucial because it ensures your Christmas Chocolate Wafers bake evenly to that perfect crispness we all love. So, go ahead and set that oven while we prepare the batter!
Mix Dry Ingredients
In a mixing bowl, combine your dry ingredients: that’s the flour, cocoa powder, sugar, and baking powder. I usually give them a good whisk to make sure everything’s combined nicely. This little step helps to avoid any clumps and ensures a smooth texture in your wafers. Trust me, it makes a difference!
Combine Wet Ingredients
Now, add in the softened butter, milk, and vanilla extract to your dry mix. I like to use a spatula for this part, as it helps incorporate everything smoothly. Just mix until the batter is nice and creamy—don’t worry if it feels a bit thick; that’s exactly what we want!
Scoop and Bake
Next, it’s time to scoop! Using a tablespoon, portion out the batter and drop it onto a lined baking sheet. Give them a little space to spread, as they will puff up slightly while baking. Pop them in the oven for about 10-12 minutes. You’ll know they’re ready when they look firm on the edges but still a tad soft in the middle.
Cooling Process
Once they’re out of the oven, let your Christmas Chocolate Wafers cool on the baking sheet for a few minutes before transferring them to a wire rack. This step is super important because the wafers will finish setting as they cool. Patience is key here, but I promise the wait will be worth it when you take that first bite!
Tips for Success
Alright, let’s ensure your Christmas Chocolate Wafers turn out absolutely perfect! First, make sure your butter is softened but not melted; this helps achieve that delightful texture we all crave. Also, don’t skip the whisking of the dry ingredients—it really helps to create a smooth batter free of lumps.
If you want to add a little festive flair, consider sprinkling some sea salt on top before baking or drizzling melted chocolate over the cooled wafers. They’ll look stunning and taste even better! And remember, the cooling time is essential—don’t rush it. Enjoy the aroma wafting through your home, and trust me, the wait will be so worth it!
Nutritional Information
Keep in mind that nutritional values can vary based on the specific ingredients and brands you use, so these are just estimates. But here’s a general idea of what you can expect per Christmas Chocolate Wafer:
- Calories: 80
- Fat: 4g
- Saturated Fat: 2g
- Unsaturated Fat: 1g
- Trans Fat: 0g
- Cholesterol: 10mg
- Sodium: 50mg
- Carbohydrates: 10g
- Fiber: 1g
- Sugar: 5g
- Protein: 1g
These delightful wafers are not only tasty but also reasonably light, making them perfect for holiday nibbling!
FAQ Section
Can I use a different type of flour?
Absolutely! You can experiment with whole wheat flour or gluten-free blends if you prefer. Just keep in mind that this might slightly alter the texture of your Christmas Chocolate Wafers.
How do I know when the wafers are done baking?
You’ll want to look for firm edges and a slightly soft center. They’ll continue to set as they cool, so don’t worry if they seem a tad underbaked at first.
Can I add chocolate chips to the batter?
Oh, definitely! Adding chocolate chips is a fantastic idea for an extra chocolatey treat. Just fold them in gently before scooping the batter onto the baking sheet.
How should I store leftover Christmas Chocolate Wafers?
Store them in an airtight container at room temperature for up to a week. If you want to keep them fresh longer, you can refrigerate them, but I recommend enjoying them at room temperature for the best texture.
Can I freeze these wafers?
Yes, you can freeze them! Just make sure they’re completely cooled, then place them in a freezer-safe container or freezer bag. They’ll keep well for about a month. Thaw them in the fridge or at room temperature before serving!
Why You’ll Love This Recipe
- Quick and easy to prepare, perfect for last-minute holiday baking!
- Rich chocolate flavor that satisfies every chocolate lover’s craving.
- Festive appeal makes them a delightful addition to your holiday treat spread.
- Perfectly crisp texture that pairs wonderfully with a warm drink.
- Customizable – add toppings like icing or sprinkles for extra pizzazz!
- Great for sharing with friends and family, or enjoying all to yourself!
- Simple ingredients you probably already have in your pantry.
Storage & Reheating Instructions
To keep your Christmas Chocolate Wafers fresh and delicious, store them in an airtight container at room temperature. They should stay tasty for about a week—if they last that long! If you find you have leftovers (which is a miracle, honestly!), you can refrigerate them, but I recommend letting them come back to room temperature before enjoying them again. It really helps to bring back that perfect texture.
If you want to freeze any wafers, just make sure they’re completely cooled first. Then, pack them in a freezer-safe container or a freezer bag, separating layers with parchment paper to prevent sticking. They’ll hold up well for about a month. When you’re ready to indulge, simply thaw them in the fridge or at room temperature. No need to reheat—just grab a cup of hot cocoa and enjoy your delicious Christmas Chocolate Wafers as they are!
Print
Christmas Chocolate Wafers: 7 Joyful Secrets to Perfection
- Total Time: 27 minutes
- Yield: 24 wafers 1x
- Diet: Vegetarian
Description
Delicious Christmas chocolate wafers perfect for holiday treats.
Ingredients
- 1 cup all-purpose flour
- 1/2 cup cocoa powder
- 1/2 cup sugar
- 1/2 cup unsalted butter, softened
- 1/4 cup milk
- 1 tsp vanilla extract
- 1/2 tsp baking powder
Instructions
- Preheat the oven to 350°F (175°C).
- In a bowl, mix flour, cocoa powder, sugar, and baking powder.
- Add softened butter, milk, and vanilla extract. Mix until smooth.
- Scoop tablespoon-sized portions onto a baking sheet.
- Bake for 10-12 minutes.
- Let cool before serving.
Notes
- Store in an airtight container.
- Can be decorated with icing.
- Best enjoyed with hot cocoa.
- Prep Time: 15 minutes
- Cook Time: 12 minutes
- Category: Dessert
- Method: Baking
- Cuisine: American
Nutrition
- Serving Size: 1 wafer
- Calories: 80
- Sugar: 5g
- Sodium: 50mg
- Fat: 4g
- Saturated Fat: 2g
- Unsaturated Fat: 1g
- Trans Fat: 0g
- Carbohydrates: 10g
- Fiber: 1g
- Protein: 1g
- Cholesterol: 10mg
Keywords: Christmas Chocolate Wafers