
Oh, the holiday season! It brings so much joy and warmth, don’t you think? One of my favorite traditions is baking Christmas cinnamon rolls. The aroma of cinnamon and sugar wafting through the house is almost magical! I still remember the first time I made them with my grandma. We would mix the dough together, laughing and chatting, and she always insisted on adding just a little more cinnamon because, as she would say, “You can never have too much spice!”
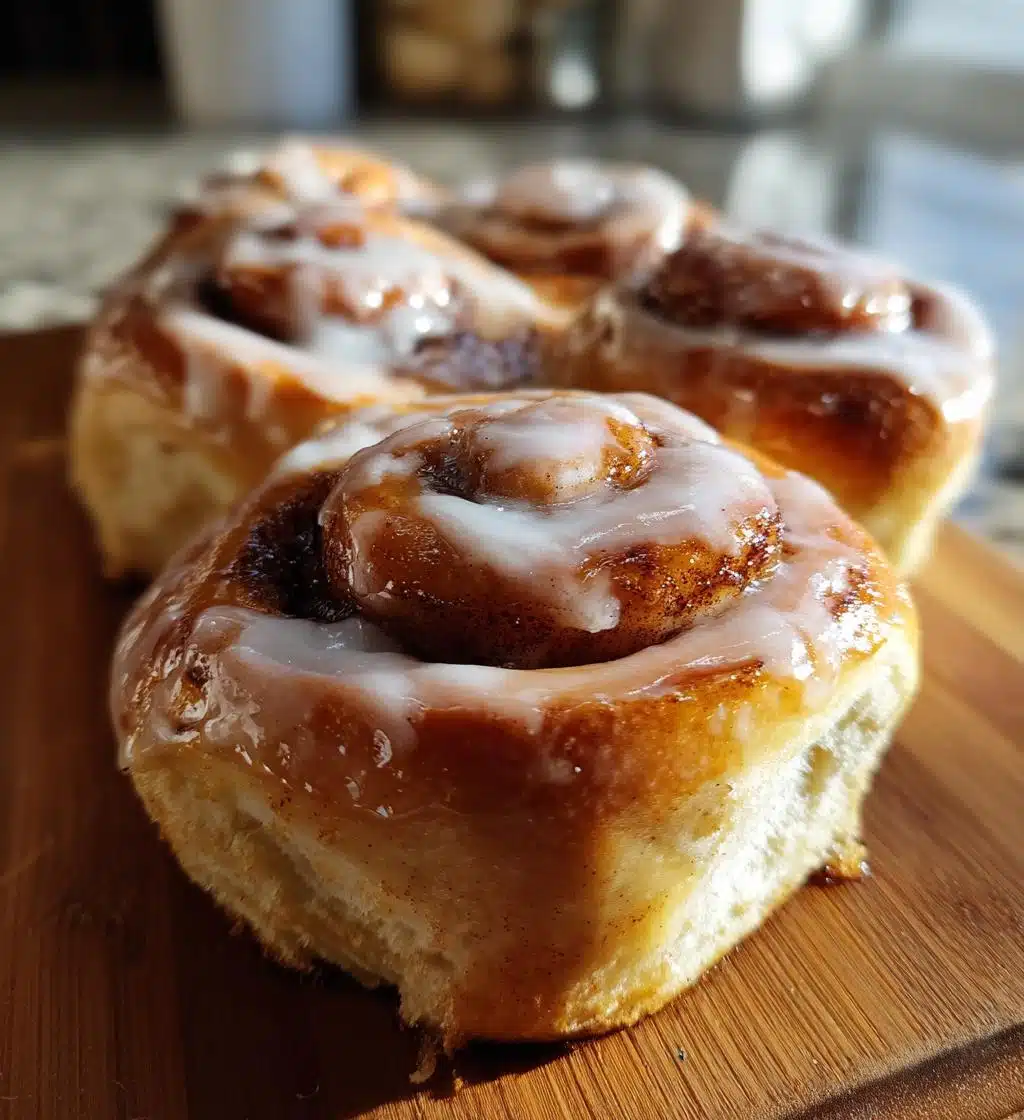
There’s something so comforting about pulling a tray of gooey, warm rolls out of the oven, drizzled with a sweet glaze, and just waiting to be devoured. Each bite is like a hug in food form! These rolls are perfect for holiday breakfasts or brunches, and trust me, they’ll impress anyone you share them with. So, let’s dive into making these delightful Christmas cinnamon rolls that will surely become a cherished tradition in your home too!
Ingredients List
Gathering the right ingredients is key to making the perfect Christmas cinnamon rolls. Here’s what you’ll need:
- 4 cups all-purpose flour
- 1 cup warm milk (not too hot, just warm to the touch!)
- 1/2 cup granulated sugar
- 1/4 cup melted butter (let it cool a bit before adding!)
- 2 large eggs
- 2 teaspoons active dry yeast
- 1 teaspoon salt
- 1 tablespoon ground cinnamon
- 1/2 cup brown sugar (packed, please!)
- 1 cup powdered sugar (for that delicious glaze)
- 2 tablespoons vanilla extract
That’s it! Simple ingredients that come together to create something magical. Make sure to measure everything carefully—trust me, it makes a difference! Now, let’s get to the fun part: baking!
How to Prepare Christmas Cinnamon Rolls
Now, let’s roll up our sleeves and dive into making these scrumptious Christmas cinnamon rolls! Follow along with these steps, and you’ll have a batch of warm, gooey goodness in no time.
Step 1: Activate the Yeast
First things first! In a bowl, mix that warm milk and the active dry yeast together. You want it to be warm, not hot—think cozy bath temperature. Let it sit for about 5 minutes until it gets all frothy and bubbly. This is crucial, as it wakes up the yeast and gets it ready to work its magic!
Step 2: Prepare the Dough
Once your yeast is activated, it’s time to add the fun ingredients! Stir in the melted butter (make sure it’s a bit cooled down), granulated sugar, eggs, and salt into the yeast mixture. Mix it all up until it’s well combined. Now, gradually add in your flour, one cup at a time, mixing until a dough starts to form. It should be a little sticky but not too wet. If it feels too sticky, sprinkle in a bit more flour until it’s just right!
Step 3: Knead and Rise
Time to get your hands in the dough! Flour your countertop and knead the dough for about 5 minutes. You want it to be smooth and elastic—trust me, this step is so satisfying! Once you’ve kneaded it enough, place the dough in a greased bowl, cover it with a clean kitchen towel, and let it rise in a warm place for 1 hour. It should double in size, filling your home with that lovely yeasty aroma!
Step 4: Roll and Fill
After your dough has risen, it’s time for the fun part! Roll it out on a floured surface into a big rectangle—about 1/4 inch thick. Spread a generous layer of softened butter over the dough, then sprinkle the brown sugar and cinnamon evenly on top. Now, roll the dough tightly from one end to the other, making sure it’s snug but not too tight. Once rolled, slice it into about 12 equal pieces—just like cutting a log of cookie dough!
Step 5: Second Rise and Bake
Place your adorable rolls in a greased baking pan, leaving some space between them to rise. Cover them again with that kitchen towel and let them rise for another 30 minutes. While they’re rising, preheat your oven to 350°F (175°C). Once they’ve puffed up a bit, bake them for 20-25 minutes until they’re golden brown and your kitchen smells like a cinnamon paradise!
Step 6: Prepare the Glaze
While your rolls are baking, let’s whip up that sweet glaze! In a small bowl, mix together the powdered sugar and vanilla extract. If it’s too thick, add a tiny splash of milk until you reach your desired consistency. Once your rolls are out of the oven and slightly cooled, drizzle the glaze over the top while they’re still warm. Wow, it’s going to be hard to resist diving right in!
Why You’ll Love This Recipe
Let me tell you why these Christmas cinnamon rolls are going to become your new favorite holiday treat! First off, the prep time is quick—just 20 minutes, and then you can kick back while the dough does its thing. That’s right, you get to enjoy the holiday hustle without spending all day in the kitchen!
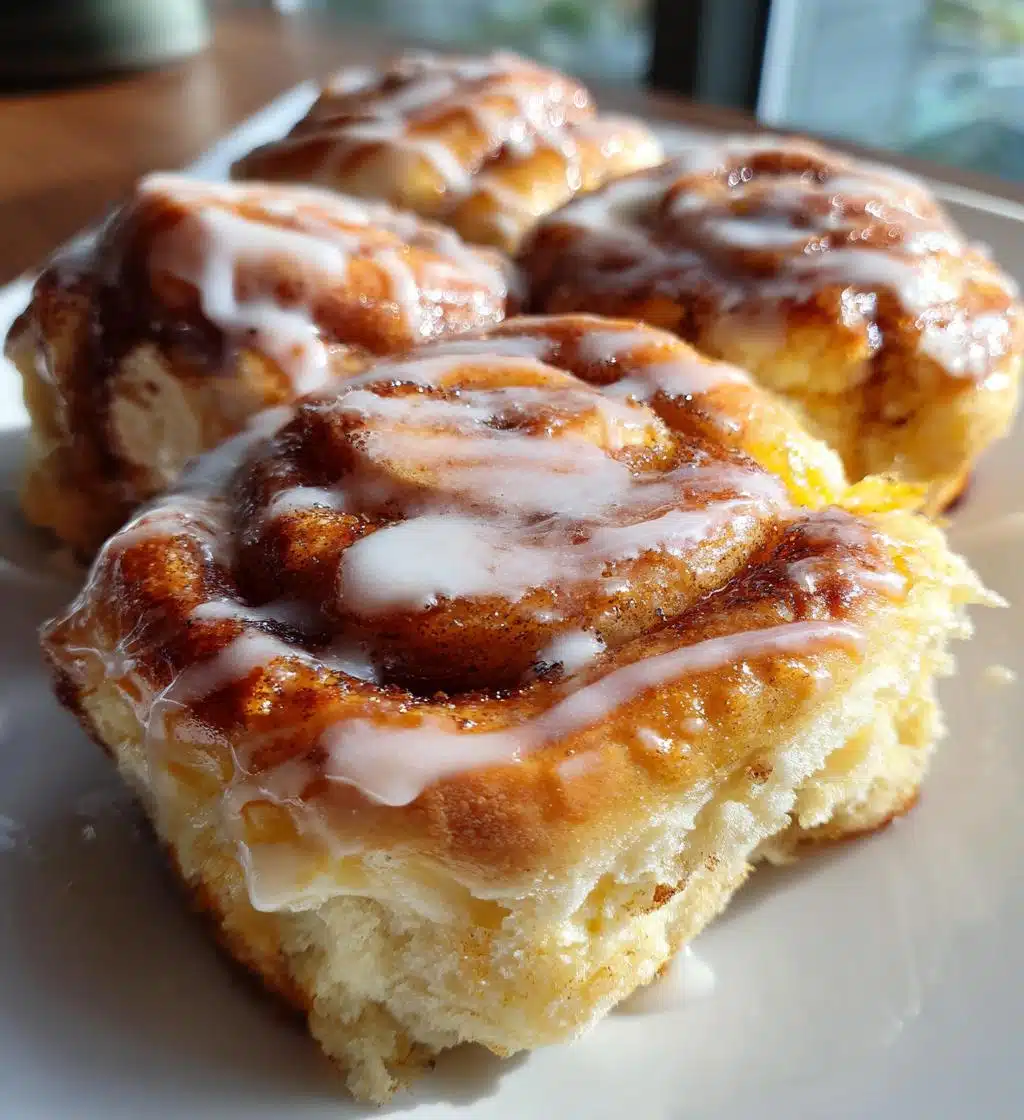
And oh, the flavor! Each roll is a heavenly blend of warm cinnamon, sweet brown sugar, and that luscious glaze on top. It’s like a cozy hug for your taste buds! The combination of gooeyness and that delightful crunch from the edges is simply irresistible. Trust me, one bite and you’ll be in a cinnamon bliss!
These rolls are also perfect for gatherings. Whether you’re hosting a festive brunch or just want to impress family and friends, they always steal the show. Plus, there’s something so special about sharing fresh-baked treats with loved ones—it creates memories that last a lifetime. Just picture everyone gathered around the table, rich aromas filling the air, and smiles all around as they dig into these warm delights!
Lastly, they’re versatile too! You can easily add your own twist with nuts or raisins, or even experiment with different glazes. The possibilities are endless! So, roll up your sleeves and get ready to create something magical that’ll become a staple in your holiday celebrations!
Tips for Success
To ensure your Christmas cinnamon rolls turn out absolutely perfect, I’ve got some handy tips that I swear by! Trust me, these little nuggets of wisdom will make all the difference.
- Warm Milk, Not Hot: When you’re activating the yeast, make sure the milk is warm but not hot. If it’s too hot, it can kill the yeast, and we definitely don’t want that! Aim for a cozy bath temperature—just warm enough to feel nice to the touch.
- Fresh Yeast: Always check the expiration date on your yeast! Fresh yeast works best for that fluffy rise. If you’re not sure, do a little test by mixing it with warm water and sugar. If it bubbles up, you’re good to go!
- Don’t Skip the Kneading: Kneading is key to developing that lovely gluten structure, which gives your rolls their delightful texture. Don’t rush this step—5 minutes of good kneading will make your dough smooth and elastic!
- Let It Rise: Be patient during the rising phase! The dough needs time to expand and develop flavor. If your kitchen is a bit chilly, try placing the bowl in a warm spot or near the oven while it’s preheating.
- Even Spreading: When spreading the butter and filling, make sure to cover the entire surface evenly. This ensures every bite is packed with that sweet cinnamon goodness!
- Spacing Out the Rolls: When placing your rolls in the baking pan, give them enough space to expand. They’ll puff up beautifully, and you want them to have room to shine!
- Check for Doneness: Keep an eye on your rolls as they bake! They’re done when they’re golden brown on top and sound hollow when tapped on the bottom. If you notice them browning too quickly, cover them with foil for the last few minutes.
With these tips up your sleeve, you’re all set for success! I can’t wait for you to experience the joy of pulling those warm, gooey rolls from the oven. Happy baking!
Storage & Reheating Instructions
So, you’ve got some leftover Christmas cinnamon rolls? Don’t worry, they’re just as delightful the next day! To keep them fresh, store your rolls in an airtight container at room temperature for up to 2 days. If you want to keep them longer, pop them in the fridge, and they should last about a week. Just make sure they’re sealed up tight to prevent them from drying out!
When you’re ready to enjoy them again, reheating is super simple. Just pop one in the microwave for about 10-15 seconds, and it’ll be warm and gooey again—like they just came out of the oven! If you want to bring back that freshly baked texture, you can also wrap them in a damp paper towel and microwave them for a few seconds. It’s like magic, and you’ll have everyone thinking you just baked a fresh batch!
And if you really want to plan ahead, you can freeze the rolls before glazing. Just wrap them tightly in plastic wrap or foil and place them in a freezer-safe bag. When the craving strikes, let them thaw in the fridge overnight and reheat as mentioned above. Easy peasy, right? Enjoy those sweet bites whenever the mood hits!
Nutritional Information Disclaimer
Just a little heads-up! The nutritional information for these Christmas cinnamon rolls can vary based on the specific ingredients and brands you use. I always recommend checking the labels for the most accurate details. While I strive to provide a good estimate, remember that everyone’s kitchen is a bit different. But don’t let that stop you from enjoying these delicious rolls—they’re worth every bite!
FAQ about Christmas Cinnamon Rolls
Got questions about making these scrumptious Christmas cinnamon rolls? Don’t worry, I’ve got you covered! Here are some of the most common queries I get, along with my helpful answers.
Can I make these ahead of time?
Absolutely! You can prepare the dough a day in advance, just let it rise, then shape it into rolls and cover them in the fridge overnight. When you’re ready to bake, let them sit at room temperature for about 30 minutes before popping them in the oven. Perfect for those busy holiday mornings!
What can I add to the filling?
Oh, the possibilities are endless! You can add chopped nuts like pecans or walnuts for a delightful crunch, or toss in some raisins or dried cranberries for a fruity twist. If you’re feeling adventurous, try a bit of chocolate chips for a sweet surprise!
Can I freeze the rolls?
Yes, you can! Just wrap the rolls tightly in plastic wrap before glazing and place them in a freezer-safe bag. They’ll keep well for up to 2 months. When you’re ready to enjoy them, thaw overnight in the fridge and reheat as mentioned earlier. It’s like having fresh-baked rolls on demand!
What if my dough doesn’t rise?
Oh no! If your dough doesn’t rise, it could be that the yeast was expired or the milk was too hot when you activated it. Make sure to check your yeast’s expiration date and use warm milk, not hot. If your dough is stubborn, try putting it in a warmer spot or giving it a little more time. Sometimes yeast just needs to take its time!
How do I store leftovers?
Store your leftover cinnamon rolls in an airtight container at room temperature for about 2 days. If you want them to last longer, place them in the fridge, and they should stay good for up to a week. Just make sure they’re sealed properly to keep their gooey goodness!
Can I use whole wheat flour instead of all-purpose flour?
Yes, you can! Just keep in mind that whole wheat flour will give your rolls a denser texture. If you’re using it, I recommend using half whole wheat and half all-purpose flour for a nice balance of flavor and texture. You might need a bit more liquid, so keep an eye on the dough consistency!
There you go! I hope these FAQs help you on your cinnamon roll-making journey. Happy baking, and enjoy the deliciousness!
Print
Christmas Cinnamon Rolls: 6 Steps to Irresistible Joy
- Total Time: 1 hour 15 minutes
- Yield: 12 rolls 1x
- Diet: Vegetarian
Description
Delicious Christmas cinnamon rolls with a sweet glaze.
Ingredients
- 4 cups all-purpose flour
- 1 cup milk
- 1/2 cup sugar
- 1/4 cup butter, melted
- 2 eggs
- 2 teaspoons active dry yeast
- 1 teaspoon salt
- 1 tablespoon cinnamon
- 1/2 cup brown sugar
- 1 cup powdered sugar
- 2 tablespoons vanilla extract
Instructions
- In a bowl, mix warm milk and yeast. Let it sit for 5 minutes.
- Add melted butter, sugar, eggs, and salt. Mix well.
- Gradually add flour until a dough forms.
- Knead the dough for 5 minutes until smooth.
- Let the dough rise in a warm place for 1 hour.
- Roll out the dough into a rectangle.
- Spread butter, brown sugar, and cinnamon on the dough.
- Roll the dough tightly and cut into rolls.
- Place rolls in a greased baking pan and let rise for 30 minutes.
- Bake at 350°F for 20-25 minutes.
- Mix powdered sugar and vanilla for glaze and drizzle over rolls.
Notes
- Store leftovers in an airtight container.
- Reheat in the microwave for a few seconds.
- Feel free to add nuts or raisins for extra flavor.
- Prep Time: 20 minutes
- Cook Time: 25 minutes
- Category: Dessert
- Method: Baking
- Cuisine: American
Nutrition
- Serving Size: 1 roll
- Calories: 250
- Sugar: 15g
- Sodium: 180mg
- Fat: 8g
- Saturated Fat: 4g
- Unsaturated Fat: 3g
- Trans Fat: 0g
- Carbohydrates: 40g
- Fiber: 1g
- Protein: 4g
- Cholesterol: 30mg
Keywords: Christmas Cinnamon Rolls, holiday baking, cinnamon rolls