

There’s just something magical about winter desserts, isn’t there? The warmth of spices, the sweetness of dried fruits, and that cozy feeling you get when you take a slice of cake, all bundled up with a cup of hot tea. This Date & Peel Winter Syrup Cake is a standout for me—moist and flavorful with the delightful zing of citrus peels! I remember making this cake for a holiday gathering last year; the kitchen was filled with the most wonderful aroma, and everyone kept sneaking bites while it was still warm. Trust me, it’s the perfect centerpiece for those chilly evenings spent with loved ones, and I can’t wait for you to try it!
Ingredients List
- 200 g (about 7 oz) pitted dates, chopped into small pieces
- 250 ml (1 cup) boiling water
- 1 teaspoon baking soda
- 100 g (1/2 cup) unsalted butter, softened to room temperature
- 150 g (3/4 cup) brown sugar, packed
- 2 large eggs, at room temperature
- 1 teaspoon vanilla extract
- 200 g (1 1/2 cups) all-purpose flour
- 1 teaspoon baking powder
- 1/2 teaspoon salt
- Zest of 1 orange, finely grated
- Zest of 1 lemon, finely grated
- 100 ml (1/2 cup) maple syrup or golden syrup, for glazing
How to Prepare Date & Peel Winter Syrup Cake
Preheat the Oven
First things first, let’s get that oven preheated to 180°C (350°F). This is super important because we want the cake to bake evenly and come out perfectly moist. While that’s heating up, go ahead and grease a loaf pan (about 9×5 inches) and line the bottom with parchment paper. This little trick ensures our cake won’t stick and makes for easy removal later on!
Prepare the Dates
Now, let’s tackle those dates. In a bowl, combine the chopped dates with the boiling water and sprinkle in the baking soda. This is where the magic begins! Let this mixture sit for about 15-20 minutes. You’ll notice the dates will soften up beautifully, and the warm water will help everything blend together later.
Cream the Butter and Sugar
In a large mixing bowl, cream together the softened butter and brown sugar until it’s light and fluffy. I usually use an electric mixer for about 3-5 minutes to get that perfect texture. Trust me, you want this step to be right because it adds so much to the cake’s moisture and flavor!
Add Eggs and Vanilla
Next up, beat in the eggs one at a time. Make sure to mix well after each addition—this is key to getting a nice, airy batter. Then, stir in the lovely vanilla extract. Oh, the aroma is already heavenly!
Combine Dry Ingredients
In another bowl, whisk together the flour, baking powder, and salt. Once that’s done, gradually add this dry mixture to your wet ingredients. Don’t overmix here; just stir until everything is combined. We want it to be smooth but not overworked!
Incorporate Date Mixture
Now, gently fold in that softened date mixture along with the zests of orange and lemon. This is where the cake gets its unique zing that pairs so well with the sweetness of the dates. Mix gently until everything is well combined, but be careful not to overdo it!
Bake the Cake
Pour the batter into your prepared loaf pan, smoothing the top with a spatula. Pop it in the preheated oven and bake for about 50-60 minutes. You’ll know it’s done when a toothpick inserted into the center comes out clean. I always get so excited checking this part!
Prepare the Glaze
While the cake is baking, heat up that maple syrup or golden syrup in a small saucepan over low heat until it’s warm. This glaze is going to add a lovely shine and extra sweetness to our cake!
Glaze the Cake
Once the cake is out of the oven and has cooled in the pan for about 10 minutes, carefully transfer it to a wire rack. While it’s still warm, brush the warm syrup over the top. This step is crucial for creating that glossy finish and infusing more flavor into the cake.
Serve
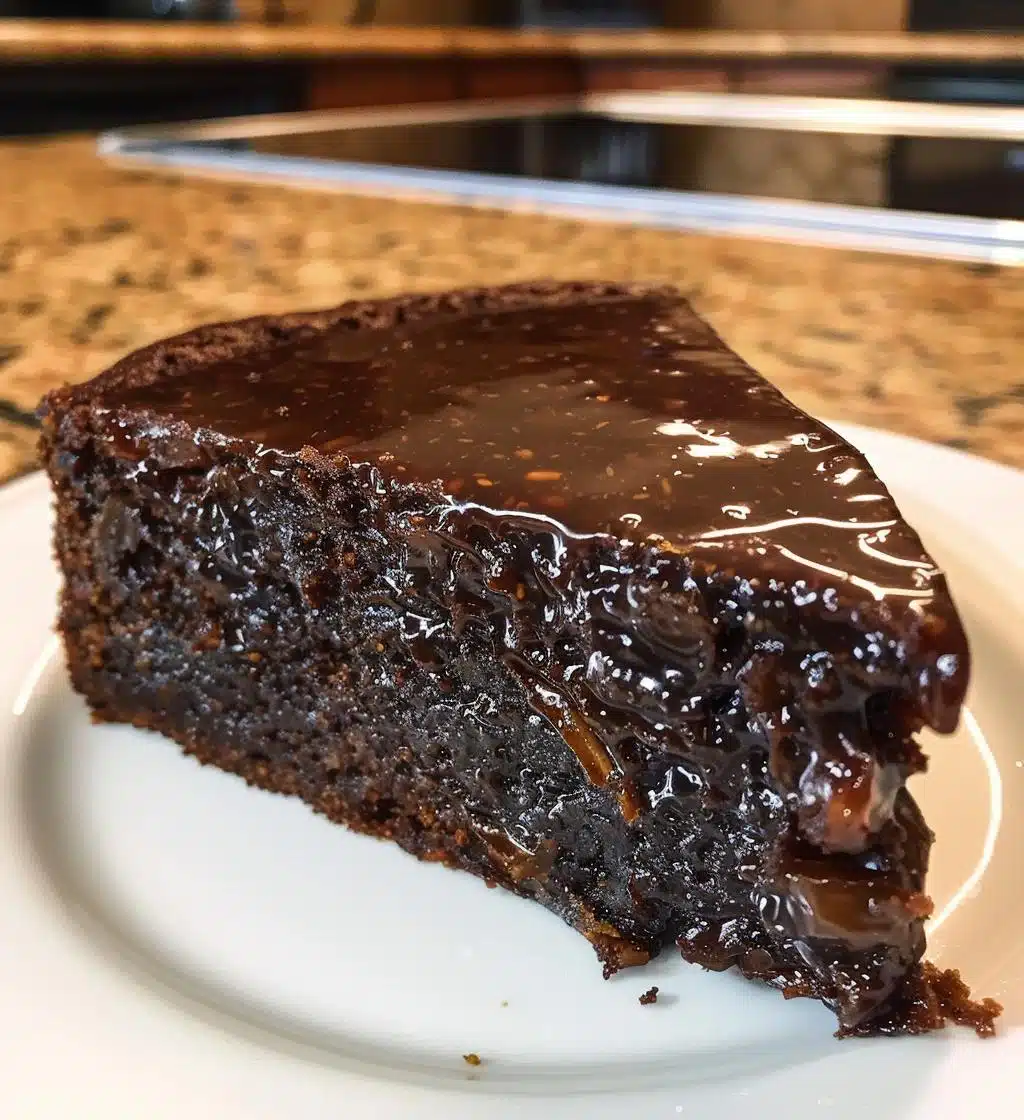
Let the cake cool completely before slicing. I like to serve it on a simple white plate, maybe with a dollop of whipped cream or a scoop of vanilla ice cream. It pairs beautifully with a hot cup of tea or coffee, making every bite a cozy winter treat!
FAQ Section
Can I use other sweeteners instead of brown sugar?
Absolutely! If you don’t have brown sugar on hand, you can use white granulated sugar. Just keep in mind that the flavor will be a bit different—brown sugar adds that lovely caramel undertone. You could also try coconut sugar for a more natural option, which will give it a slightly different taste but still works well in this Date & Peel Winter Syrup Cake.
How should I store leftover cake?
To keep your cake fresh, store it in an airtight container at room temperature for up to 3 days. If you want to keep it longer, you can also wrap it tightly in plastic wrap and pop it in the fridge where it’ll last for about a week. Just let it come back to room temperature before you dig in! I promise, this cake still tastes amazing even after a couple of days.
Can I make this cake ahead of time?
You can definitely make this cake a day or two in advance! It actually tastes even better the next day as the flavors have time to meld together. Just store it in an airtight container, and when you’re ready to serve, you can warm it slightly in the microwave for a few seconds to get that fresh-baked feel again. Trust me, your guests will love it!
Why You’ll Love This Recipe
- Incredibly moist cake that stays fresh for days
- Unique flavor profile with the sweetness of dates and the zing of citrus
- Perfectly cozy for winter gatherings and holiday celebrations
- Simple ingredients that come together easily
- Glazed with warm syrup for an irresistible shine
- Deliciously comforting, pairs beautifully with tea or coffee
Tips for Success
To make your Date & Peel Winter Syrup Cake truly shine, here are a few handy tips! First, don’t skip the soaking step for the dates—this is crucial for ensuring they blend smoothly into the batter and keep the cake moist. Also, be gentle when folding in the date mixture; overmixing can lead to a dense cake. If you want to add a little crunch, consider tossing in some chopped nuts like walnuts or pecans—this adds a delightful texture! Lastly, let the cake cool completely before slicing, as it allows the flavors to deepen and makes for prettier slices. Enjoy the process, and trust me, you’ll impress everyone with this beauty!
Storage & Reheating Instructions
To keep your Date & Peel Winter Syrup Cake fresh, store it in an airtight container at room temperature for up to 3 days. If you’d like to enjoy it longer, wrapping it tightly in plastic wrap and placing it in the fridge will extend its life to about a week. When you’re ready to indulge, just let it come to room temperature or pop a slice in the microwave for a few seconds to warm it up. It’s like getting that fresh-baked goodness all over again! Trust me, this cake is just as delightful even after a few days!
Nutritional Information
Here’s a quick look at the estimated nutritional values for each slice of Date & Peel Winter Syrup Cake: about 250 calories, 10g of fat, 3g of protein, 35g of carbohydrates, and 20g of sugar. Keep in mind that these values can vary based on ingredients and portion sizes, but it gives you a good idea of what to expect. Enjoy this delightful cake in moderation, especially during those cozy winter gatherings!
Share Your Experience!
I’d absolutely love to hear how your Date & Peel Winter Syrup Cake turns out! Did you add your own twist, or maybe try a different glaze? Please leave a comment below and share your thoughts or any variations you made. And if you enjoyed this recipe, don’t forget to rate it! Your feedback not only makes my day, but it helps others find this cozy gem too. Happy baking!
Print
Date & Peel Winter Syrup Cake: 7 Reasons to Indulge
- Total Time: 80 minutes
- Yield: 1 loaf 1x
- Diet: Vegetarian
Description
A moist and flavorful cake made with dates and citrus peels, perfect for winter gatherings.
Ingredients
- 200 g (about 7 oz) pitted dates, chopped
- 250 ml (1 cup) boiling water
- 1 teaspoon baking soda
- 100 g (1/2 cup) unsalted butter, softened
- 150 g (3/4 cup) brown sugar
- 2 large eggs
- 1 teaspoon vanilla extract
- 200 g (1 1/2 cups) all-purpose flour
- 1 teaspoon baking powder
- 1/2 teaspoon salt
- Zest of 1 orange
- Zest of 1 lemon
- 100 ml (1/2 cup) maple syrup or golden syrup (for glaze)
Instructions
- Preheat the oven: Begin by preheating your oven to 180°C (350°F). Grease and line a loaf pan (approximately 9×5 inches) with parchment paper.
- Prepare the dates: In a bowl, combine the chopped dates with the boiling water and baking soda. Let this mixture sit for about 15-20 minutes until the dates soften and the mixture cools slightly.
- Cream the butter and sugar: In a large mixing bowl, cream together the softened butter and brown sugar until light and fluffy. This should take about 3-5 minutes using an electric mixer.
- Add eggs and vanilla: Beat in the eggs one at a time, mixing well after each addition. Then stir in the vanilla extract.
- Combine dry ingredients: In another bowl, whisk together the flour, baking powder, and salt. Gradually add this dry mixture to the wet mixture, stirring until just combined.
- Incorporate date mixture: Fold the softened date mixture (with the water) into the batter, along with the orange and lemon zests. Mix gently until everything is well combined.
- Bake the cake: Pour the batter into the prepared loaf pan and smooth the top. Bake in the preheated oven for about 50-60 minutes, or until a toothpick inserted into the center comes out clean.
- Prepare the glaze: While the cake is baking, heat the maple syrup or golden syrup in a small saucepan over low heat until warm.
- Glaze the cake: Once the cake is done, remove it from the oven and let it cool in the pan for about 10 minutes. Then, transfer it to a wire rack. While the cake is still warm, brush the warm syrup over the top to create a glossy glaze.
- Serve: Allow the cake to cool completely before slicing. Serve it on a simple white plate, and enjoy the rich flavors of dates and citrus peel with a cup of tea or coffee.
Notes
- For added texture, consider mixing in some chopped nuts, such as walnuts or pecans, into the batter.
- This cake can be stored in an airtight container for several days and often tastes even better the next day as the flavors meld together.
- Serve with a dollop of whipped cream or a scoop of vanilla ice cream for a delightful dessert.
- Prep Time: 20 minutes
- Cook Time: 60 minutes
- Category: Dessert
- Method: Baking
- Cuisine: American
Nutrition
- Serving Size: 1 slice
- Calories: 250
- Sugar: 20g
- Sodium: 150mg
- Fat: 10g
- Saturated Fat: 6g
- Unsaturated Fat: 4g
- Trans Fat: 0g
- Carbohydrates: 35g
- Fiber: 2g
- Protein: 3g
- Cholesterol: 50mg
Keywords: Date & Peel Winter Syrup Cake, winter cake, dessert, baking