
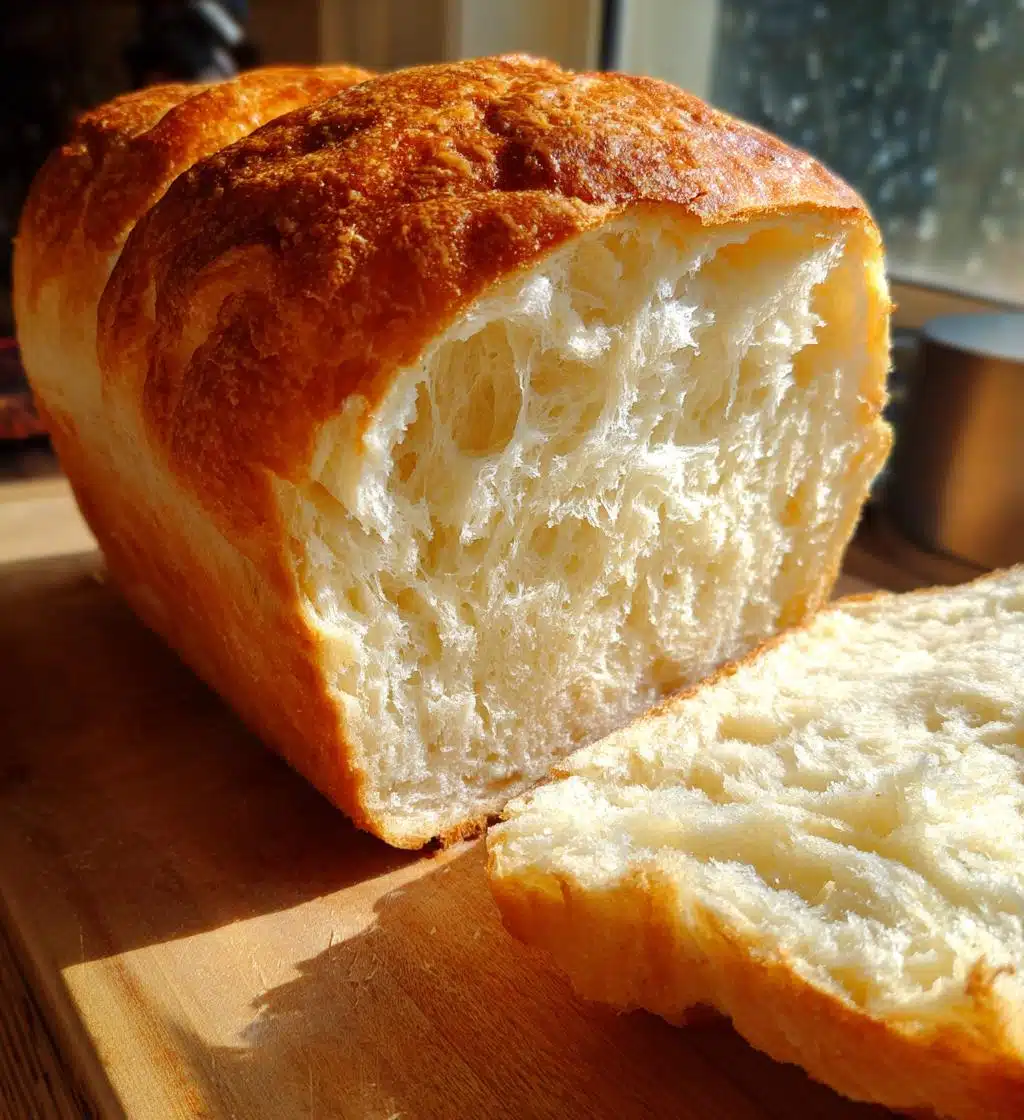
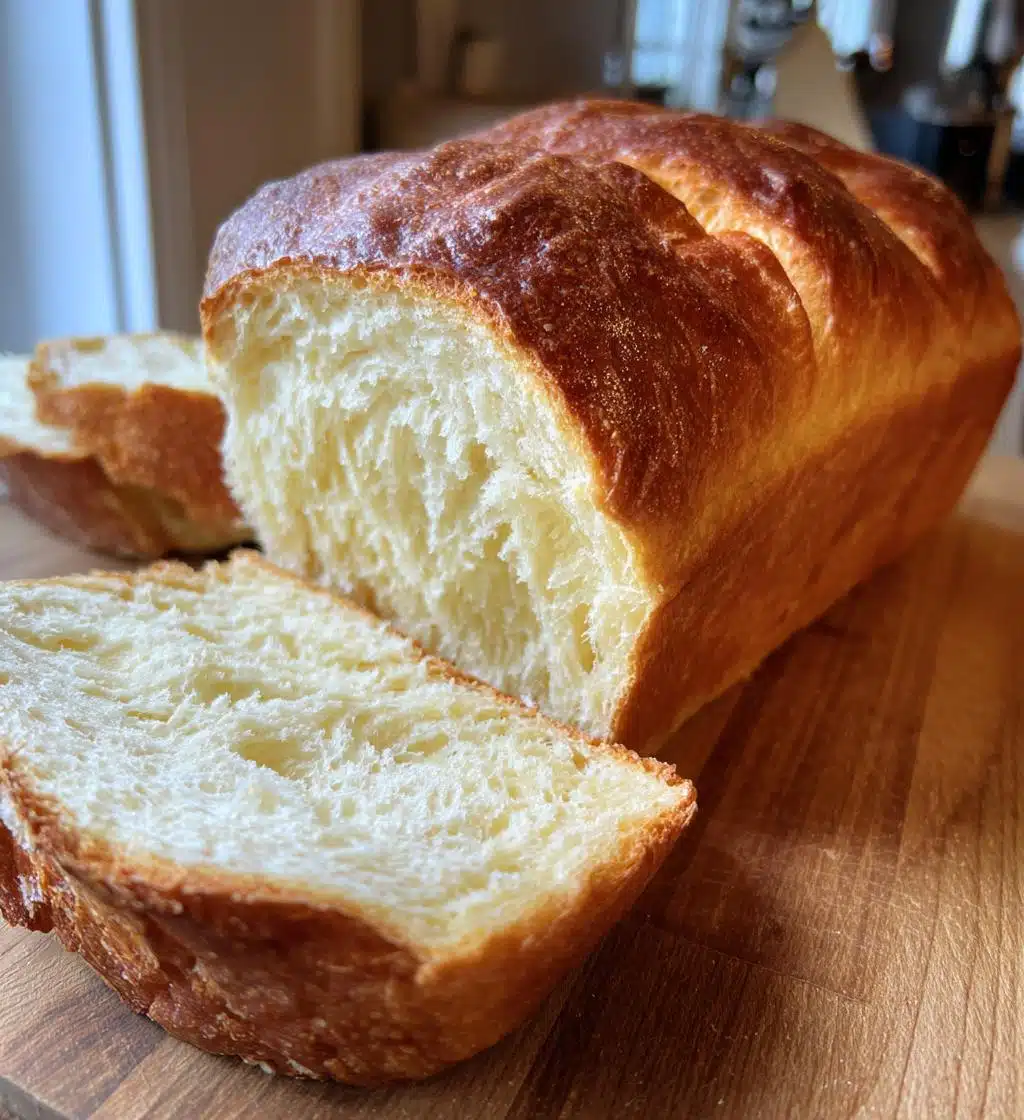
There’s just something magical about the smell of freshly baked bread wafting through the house, isn’t there? I can still remember the first time I made easy homemade white bread with my family. We gathered in the kitchen, flour dusting our noses, laughter filling the air as we mixed and kneaded the dough together. It felt like a cozy hug, and the best part? The warm, buttery slices that awaited us, perfect for slathering with jam or just a pat of butter. This simple yet satisfying recipe is one I come back to time and again because it’s so approachable! Trust me, you don’t need to be a pro baker to create something truly special. So, roll up your sleeves, and let’s dive into making some delightful homemade bread that’ll fill your home with love and warmth!
Ingredients List
Getting your ingredients ready is the first step to crafting that perfect loaf of easy homemade white bread. Here’s what you’ll need:
- 4 cups all-purpose flour
- 2 tablespoons sugar
- 1 tablespoon salt
- 2 tablespoons unsalted butter, softened
- 1 packet (2 1/4 teaspoons) active dry yeast
- 1 1/2 cups warm water (about 110°F for the yeast to activate)
Make sure to measure your ingredients accurately for the best results! Trust me, a little bit of precision goes a long way when you’re baking bread. Now, let’s get ready to mix them all together!
How to Prepare Easy Homemade White Bread
Now that we’ve gathered our ingredients, it’s time to roll up our sleeves and get our hands doughy! Making easy homemade white bread is a straightforward process, and I promise you’ll love every step of it. Here’s how to do it:
Step 1: Activate the Yeast
First things first! In a bowl, you’ll want to dissolve that packet of active dry yeast along with the sugar in the warm water. Make sure the water is about 110°F—too hot, and it can kill the yeast; too cold, and it won’t activate. Let this mixture sit for about 5 minutes until it becomes foamy. This little magic moment is crucial because it means your yeast is alive and ready to help your bread rise!
Step 2: Combine Ingredients
Once your yeast is bubbling like a little potion, it’s time to mix things up! Add the flour, salt, and softened butter to the yeast mixture. Now, I like to use a wooden spoon or spatula to start mixing everything together until it’s well combined. You want to see no dry flour left behind—this is your dough coming to life!
Step 3: Knead the Dough
Time to get your hands in there! Dust your work surface with a bit of flour and turn the dough out onto it. Knead the dough for about 10 minutes. You’ll want to push, fold, and turn it over repeatedly. The dough should become smooth and elastic. If it’s too sticky, sprinkle a bit more flour as needed. You’ll know it’s ready when it springs back when you poke it!
Step 4: First Rise
Now that your dough is nice and kneaded, it’s time for its first rise. Place it in a greased bowl and cover it with a clean kitchen towel or plastic wrap. Let it rise in a warm spot until it’s doubled in size, which should take about 1 hour. You can even take this time to sip some tea or coffee while dreaming about that fresh bread!
Step 5: Shape the Loaf
Once your dough has risen beautifully, it’s time to shape it. Gently punch down the dough to release any air bubbles. Then, transfer it to a floured surface and shape it into a loaf by flattening it out and rolling it up tightly. Pinch the seams closed and place it in a greased loaf pan. Isn’t it looking gorgeous already?
Step 6: Second Rise
Cover your shaped loaf again and let it rise for about 30 minutes. This second rise is essential to develop that lovely, fluffy texture. You want it to puff up nicely, so be patient—it’ll be worth it!
Step 7: Bake the Bread
Preheat your oven to 350°F while your loaf is rising. Once it’s ready, pop that beautiful loaf into the oven and bake for 30-35 minutes. You’ll know it’s done when the top is golden brown, and it sounds hollow when tapped. Oh, the aroma will be heavenly!
Step 8: Cool and Slice
After baking, let your bread cool in the pan for about 10 minutes before transferring it to a wire rack. It’s super important to let it cool completely before slicing, or you risk a squished loaf! Once it’s cooled, slice it up, and enjoy the fruits of your labor. Store any leftovers in a cool, dry place, and get ready to relish each warm, buttery slice!
Tips for Success
Now that you’re on your way to baking your own easy homemade white bread, let me share some of my favorite tips for success! These little nuggets of wisdom will help you avoid common pitfalls and achieve that perfect loaf every time.
- Check Your Yeast: Always make sure your yeast is fresh! If it doesn’t bubble when you activate it, it’s time for a new packet. Trust me, you don’t want to waste time on dough that won’t rise!
- Temperature is Key: The temperature of your water is crucial for activating the yeast. If you don’t have a thermometer, just touch the water—it should feel warm, but not hot. Think of a warm bath, not a hot tub!
- Don’t Rush the Rises: Patience is your friend here! Allowing the dough to rise until it’s doubled in size is essential for texture. If you rush this step, your bread might end up dense instead of fluffy.
- Kneading Technique: When kneading, use the heel of your hands to push the dough away from you, then fold it back over itself. This motion develops gluten, giving your bread that wonderful structure!
- Oven Temperature: Make sure your oven is fully preheated before baking. An oven thermometer can be a great tool to ensure accuracy—nothing like a sudden temperature drop to mess with your dough!
- Cool It Down: Resist the urge to slice into your bread right away! Letting it cool completely before cutting helps maintain its shape and texture. Plus, the smell will drive you wild in the meantime!
With these tips in your back pocket, you’re all set to bake up a storm! Enjoy the process, and remember, even if it doesn’t turn out perfect, it’ll still be delicious. Happy baking!
Nutritional Information
Let’s talk about the nutrition of this delightful easy homemade white bread! Keep in mind that these values are estimates based on the ingredients we used, and they can vary a bit depending on your specific brands and measurements. Here’s a breakdown of the typical nutrition per slice:
- Calories: 120
- Fat: 2g
- Saturated Fat: 1g
- Unsaturated Fat: 1g
- Trans Fat: 0g
- Cholesterol: 5mg
- Sodium: 150mg
- Carbohydrates: 22g
- Fiber: 1g
- Sugar: 1g
- Protein: 3g
Not too shabby, right? This bread is not just comforting and delicious; it’s also a great source of energy! Enjoy it as part of a balanced meal or snack, and feel good about every warm, buttery slice you savor.
FAQ Section
Let’s tackle some of the most common questions I get about making easy homemade white bread. I want you to feel confident in your baking journey, so here are some helpful answers!
Can I use whole wheat flour instead of all-purpose flour?
Absolutely! You can substitute some or all of the all-purpose flour with whole wheat flour. Just keep in mind that it may change the texture and rise a bit, so you might need to add a little more water to achieve that perfect dough consistency.
What should I do if my dough doesn’t rise?
If your dough isn’t rising, it could be a sign that your yeast is inactive. Make sure your yeast is fresh and that you used warm (not hot) water to activate it. If it still doesn’t rise, it’s a good idea to start over with new yeast.
Can I double the recipe?
Yes, you can double the recipe! Just make sure to use a larger bowl for mixing and rise the dough in batches if your space is limited. You might also need to bake in two separate loaf pans to ensure even cooking.
How do I know when my bread is done baking?
You’ll know your bread is done when the top is golden brown and it sounds hollow when tapped. You can also use a food thermometer—aim for about 190°F in the center for perfect doneness!
How should I store my homemade bread?
Let your bread cool completely before slicing and storing. Keep it in a cool, dry place, wrapped in a clean kitchen towel or in a bread box. If you want it to last longer, you can slice and freeze it for up to 2 months!
With these FAQs, I hope you feel ready to tackle your baking adventure. Remember, every loaf is a learning experience, and the joy of homemade bread is totally worth it!
Why You’ll Love This Recipe
Honestly, there are so many reasons to fall head over heels for this easy homemade white bread recipe! First of all, it’s quick and straightforward—perfect for those days when you want fresh bread without spending hours in the kitchen. You don’t need any fancy equipment or skills; just your hands and a little bit of love!
What’s more, the flavor is simply unbeatable. There’s a warmth and richness in homemade bread that you just can’t replicate with store-bought. The way it fills your home with the most delightful aroma while it bakes is pure bliss! And let’s not forget the joy of slicing into that soft, fluffy loaf, all golden brown and ready for your favorite toppings.
Plus, there’s something incredibly satisfying about creating your own bread. It’s a labor of love that brings a sense of accomplishment and connection to the food you eat. Each slice is a reminder of the effort and care you put into making it—and trust me, that taste of success is just as delicious as the bread itself. So, go ahead and give this recipe a try; I promise it’ll become a staple in your kitchen!
Print
Easy Homemade White Bread: 7 Steps to Pure Comfort
- Total Time: 1 hour 50 minutes
- Yield: 1 loaf 1x
- Diet: Vegetarian
Description
This is a simple recipe for homemade white bread that is easy to follow.
Ingredients
- 4 cups all-purpose flour
- 2 tablespoons sugar
- 1 tablespoon salt
- 2 tablespoons unsalted butter, softened
- 1 packet (2 1/4 teaspoons) active dry yeast
- 1 1/2 cups warm water (110°F)
Instructions
- In a bowl, dissolve the yeast and sugar in warm water. Let it sit for 5 minutes.
- Add the flour, salt, and butter to the yeast mixture.
- Knead the dough on a floured surface for about 10 minutes.
- Place the dough in a greased bowl, cover, and let it rise until doubled, about 1 hour.
- Punch down the dough, shape it into a loaf, and place it in a greased loaf pan.
- Cover and let it rise again until doubled, about 30 minutes.
- Bake in a preheated oven at 350°F for 30-35 minutes.
- Let it cool before slicing.
Notes
- Store bread in a cool, dry place.
- For a richer flavor, use bread flour instead of all-purpose flour.
- Prep Time: 15 minutes
- Cook Time: 35 minutes
- Category: Bread
- Method: Baking
- Cuisine: American
Nutrition
- Serving Size: 1 slice
- Calories: 120
- Sugar: 1g
- Sodium: 150mg
- Fat: 2g
- Saturated Fat: 1g
- Unsaturated Fat: 1g
- Trans Fat: 0g
- Carbohydrates: 22g
- Fiber: 1g
- Protein: 3g
- Cholesterol: 5mg
Keywords: easy homemade white bread