
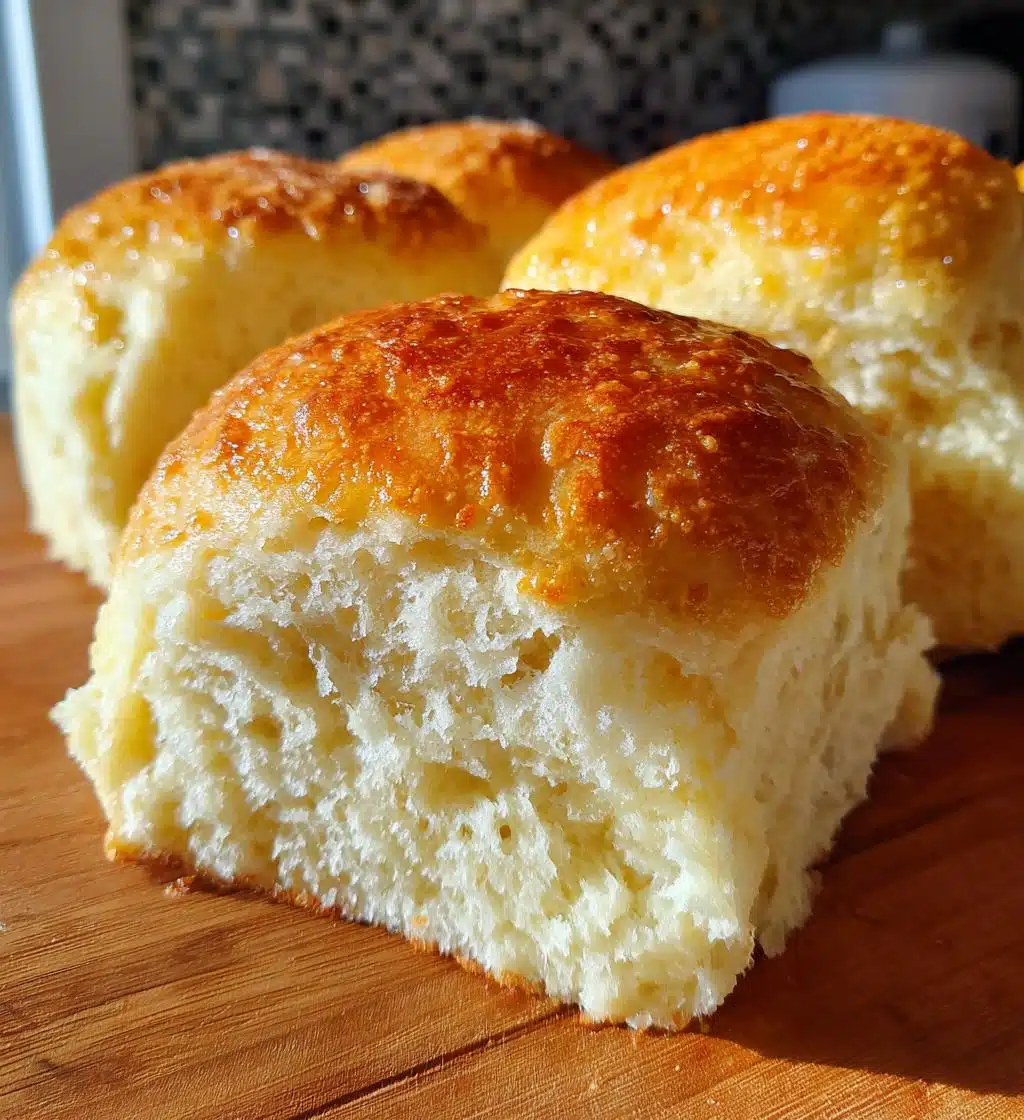
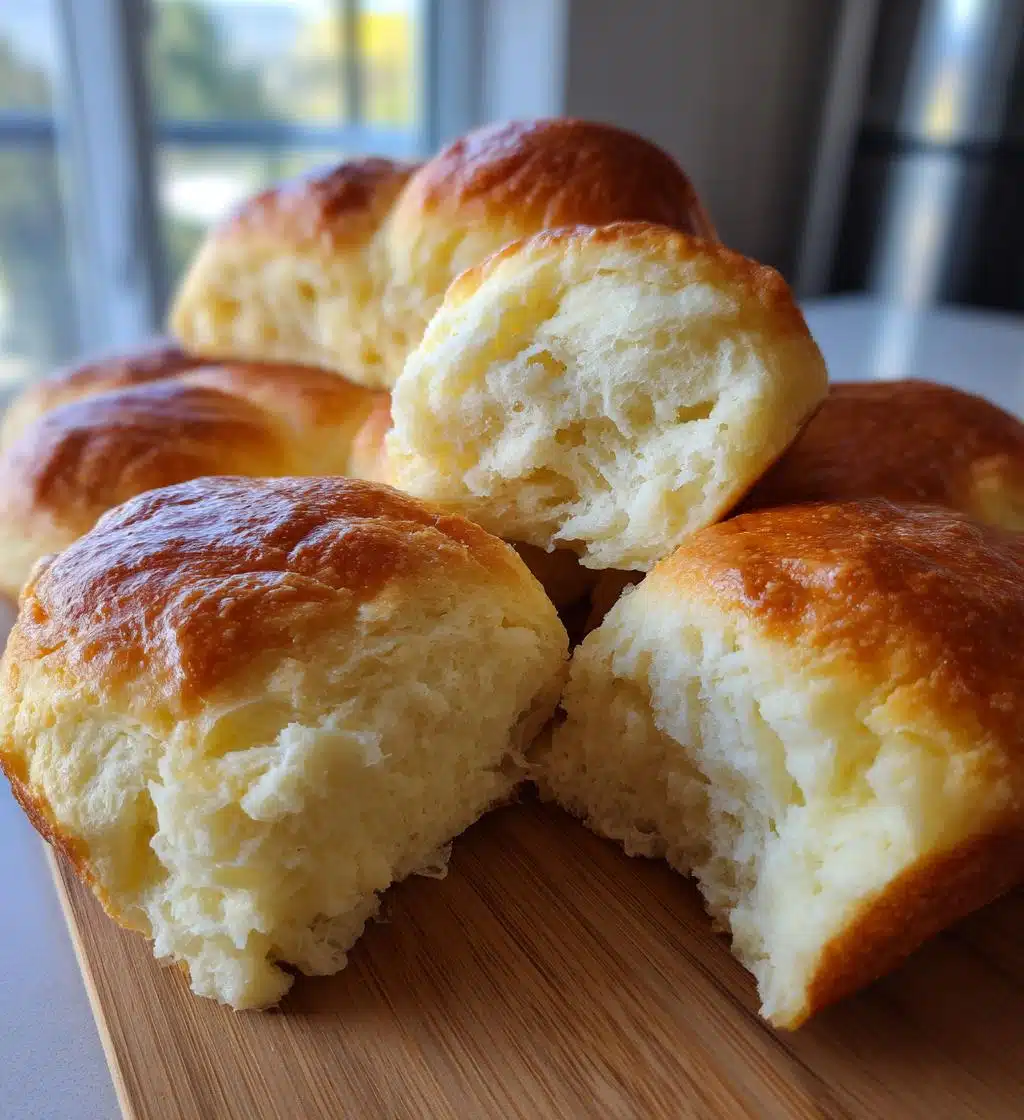
There’s something truly magical about baking gluten-free bread rolls that fills the kitchen with warmth and delicious aromas! Trust me, nothing beats the joy of pulling a fresh batch out of the oven, especially when they’re soft, fluffy, and perfect for any meal. I remember the first time I tried making gluten-free bread rolls; I was a bit skeptical, but the result was such a delightful surprise! This recipe is unique because it combines simple ingredients to create rolls that everyone can enjoy, regardless of their dietary needs. You’ll love how easy it is to whip these up, and I promise they’ll become a staple at your dinner table. So, let’s dive into this scrumptious adventure together!
Ingredients List
- 2 cups gluten-free all-purpose flour: This is the star of our rolls! Make sure to use a high-quality blend for the best texture.
- 1 tablespoon sugar: Just a touch to help activate the yeast and add a hint of sweetness.
- 1 teaspoon salt: Essential for flavor! It really brings out the taste of the rolls.
- 1 tablespoon active dry yeast: This is what gives our rolls that lovely rise. Make sure it’s fresh for the best results.
- 1 cup warm water: Not too hot, not too cold! About 110°F (43°C) is perfect to activate that yeast.
- 2 tablespoons olive oil: Adds moisture and a delightful richness to our rolls.
- 1 teaspoon apple cider vinegar: This little ingredient helps improve the texture and adds a subtle tang.
How to Prepare Gluten Free Bread Rolls
Alright, let’s get our hands a little messy and dive into making these fantastic gluten-free bread rolls! Follow these steps, and you’ll be enjoying warm, soft rolls in no time.
Step 1: Activate the Yeast
Start by combining 1 cup of warm water with 1 tablespoon of sugar in a bowl. Give it a gentle stir to dissolve the sugar and then sprinkle in 1 tablespoon of active dry yeast. Let this sit for about 5–10 minutes, or until it gets all frothy and bubbly. This step is super important because it wakes up the yeast, which is essential for our rolls to rise beautifully!
Step 2: Mix the Dry Ingredients
In a separate bowl, whisk together 2 cups of gluten-free all-purpose flour and 1 teaspoon of salt. Make sure those two are well combined—this helps ensure every bite of your rolls is flavorful. Mixing thoroughly also makes sure the salt is evenly distributed, preventing any salty surprises!
Step 3: Combine Mixtures
Now, it’s time for the fun part! Pour the yeast mixture into the bowl with the flour and salt. Add in 2 tablespoons of olive oil and 1 teaspoon of apple cider vinegar. Mix everything together until just combined. Don’t overdo it, though! We want a nice, sticky dough that comes together without being overly worked.
Step 4: Shape the Rolls
Lightly flour your hands (use more gluten-free flour!) and grab a handful of dough. Shape it into a roll about the size of a golf ball and place it on a baking sheet lined with parchment paper. Keep in mind that these rolls will puff up a bit, so leave some space between them. I like to make them uniform in size, so they bake evenly!
Step 5: Let the Dough Rise
Cover the rolls with a clean kitchen towel and let them rise for 30 minutes in a warm spot. This is where the magic happens! Letting the dough rise allows it to get airy and fluffy, leading to that perfect texture we all love.
Step 6: Baking the Rolls
Preheat your oven to 375°F (190°C). Once the rolls have risen, pop them in the oven for 20–25 minutes. Keep an eye on them! They should turn a lovely golden brown, and you’ll know they’re done when they sound hollow when tapped on the bottom. Ah, the smell of fresh bread rolls is simply irresistible!
Tips for Success
To ensure your gluten-free bread rolls turn out perfectly every time, here are a few pro tips I swear by! First, always use a high-quality gluten-free all-purpose flour that contains xanthan gum or another binder; this makes a huge difference in texture. When mixing your dough, don’t overwork it—just bring it together until it’s sticky and holds its shape. Also, make sure your yeast is fresh; expired yeast can lead to flat rolls, and we definitely don’t want that! If your kitchen is a bit cool, try turning on the oven to the lowest setting, then turning it off and placing your dough inside to rise. Lastly, keep an eye on those rolls while they bake; every oven is different, and you’ll want them golden brown and just right. Enjoy your baking adventure!
Nutritional Information
Keep in mind that nutrition values can vary based on the specific ingredients and brands you use, so these numbers are just estimates. Each gluten-free bread roll comes in at around 150 calories, with 5g of fat and 25g of carbohydrates. You’ll also find 1g of sugar and 2g of fiber, making them a satisfying choice. Plus, they provide 3g of protein per roll, which is always a nice bonus! Just remember, while these rolls are delicious, they’re best enjoyed as part of a balanced diet. So go ahead, indulge a little, and enjoy every bite without any guilt!
FAQ Section
Got questions about gluten-free bread rolls? I’ve got you covered! Here are some common queries I hear, along with my best answers.
Can I use a different type of gluten-free flour? Absolutely! While I recommend a gluten-free all-purpose blend, you can experiment with other flours like almond or coconut, but be aware that they may require different measurements and may affect the texture.
How do I know when the rolls are done? Great question! The rolls should be golden brown on top, and when you tap the bottom, they should sound hollow. If you’re unsure, a quick internal temperature check should read around 200°F (93°C).
Can I make the dough ahead of time? Yes! You can prepare the dough and shape the rolls, then place them in the fridge covered for up to 24 hours. Just let them rise for a bit at room temperature before baking.
What’s the best way to store leftovers? Store any leftover rolls in an airtight container at room temperature for up to 2 days. If you want to keep them longer, they freeze beautifully! Just wrap them tightly and pop them in the freezer.
Can I add herbs or cheese to the dough? Definitely! Feel free to get creative and add your favorite herbs, spices, or even shredded cheese for extra flavor. Just remember to adjust the salt to taste!
Why You’ll Love This Recipe
- Quick and easy to whip up, perfect for beginner bakers!
- Soft, fluffy rolls that everyone will rave about.
- Made with simple, wholesome ingredients you probably already have.
- Gluten-free, so everyone can enjoy them without worry.
- Versatile enough to pair with any meal or enjoy on their own.
- The aroma of fresh-baked rolls will make your kitchen feel like a warm hug!
Storage & Reheating Instructions
Storing your gluten-free bread rolls properly will help keep them fresh and delicious for longer! Once they’ve cooled completely, place any leftovers in an airtight container at room temperature. They should stay good for about 2 days. If you want to keep them even longer, you can freeze them! Just wrap each roll tightly in plastic wrap and then place them in a freezer bag. They’ll last up to 3 months in the freezer.
When you’re ready to enjoy those lovely rolls again, simply take out the desired number of rolls and let them thaw at room temperature for a couple of hours. If you want to warm them up, pop them in a preheated oven at 350°F (175°C) for about 5–10 minutes, or until heated through. Trust me, there’s nothing quite like the smell of freshly warmed bread rolls filling your kitchen again!
Print
Gluten Free Bread Rolls: 5 Steps to Fluffy Perfection
- Total Time: 40 minutes
- Yield: 12 rolls 1x
- Diet: Gluten Free
Description
Gluten-free bread rolls that are soft and delicious.
Ingredients
- 2 cups gluten-free all-purpose flour
- 1 tablespoon sugar
- 1 teaspoon salt
- 1 tablespoon active dry yeast
- 1 cup warm water
- 2 tablespoons olive oil
- 1 teaspoon apple cider vinegar
Instructions
- In a bowl, combine warm water and sugar. Add yeast and let it sit until frothy.
- In another bowl, mix gluten-free flour and salt.
- Pour the yeast mixture into the flour mixture.
- Add olive oil and apple cider vinegar. Mix until combined.
- Shape the dough into rolls and place on a baking sheet.
- Cover and let rise for 30 minutes.
- Bake at 375°F (190°C) for 20-25 minutes.
Notes
- Store leftover rolls in an airtight container.
- These rolls can be frozen for later use.
- Prep Time: 15 minutes
- Cook Time: 25 minutes
- Category: Bread
- Method: Baking
- Cuisine: American
Nutrition
- Serving Size: 1 roll
- Calories: 150
- Sugar: 1g
- Sodium: 200mg
- Fat: 5g
- Saturated Fat: 0.5g
- Unsaturated Fat: 4g
- Trans Fat: 0g
- Carbohydrates: 25g
- Fiber: 2g
- Protein: 3g
- Cholesterol: 0mg
Keywords: gluten free bread rolls