

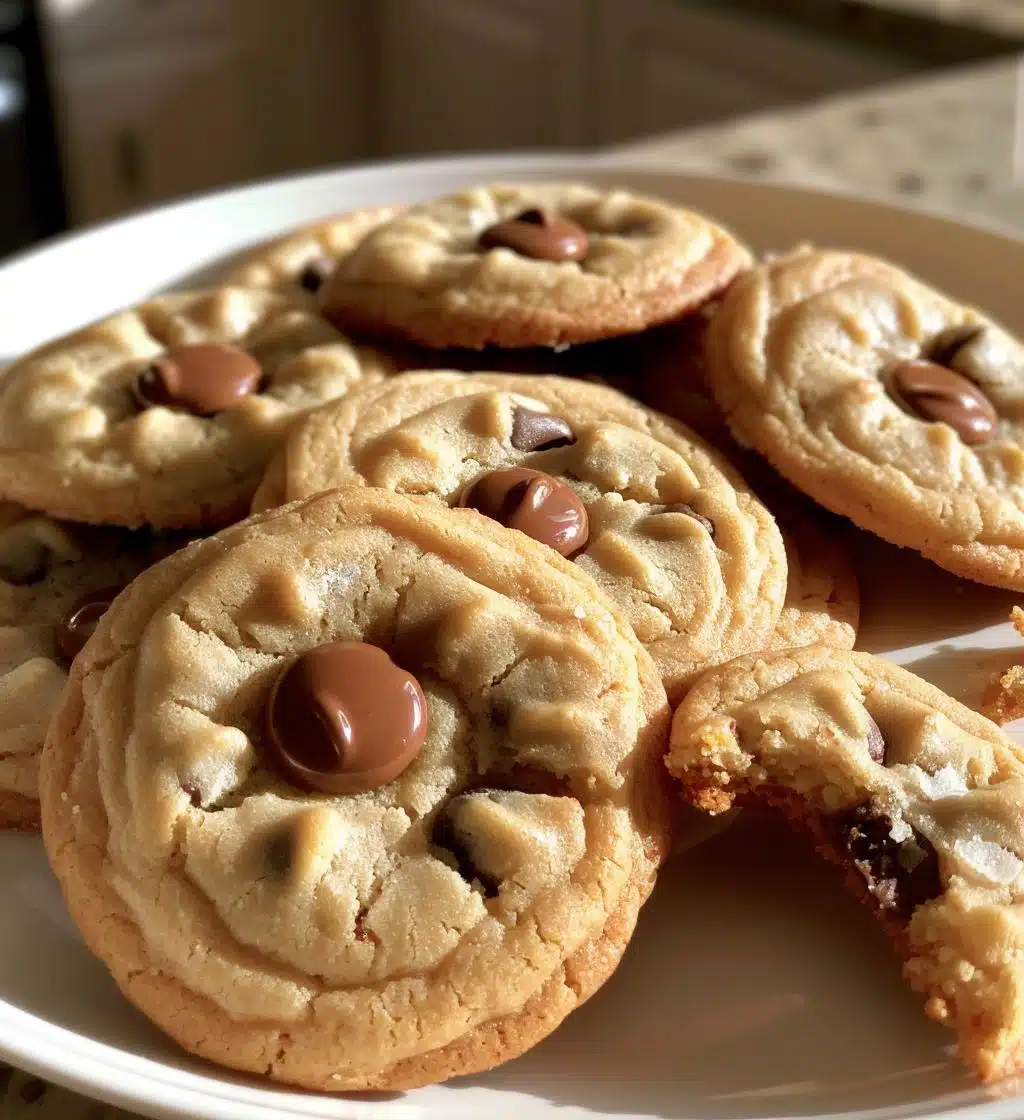
Oh my goodness, let me tell you about the magic of Hershey’s Kiss Cookies! These little gems are not just cookies; they’re a hug in dessert form! The moment you bite into one, you get that delightful combination of a soft, chewy cookie with a sweet, melty Hershey’s Kiss right in the center. It’s pure bliss! I remember the first time I made them for a gathering—everyone went absolutely crazy for them, and I couldn’t keep up with the requests for the recipe! They’re so easy to whip up, and trust me, the smell wafting through your kitchen while they bake is enough to make anyone swoon. Whether you’re baking for a special occasion or just because you want a sweet treat, these cookies are sure to bring smiles all around. So let’s dive in and make some delicious memories together with these delightful cookies!
Ingredients List
- 1 cup unsalted butter, softened to room temperature
- 1 cup granulated sugar
- 1 cup packed brown sugar
- 2 large eggs
- 3 cups all-purpose flour
- 1 teaspoon baking soda
- 1/2 teaspoon salt
- 1 teaspoon vanilla extract
- 1 cup chocolate chips
- 24 Hershey’s Kisses, unwrapped and ready for the magic!
How to Prepare Hershey’s Kiss Cookies
Alright, let’s get those ovens preheated and start baking these scrumptious Hershey’s Kiss Cookies! I promise, it’s a straightforward process that will have your kitchen smelling heavenly in no time. Follow along and let’s make some cookie magic!
Step-by-Step Instructions
- First things first, preheat your oven to 350°F (175°C). This step is super important because you want those cookies to bake evenly and come out perfectly golden.
- In a large mixing bowl, cream together the softened butter, granulated sugar, and brown sugar until it’s light and fluffy. I like to use an electric mixer for this, but a good old-fashioned whisk works too—just be ready to work those arms!
- Next, beat in the two large eggs and the vanilla extract, mixing until everything is well combined. This is where the magic starts to happen, and the sweet aroma begins to fill the air!
- In another bowl, whisk together the all-purpose flour, baking soda, and salt. Gradually add this dry mixture into the wet ingredients, stirring just until combined. Don’t overmix; you want your cookies to be tender and soft!
- Now, fold in those delightful chocolate chips with a spatula—this is where you can really get creative! If you want, you can mix in nuts or other goodies at this stage.
- Using a spoon or cookie scoop, drop generous spoonfuls of dough onto a baking sheet lined with parchment paper, spacing them about 2 inches apart.
- Bake in the oven for 10-12 minutes, keeping an eye on them. You want them to be slightly golden around the edges while still soft in the middle.
- As soon as they come out of the oven, press a Hershey’s Kiss into the center of each cookie. The warmth from the cookie will melt it just right—yum!
- Let them cool on a wire rack for a few minutes, then enjoy your delicious creations!
Nutritional Information
Now, let’s chat about the nutritional side of these delightful Hershey’s Kiss Cookies. While they’re definitely a treat, it’s good to know what you’re indulging in! Here’s a rough estimate of the nutritional values per cookie:
- Calories: 120
- Fat: 6g
- Saturated Fat: 3g
- Unsaturated Fat: 2g
- Trans Fat: 0g
- Cholesterol: 20mg
- Sodium: 50mg
- Carbohydrates: 15g
- Fiber: 1g
- Sugar: 8g
- Protein: 1g
Keep in mind that these values are based on typical ingredients and serving sizes, so they may vary a bit depending on how you whip them up. But hey, a little sweetness in life is always worth it, right?
Why You’ll Love This Recipe
- Quick and easy to prepare—perfect for any baking novice or busy bee!
- Soft, chewy cookies with a delightful chocolate surprise in every bite.
- Made with simple, everyday ingredients that you probably already have at home.
- Customizable! You can switch up the flavors of Hershey’s Kisses or add your favorite mix-ins.
- Perfect for sharing at gatherings, parties, or just to brighten someone’s day.
- These cookies are freezer-friendly, so you can always have a sweet treat on hand.
- They fill your kitchen with an irresistible aroma that will have everyone asking, “What’s baking?”
- Each cookie is a little piece of happiness—trust me, they disappear fast!
Tips for Success
- Room temperature ingredients: Make sure your butter and eggs are at room temperature before you start mixing. This helps create that fluffy texture we all love!
- Don’t overmix: When combining the wet and dry ingredients, mix just until everything is combined. Overmixing can lead to tough cookies, and we want them soft and chewy!
- Chill the dough: If you want thicker cookies, chill the dough for about 30 minutes before baking. It helps prevent spreading and gives you a nice, thick cookie.
- Watch the baking time: Keep an eye on your cookies as they bake. Ovens can vary, so pull them out when they’re just lightly golden around the edges and still soft in the center for the best texture.
- Press the Kisses gently: When you add the Hershey’s Kisses to the warm cookies, press them down gently. You want them to stay in place but not completely melt away!
- Experiment with flavors: Don’t hesitate to get creative! Try different flavors of Hershey’s Kisses or even add nuts, coconut, or dried fruit for a fun twist.
- Store wisely: Keep your cookies in an airtight container to maintain freshness. If you’ve made a big batch, you can even freeze some for later enjoyment!
Variations
One of the best things about these delightful Hershey’s Kiss Cookies is how easy they are to customize! Here are some fun variations to try, so you can keep things exciting and make each batch a little different.
- Different Kisses: Switch it up by using different flavors of Hershey’s Kisses! Try caramel-filled, almond, or even the seasonal peppermint ones for a festive twist. Each flavor brings a new dimension to your cookies!
- Nutty goodness: Add a 1/2 cup of chopped nuts like walnuts or pecans to the dough for extra crunch and flavor. It pairs beautifully with the chocolate!
- Peanut butter twist: Substitute 1/2 cup of the butter with creamy peanut butter for a deliciously nutty version. Top with a Hershey’s Kiss for that chocolate-peanut butter combo we all adore!
- Oatmeal addition: For a chewy texture, mix in 1 cup of rolled oats. This adds heartiness and makes the cookies even more satisfying.
- White chocolate chips: Swap in white chocolate chips instead of regular chocolate for a sweeter, creamier cookie. You can even add a hint of orange zest for a refreshing citrus note!
- Fun sprinkles: Before baking, sprinkle some colorful sprinkles on top of the dough balls for a festive touch. Perfect for birthdays or celebrations!
- Double chocolate: For the chocolate lovers out there, add 1/2 cup of cocoa powder to the dry ingredients for a rich, chocolatey cookie. Don’t forget to add a Hershey’s Kiss on top!
Feel free to mix and match these ideas to create your own signature Hershey’s Kiss Cookies! The possibilities are endless, and I can’t wait to hear what delicious combinations you come up with!
Storage & Reheating Instructions
Now that you’ve whipped up these amazing Hershey’s Kiss Cookies, let’s talk about how to keep them fresh and delicious! Proper storage is key to enjoying them at their best for days to come.
To store your cookies, simply place them in an airtight container. I like to layer parchment paper between the cookies to keep them from sticking together—this helps maintain their lovely texture. They’ll stay fresh at room temperature for about a week, but I bet they won’t last that long!
If you want to keep your cookies for longer, you can freeze them! Just wrap each cookie individually in plastic wrap or place them in a freezer-safe bag. They can be frozen for up to 3 months. When you’re ready to indulge again, just take out as many as you want and let them thaw at room temperature. No need to reheat if you’re okay with them being a bit softer; however, if you like them warm and gooey, pop them in the microwave for about 10-15 seconds.
And trust me, there’s nothing quite like that moment when you sink your teeth into a warm cookie with a melty Hershey’s Kiss right in the middle! So go ahead, make a big batch, and enjoy them fresh or later—either way, they’re sure to delight!
Serving Suggestions
Now that you’ve got a batch of those delicious Hershey’s Kiss Cookies ready to go, let’s talk about how to serve them up for maximum enjoyment! Trust me, these cookies are great on their own, but pairing them with the right accompaniments can elevate your treat time to the next level.
- Milk: You can’t go wrong with a tall glass of cold milk! The creamy goodness pairs perfectly with the chocolatey sweetness of the cookies, making each bite even more delightful.
- Ice Cream: Consider serving your cookies warm alongside a scoop of vanilla or chocolate ice cream. The contrast of the hot cookie and the cold ice cream is simply heavenly!
- Coffee or Tea: For a cozy afternoon treat, enjoy your cookies with a cup of freshly brewed coffee or a warm cup of tea. The flavors blend beautifully, making for a comforting snack.
- Fruit Platter: Balance out the sweetness with a fresh fruit platter. Juicy strawberries, raspberries, or even slices of apple add a refreshing touch to your dessert spread.
- Chocolate Sauce: Drizzle some warm chocolate sauce over your cookies for an indulgent treat! It’s like a chocolate explosion that chocolate lovers can’t resist.
- Whipped Cream: Top your cookies with a dollop of whipped cream for an extra touch of sweetness and creaminess. It makes a simple cookie feel like a fancy dessert!
- Nut Butter: Spread a little peanut or almond butter on your cookies for a delightful twist. It adds a rich, nutty flavor that complements the chocolate perfectly.
Whatever you choose, serving these Hershey’s Kiss Cookies with a little something extra will definitely impress your family and friends. So gather around, enjoy, and make some sweet memories together!

Hershey’s Kiss Cookies: 7 Reasons You’ll Fall in Love
- Total Time: 30 minutes
- Yield: 24 cookies 1x
- Diet: Vegetarian
Description
Delicious cookies made with Hershey’s Kisses.
Ingredients
- 1 cup butter, softened
- 1 cup sugar
- 1 cup brown sugar, packed
- 2 large eggs
- 3 cups all-purpose flour
- 1 teaspoon baking soda
- 1/2 teaspoon salt
- 1 teaspoon vanilla extract
- 1 cup chocolate chips
- 24 Hershey’s Kisses
Instructions
- Preheat your oven to 350°F (175°C).
- In a large bowl, cream together the butter, sugar, and brown sugar.
- Add eggs and vanilla, mixing well.
- In another bowl, combine flour, baking soda, and salt.
- Gradually add the dry ingredients to the wet ingredients.
- Fold in chocolate chips.
- Drop spoonfuls of dough onto baking sheets.
- Bake for 10-12 minutes.
- Immediately press a Hershey’s Kiss into the center of each cookie.
- Cool on wire racks.
Notes
- Store cookies in an airtight container.
- Try different flavors of Hershey’s Kisses.
- Chill dough for 30 minutes for thicker cookies.
- Prep Time: 15 minutes
- Cook Time: 10-12 minutes
- Category: Dessert
- Method: Baking
- Cuisine: American
Nutrition
- Serving Size: 1 cookie
- Calories: 120
- Sugar: 8g
- Sodium: 50mg
- Fat: 6g
- Saturated Fat: 3g
- Unsaturated Fat: 2g
- Trans Fat: 0g
- Carbohydrates: 15g
- Fiber: 1g
- Protein: 1g
- Cholesterol: 20mg
Keywords: Hershey’s Kiss Cookies