
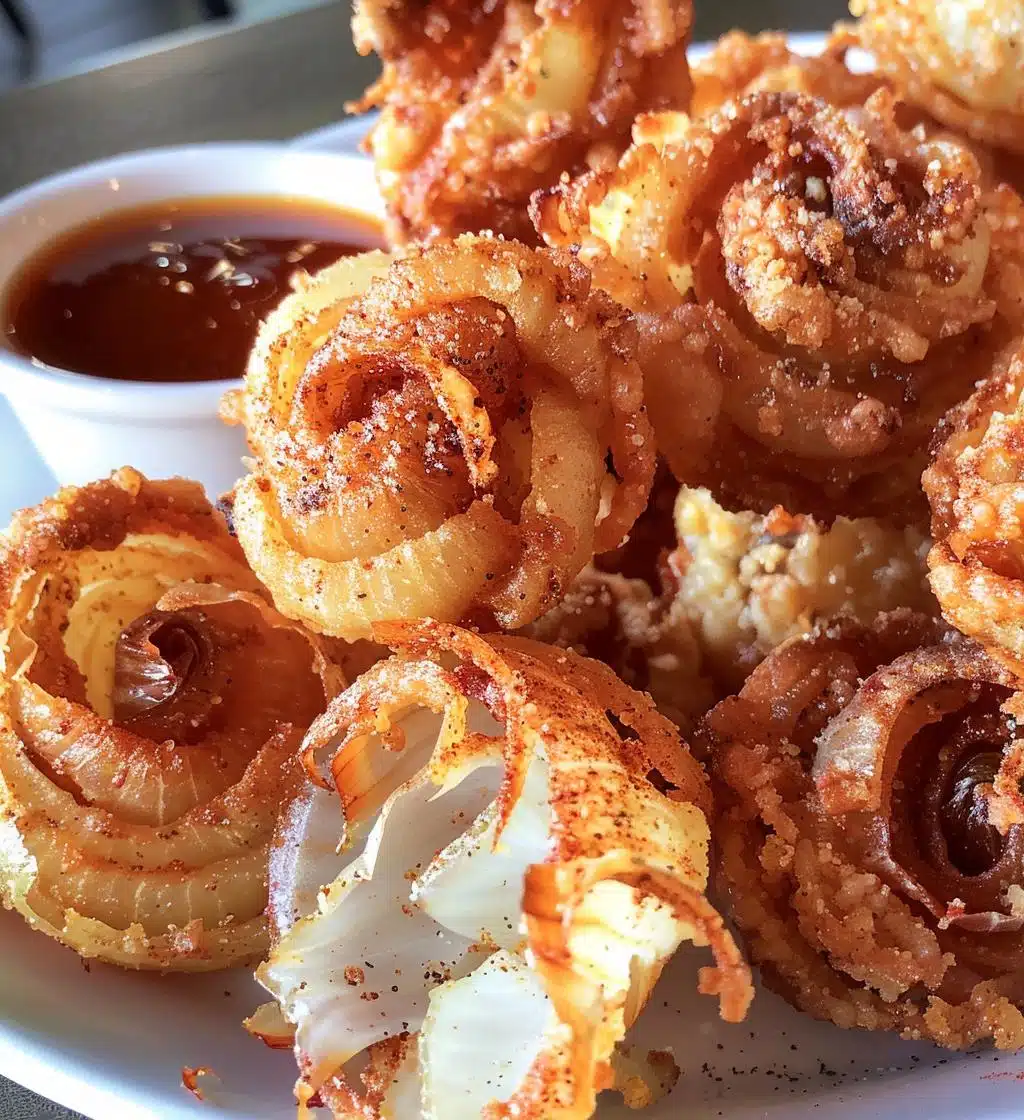
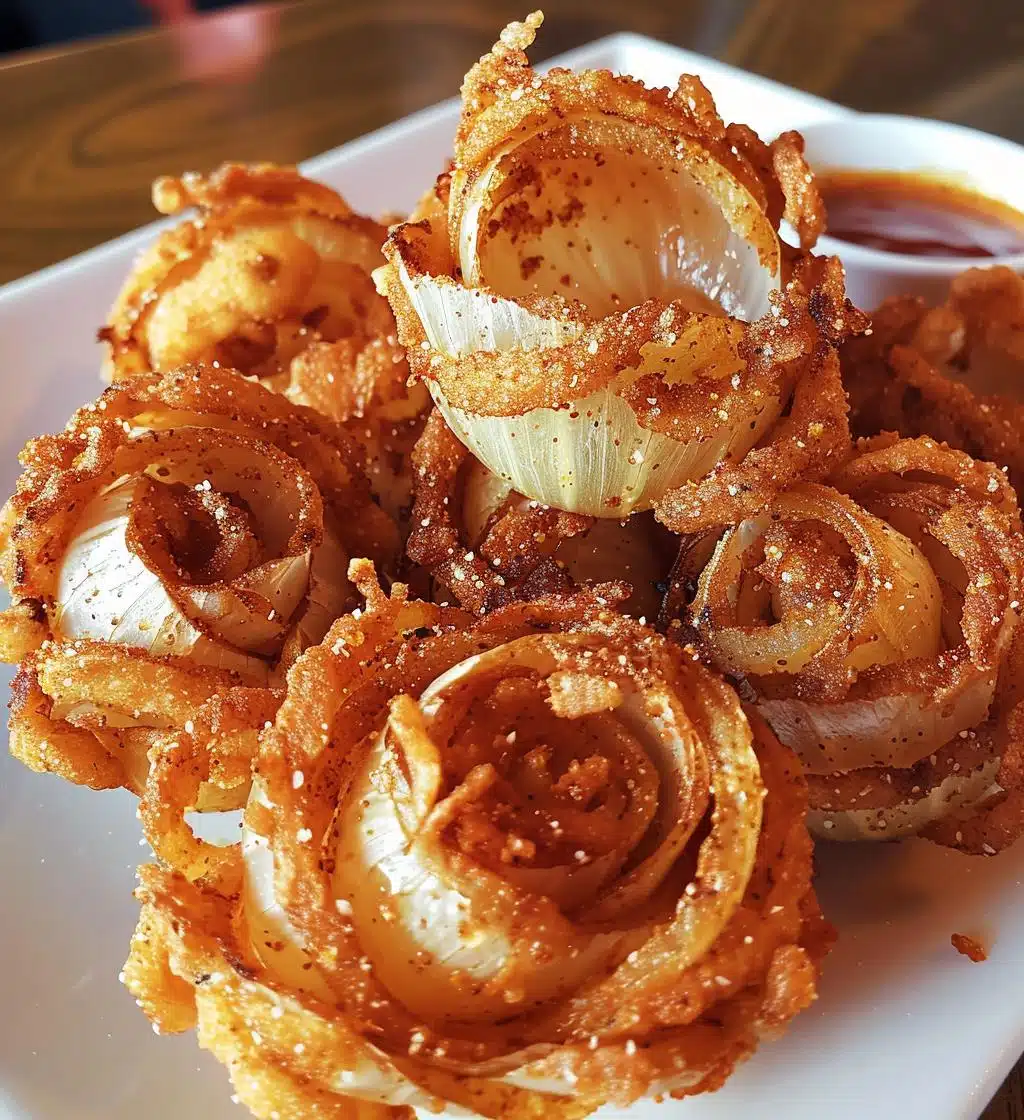
Let me tell you about one of my absolute favorite appetizers: Mini Blooming Onions! These little beauties are the perfect blend of crispy, golden goodness on the outside and a tender, flavorful inside that just makes my taste buds dance. I remember the first time I had them at a friend’s gathering—everyone was raving about how addictive they were, and I couldn’t help but join in on that excitement! The best part? They’re surprisingly easy to make at home, and the aroma that fills your kitchen while they fry is simply divine. Trust me, once you try these Mini Blooming Onions, they’ll become your go-to party snack. You’ll love the crunch and the fun of pulling off those crispy petals, just waiting to be dunked in your favorite sauce! It’s a delightful experience every time.
Ingredients List
Here’s what you’ll need to whip up these mouthwatering Mini Blooming Onions:
- 4 large onions
- 1 cup buttermilk
- 1 cup all-purpose flour
- 1 teaspoon garlic powder
- 1 teaspoon paprika
- 1 teaspoon salt
- 1/2 teaspoon black pepper
- Oil for frying (enough to submerge the onions)
Make sure your onions are nice and large so they can bloom beautifully! Don’t skimp on the buttermilk either; it’s what helps to make them tender and flavorful. Now, let’s get cooking!
How to Prepare Mini Blooming Onions
Ready to dive into the delicious world of Mini Blooming Onions? Let’s break it down step by step so you can impress everyone at your next gathering!
Step-by-Step Instructions
- Start by slicing the tops off your onions and peeling them. You want to expose those beautiful layers inside. Be careful not to cut too deep; we want them to stay intact!
- Once they’re peeled, it’s time for a soak! Place your onions in a bowl and pour in the buttermilk. Let them soak for at least 2 hours. This step is crucial because it tenderizes the onions and infuses them with flavor. You can even soak them overnight if you want to prep ahead!
- Now, let’s mix up the coating. In a separate bowl, combine the flour, garlic powder, paprika, salt, and black pepper. This is where the magic happens; these spices will give your onions that amazing kick!
- While you’re mixing, heat your oil in a deep pan to 350°F (175°C). A good temperature is key to achieving that perfect golden-brown color. You can drop a pinch of flour in—if it sizzles, you’re ready to go!
- Take the soaked onions out of the buttermilk and dredge them in your flour mixture, making sure they get coated well. This is where you’ll want to be gentle to keep those layers intact, but don’t worry if a few petals fall off; it just adds to the charm!
- Carefully place the coated onions in the hot oil, frying them until they’re golden brown. This should take about 3-4 minutes. Keep an eye on them so they don’t burn—nobody wants that!
- Once they’re beautifully crisp, use a slotted spoon to remove them from the oil and drain them on paper towels. Serve them hot, and watch them disappear in no time!
And there you have it—your very own Mini Blooming Onions, ready to be devoured! Just remember, the key is patience during soaking and careful frying. Enjoy!
Why You’ll Love This Recipe
- Quick and easy to prepare—perfect for last-minute gatherings!
- Deliciously crispy on the outside with a tender and flavorful inside.
- Vegetarian-friendly, making them a hit for everyone at the table.
- Customizable seasoning to match your taste buds—feel free to get creative!
- Fun to eat and perfect for sharing, making them a great appetizer for parties.
- They’re a crowd-pleaser—everyone will want to know your secret!
- The aroma while they fry will have everyone flocking to the kitchen!
Tips for Success
Alright, let’s make sure your Mini Blooming Onions turn out absolutely perfect! Here are some of my top tips that I swear by:
- Use Fresh Onions: The fresher your onions, the better they’ll taste and bloom. Look for firm onions without any soft spots.
- Soak, Soak, Soak: Don’t rush the soaking process! Allowing your onions to sit in buttermilk for the full 2 hours (or even longer) is essential for that tender bite. It’s like giving them a spa day!
- Check Oil Temperature: Use a thermometer to ensure your oil is at the right temperature (350°F/175°C). If the oil is too cool, your onions will absorb too much oil and be greasy. If it’s too hot, they’ll burn quickly. You want that perfect golden brown!
- Fry in Batches: Don’t overcrowd the pan! Fry a couple of onions at a time to maintain that oil temperature and ensure even cooking. Plus, it makes it easier to handle them.
- Season Generously: Don’t be shy with your spices! Feel free to add a pinch of cayenne pepper for some heat or swap out the paprika for smoked paprika for a different flavor profile. Experiment until you find your perfect mix!
- Let Them Drain: After frying, give your onions a moment on paper towels to remove excess oil. This step helps keep them crispy for longer.
- Serve Immediately: Mini Blooming Onions are best enjoyed fresh out of the fryer while they’re still hot and crispy. Trust me, they won’t last long once they hit the table!
Follow these tips, and you’ll be well on your way to creating the ultimate appetizer that will have everyone asking for seconds!
Nutritional Information
Curious about what’s in these delightful Mini Blooming Onions? Here’s a quick look at the estimated nutritional data for one onion:
- Calories: 180
- Fat: 9g
- Saturated Fat: 1g
- Unsaturated Fat: 8g
- Trans Fat: 0g
- Cholesterol: 0mg
- Sodium: 400mg
- Carbohydrates: 24g
- Fiber: 2g
- Sugar: 2g
- Protein: 3g
Keep in mind, these values are approximate and can vary based on the specific ingredients you use. If you switch up the oil or adjust any seasonings, the numbers may change a bit. But regardless, you can feel good about enjoying these tasty bites as a fun treat! Now, let’s get ready to serve these beauties up!
FAQ Section
Can I make Mini Blooming Onions ahead of time?
I wouldn’t recommend making them too far in advance since they’re best enjoyed fresh and crispy. However, you can soak the onions in buttermilk the night before and keep them in the fridge. Just coat and fry them just before your gathering!
What dipping sauces go well with Mini Blooming Onions?
Oh, the possibilities are endless! I love serving them with a zesty ranch dressing, but you could also try a spicy aioli, honey mustard, or even a classic ketchup. It really depends on your mood!
Can I use a different type of onion?
While large onions are the classic choice for Mini Blooming Onions, you can experiment with smaller varieties like shallots or even sweet onions for a unique twist. Just keep in mind that cooking times may vary slightly!
What if my onions don’t bloom properly?
If your onions don’t bloom as expected, don’t worry! It can happen if they’re not soaked long enough or if the frying temperature isn’t quite right. Just make sure to follow those soaking and frying tips, and you’ll get the hang of it!
Are Mini Blooming Onions healthy?
While they are a delicious treat, they are definitely on the indulgent side. They’re vegetarian-friendly, but since they’re fried, enjoy them in moderation. Pair them with a fresh salad for a balanced meal!
Serving Suggestions
Now that you’ve got your crispy, golden Mini Blooming Onions ready to share, let’s talk about what to serve alongside them! These delightful bites are fantastic as a stand-alone snack, but they can also shine even brighter with the right accompaniments.
First up, let’s talk dipping sauces! A zesty ranch dressing is always a classic choice, with its creamy texture and tangy flavor perfectly complementing the crunch of the onions. If you’re feeling adventurous, try a spicy aioli for a little kick, or even a sweet and tangy honey mustard sauce. For those who love a bit of heat, a sriracha mayo combo could be the star of the show! The right dip can really elevate your Mini Blooming Onions to the next level.
If you want to create a full appetizer spread, consider serving these onions with a fresh veggie platter. Think crunchy carrots, crisp cucumbers, and colorful bell peppers, all paired with a creamy dip. It’s a great way to balance out the flavors and offer a refreshing bite between those crispy onion petals.
Another fun idea is to set up a mini dipping bar! Lay out a few different sauces and let your guests mix and match to find their favorite pairing. This interactive element not only makes for a fun experience but also ensures that everyone can enjoy the flavors they love.
And if you’re hosting a larger gathering, why not serve the Mini Blooming Onions alongside other appetizers like stuffed mushrooms or loaded potato skins? This way, you’ll have a variety of flavors and textures, making your spread irresistible!
So, get creative, have fun with it, and most of all, enjoy watching your friends and family dive into these tasty treats!
Storage & Reheating Instructions
So, you’ve made a batch of those irresistible Mini Blooming Onions, and now you have some leftovers? No problem! Here’s how to store them properly to keep that delicious crunch intact.
First, let the onions cool completely at room temperature. Once they’re cool, transfer them to an airtight container. I like to layer them between sheets of paper towels to absorb any moisture, which helps keep them crispy. You can store them in the refrigerator for up to 2 days, but trust me, they’re best enjoyed fresh!
When it comes to reheating, the oven is your best friend here. Preheat your oven to 350°F (175°C). Spread the Mini Blooming Onions out on a baking sheet lined with parchment paper. This will allow the hot air to circulate and bring back that lovely crunch! Bake them for about 10-15 minutes, or until they’re heated through and crispy again. Ooh, the smell will have you drooling!
Avoid using the microwave for reheating, as it can make the onions soggy—yuck! If you have an air fryer, that’s another fantastic option. Just pop them in at around 350°F (175°C) for about 5-7 minutes, and they’ll come out crispy and delicious!
Enjoy your leftovers, and remember, they won’t last long once you start digging in again!
Print
Mini Blooming Onions: 7 Tips for Perfectly Crispy Bites
- Total Time: 135 minutes
- Yield: 4 servings 1x
- Diet: Vegetarian
Description
A delicious appetizer with a crispy, golden exterior and a tender, flavorful inside.
Ingredients
- 4 large onions
- 1 cup buttermilk
- 1 cup all-purpose flour
- 1 teaspoon garlic powder
- 1 teaspoon paprika
- 1 teaspoon salt
- 1/2 teaspoon black pepper
- Oil for frying
Instructions
- Slice the tops off the onions and peel them.
- Soak the onions in buttermilk for 2 hours.
- In a bowl, mix flour, garlic powder, paprika, salt, and pepper.
- Heat oil in a deep pan to 350°F (175°C).
- Remove onions from buttermilk and dredge in the flour mixture.
- Fry the onions until golden brown, about 3-4 minutes.
- Drain on paper towels and serve hot.
Notes
- Use a deep pot for frying to avoid splatter.
- Adjust seasoning to taste.
- Serve with dipping sauce of your choice.
- Prep Time: 120 minutes
- Cook Time: 15 minutes
- Category: Appetizer
- Method: Frying
- Cuisine: American
Nutrition
- Serving Size: 1 onion
- Calories: 180
- Sugar: 2g
- Sodium: 400mg
- Fat: 9g
- Saturated Fat: 1g
- Unsaturated Fat: 8g
- Trans Fat: 0g
- Carbohydrates: 24g
- Fiber: 2g
- Protein: 3g
- Cholesterol: 0mg
Keywords: Mini Blooming Onions, appetizer, fried onions