

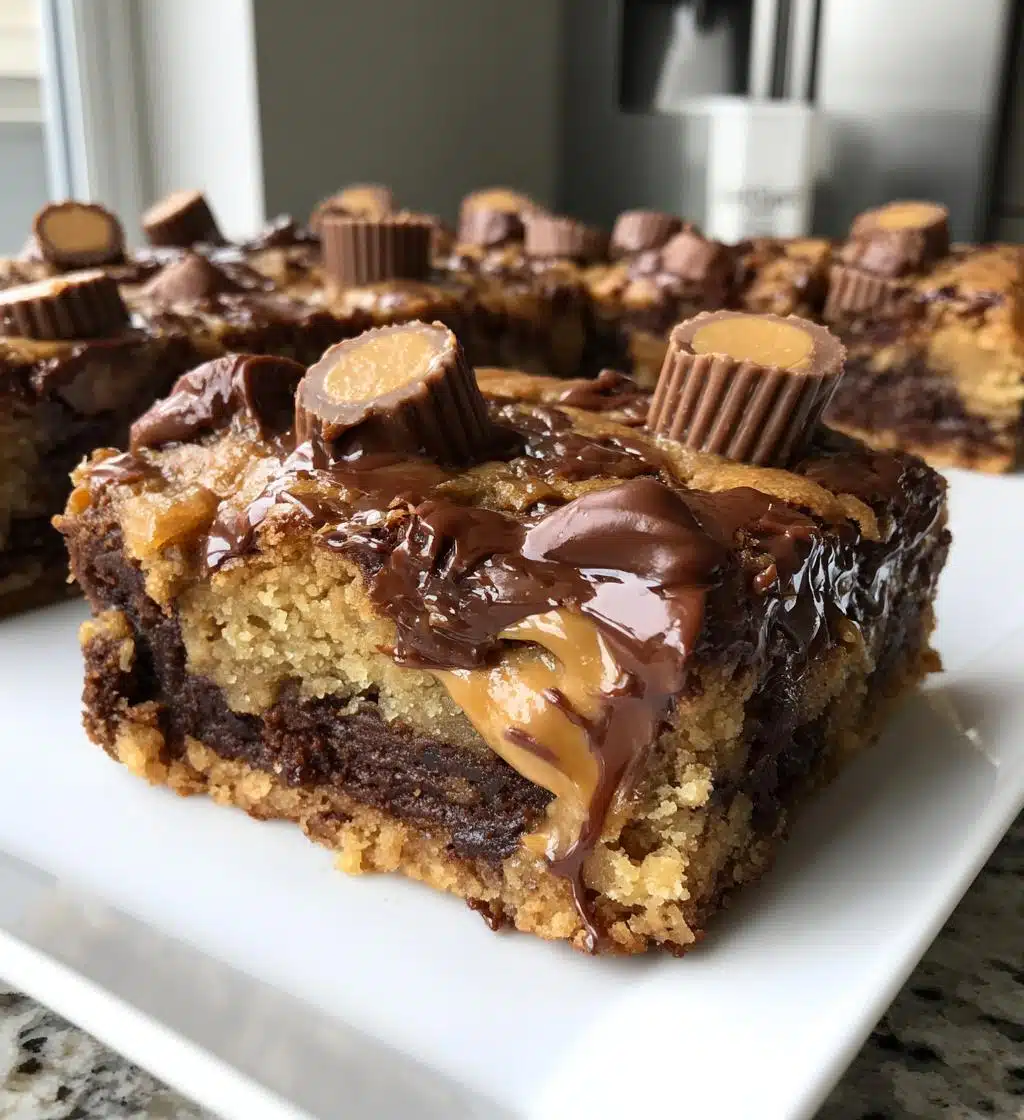
Let me tell you about my ultimate guilty pleasure: the peanut butter cup dump cake! This dessert is the epitome of simplicity and deliciousness rolled into one. Seriously, it’s like a warm hug in cake form. You just toss everything together and let the oven do the magic—no fuss, no fancy techniques required. The rich chocolate cake mixed with creamy peanut butter cups creates a flavor explosion that dessert lovers simply can’t resist. Trust me, once you try this, you’ll want it on repeat for every occasion. It’s perfect for gatherings, or even just to satisfy your sweet tooth after a long day!
Ingredients List
- 1 box chocolate cake mix (your favorite brand will do)
- 1 cup creamy peanut butter (the smooth kind—yum!)
- 1 cup milk (whole milk works best for richness)
- 1 cup mini peanut butter cups (because you can never have too much peanut butter!)
- 1/2 cup vegetable oil (for that moist texture)
- 3 large eggs (make sure they’re at room temperature for easy mixing)
- 1 teaspoon vanilla extract (a little splash of flavor goes a long way!)
How to Prepare Peanut Butter Cup Dump Cake
Now, let’s dive into the deliciousness! Making this peanut butter cup dump cake is a breeze, and I promise you’ll be amazed at how effortlessly it comes together. Just follow these steps, and you’ll have a warm, gooey dessert that’ll make everyone swoon!
Step 1: Preheat the Oven
First things first, you’ll want to preheat your oven to 350°F (175°C). This is super important because it ensures your cake bakes evenly and comes out perfectly fluffy. Trust me, starting with a hot oven is key!
Step 2: Mix the Batter
In a large mixing bowl, combine the chocolate cake mix, milk, vegetable oil, eggs, and vanilla extract. Grab a whisk or a sturdy spoon, and mix until it’s smooth and creamy—no lumps allowed! It should feel like a silky chocolate dream, so don’t rush this part.
Step 3: Add Peanut Butter Cups
Now, here comes the fun part! Gently fold in the mini peanut butter cups. I like to use a spatula for this, so I can keep the mixture nice and fluffy. You want those little bites of peanut butter goodness to be evenly distributed throughout the batter—every bite should be a surprise!
Step 4: Prepare the Baking Dish
Grab your trusty 9×13 inch baking dish and grease it up! I usually use a bit of cooking spray or rub some butter all over the bottom and sides. This will help your cake come out easily once it’s baked and prevent any sticking. No one likes a cake that clings!
Step 5: Bake the Cake
Pour your decadent batter into the prepared baking dish, spreading it out evenly. Then, pop it into your preheated oven and bake for 30-35 minutes. Keep an eye on it, and when a toothpick inserted into the center comes out clean, you know it’s done! Smell that wonderful chocolate aroma filling your kitchen? Yeah, it’s a good sign!
Step 6: Cooling and Serving
Once baked, let the cake cool in the pan for about 10-15 minutes. This waiting time is crucial because it allows the flavors to meld and the cake to firm up slightly. Trust me, it’s worth the wait! Then, slice it up and serve it warm—maybe with a dollop of whipped cream on top for that extra indulgence. Enjoy every gooey bite!
Tips for Success
Now that you’re ready to whip up this amazing peanut butter cup dump cake, here are some pro tips to ensure it turns out perfect every time!
- Room Temperature Ingredients: Make sure your eggs and milk are at room temperature before mixing. This helps the batter blend together more smoothly and creates a fluffier cake!
- Don’t Overmix: When you’re mixing the batter, be careful not to overdo it. Just mix until everything is combined and smooth. Overmixing can lead to a denser cake, and we want that light and fluffy texture!
- Keep an Eye on the Oven: Every oven is a little different, so it’s a good idea to check on your cake a few minutes before the timer goes off. If the edges look set and the center is just slightly jiggly, it’s likely done!
- Use Quality Chocolate Cake Mix: Since the cake mix is the base of your dessert, using a high-quality brand can really elevate the flavor. Trust me, it makes a difference!
- Let It Cool: Don’t skip the cooling step! Allowing the cake to cool for a bit helps it firm up, making it easier to slice and serve. Plus, it enhances the flavors!
- Serve Warm: For the best experience, serve your peanut butter cup dump cake warm. The gooey peanut butter cups mixed with the chocolate cake is simply irresistible!
Follow these tips, and you’ll be well on your way to impressing everyone with your delicious creation!
Nutritional Information
Now, let’s talk about the nutrition! I always find it helpful to know what I’m indulging in, even if it’s a treat like this peanut butter cup dump cake. Keep in mind that these values are estimates, and they can vary depending on the specific brands of ingredients you use. Here’s what you can expect per serving:
- Calories: 350
- Fat: 18g
- Saturated Fat: 5g
- Trans Fat: 0g
- Cholesterol: 30mg
- Sodium: 300mg
- Carbohydrates: 45g
- Fiber: 2g
- Sugar: 25g
- Protein: 6g
So there you have it! Enjoying a slice of this cake is totally worth it, and sometimes, a little indulgence is just what you need. Happy baking!
FAQ Section
Got questions about this peanut butter cup dump cake? Don’t worry, I’ve got you covered! Here are some of the most common queries I get, along with my answers to help you navigate this delicious dessert.
Can I use a different cake mix?
Absolutely! While chocolate cake mix is a classic choice, you can experiment with other flavors like vanilla or even red velvet if you’re feeling adventurous. Just keep in mind that the flavor profile will change a bit!
How should I store leftovers?
If you have any leftovers (which is rare at my house!), simply store them in an airtight container at room temperature for up to 3 days. If you want to keep it longer, you can refrigerate it for up to a week. Just make sure it’s covered well to maintain its moisture.
Can I freeze the cake?
Yes, you can! Once it’s completely cooled, wrap individual portions tightly in plastic wrap and then in aluminum foil. It’ll keep in the freezer for up to 2 months. When you’re ready to enjoy, thaw it overnight in the fridge and warm it up slightly in the microwave.
What can I substitute for eggs?
If you’re looking for an egg substitute, you can use 1/4 cup of unsweetened applesauce or a mashed banana for each egg. This will keep the cake moist, but be aware that the flavor might slightly alter.
How can I make it more decadent?
Oh, I love this question! For an extra indulgent treat, you can drizzle some chocolate sauce or caramel over the top before serving. You could also add a scoop of vanilla ice cream on the side—heavenly!
Can I add more peanut butter cups?
Of course! If you’re a peanut butter lover like me, feel free to add more mini peanut butter cups. Just be mindful of the batter consistency; too many might make it a bit too gooey! But hey, who doesn’t love extra peanut butter?
Is this recipe suitable for gluten-free diets?
Yes! You can easily make this peanut butter cup dump cake gluten-free by using a gluten-free chocolate cake mix. Just make sure all your other ingredients are gluten-free as well, and you’re good to go!
I hope these answers help you whip up the most delicious peanut butter cup dump cake! If you have any more questions, feel free to reach out. Happy baking!
Why You’ll Love This Recipe
- Effortless Preparation: This peanut butter cup dump cake is as easy as tossing ingredients together—perfect for busy days or last-minute gatherings!
- Decadent Flavor: The combination of rich chocolate cake and creamy peanut butter cups creates a divine dessert experience that’s hard to resist.
- Perfect for Sharing: With 12 generous servings, it’s a crowd-pleaser that’ll make you the star of any get-together!
- Customizable: Feel free to mix it up by adding your favorite toppings or experimenting with different cake mixes—there are endless possibilities!
- Gooey Goodness: Each bite is packed with delicious, melting peanut butter cups, making it a treat for any dessert lover.
- Quick Baking Time: In just about 50 minutes, you can have a warm, mouthwatering dessert ready to serve.
- Kid-Friendly: This cake is a hit with kids and adults alike, making it a fantastic choice for family gatherings or birthday parties.
- Leftovers are a Treat: If there are any leftovers (which is a big if!), it stays delicious for days, making it perfect for snacking throughout the week!
Storage & Reheating Instructions
Now that you’ve baked this delectable peanut butter cup dump cake, let’s talk about how to keep it fresh and delicious! If you happen to have any leftovers (which, let’s be honest, is a rare occurrence in my house), it’s super easy to store them. Just pop the cake into an airtight container and keep it at room temperature for up to 3 days. If you want to extend its life a little longer, you can store it in the fridge for up to a week—but make sure it’s covered well to keep that moisture in!
When it comes to reheating, I’ve found the best method is to use the microwave. Simply slice off a piece and pop it in for about 15-20 seconds, or until it’s warmed to your liking. You’ll want to keep an eye on it so it doesn’t get too hot—nobody likes a molten cake explosion! If you prefer a bit of a crispy top, you could also reheat it in the oven at 350°F (175°C) for about 10 minutes. Just be sure to cover it with foil to prevent it from drying out.
No matter how you choose to store or reheat your peanut butter cup dump cake, I guarantee it’ll still be a delicious treat that’s begging to be devoured!
Print
Peanut Butter Cup Dump Cake: 7 Indulgent Steps to Heaven
- Total Time: 50 minutes
- Yield: 12 servings 1x
- Diet: Vegetarian
Description
A simple and delicious peanut butter cup dump cake.
Ingredients
- 1 box chocolate cake mix
- 1 cup creamy peanut butter
- 1 cup milk
- 1 cup mini peanut butter cups
- 1/2 cup vegetable oil
- 3 eggs
- 1 teaspoon vanilla extract
Instructions
- Preheat your oven to 350°F (175°C).
- In a large bowl, combine the cake mix, milk, vegetable oil, eggs, and vanilla extract.
- Mix until smooth.
- Fold in the mini peanut butter cups.
- Pour the batter into a greased 9×13 inch baking dish.
- Dot the top with spoonfuls of peanut butter.
- Bake for 30-35 minutes or until a toothpick comes out clean.
- Let it cool before serving.
Notes
- Store leftovers in an airtight container.
- Serve with whipped cream for extra indulgence.
- Can be made with gluten-free cake mix.
- Prep Time: 15 minutes
- Cook Time: 35 minutes
- Category: Dessert
- Method: Baking
- Cuisine: American
Nutrition
- Serving Size: 1 piece
- Calories: 350
- Sugar: 25g
- Sodium: 300mg
- Fat: 18g
- Saturated Fat: 5g
- Unsaturated Fat: 10g
- Trans Fat: 0g
- Carbohydrates: 45g
- Fiber: 2g
- Protein: 6g
- Cholesterol: 30mg
Keywords: peanut butter cup, dump cake, dessert, chocolate cake