

Oh my goodness, let me tell you about the joy of making Red Velvet Pancakes! There’s just something about that vibrant red color and the hint of cocoa that makes breakfast feel like a special occasion. I love whipping these up on lazy weekends or when I want to impress friends at brunch. The moment they hit the skillet, the smell is divine—it’s like a warm hug in pancake form! Plus, they’re super simple to make, and you can dress them up with syrup or even slather on some cream cheese frosting. Trust me, these pancakes will steal the show at your next breakfast gathering!
Ingredients List
Here’s what you’ll need to create these stunning Red Velvet Pancakes. I promise you’ll find these ingredients easy to gather, and they come together beautifully!
- 1 cup all-purpose flour: This is the base of your pancakes, giving them that classic fluffy texture.
- 1 tablespoon cocoa powder: Just a touch for that subtle chocolate flavor—don’t skip it!
- 1 tablespoon baking powder: This helps your pancakes rise and become light and airy.
- 1/2 teaspoon salt: A little salt goes a long way in enhancing all the flavors.
- 1 cup buttermilk: The key to moist pancakes! If you don’t have buttermilk, you can make a quick substitute with regular milk and a splash of vinegar.
- 1 large egg: This adds richness and helps bind everything together.
- 2 tablespoons vegetable oil: For moisture and that perfect pancake texture.
- 1 tablespoon red food coloring: This is what gives the pancakes their signature color; feel free to adjust this amount to your liking!
- 1 teaspoon vanilla extract: Because pancakes just aren’t complete without a hint of vanilla goodness.
How to Prepare Red Velvet Pancakes
Alright, let’s dive into the process of making these beautiful Red Velvet Pancakes! Trust me, once you get the hang of it, you’ll be flipping them like a pro!
Mixing the Dry Ingredients
First things first, grab a mixing bowl and combine the flour, cocoa powder, baking powder, and salt. Use a whisk to blend them together—this step is crucial because it ensures your leavening agents are evenly distributed. You want to make sure there are no lumps, especially from the cocoa powder. Just a couple of minutes of whisking will do the trick!
Combining Wet Ingredients
In another bowl, it’s time to whisk together the buttermilk, egg, vegetable oil, red food coloring, and vanilla extract. Make sure your buttermilk is at room temperature for the best results! Whisk until everything is well combined and the food coloring is fully mixed in—this will give your pancakes that gorgeous red hue!
Bringing It All Together
Now, it’s time to combine the two mixtures. Pour the wet ingredients into the dry ingredients, and gently fold them together with a spatula. Here’s the key: don’t overmix! It’s okay if there are a few lumps in the batter; this will keep your pancakes nice and fluffy. Just mix until everything is incorporated, and then you’re ready to cook!
Cooking the Pancakes
Heat a skillet or griddle over medium heat and lightly grease it with a bit of butter or oil. Once it’s hot (you can splash a few drops of water on it to test—the water should sizzle), pour your batter onto the skillet. I usually make pancakes about 4-5 inches in diameter. Cook for about 2-3 minutes, or until you see bubbles forming on the surface. Then, flip and cook for another 1-2 minutes until they’re golden brown. Oh, the smell is heavenly!
Serving Suggestions
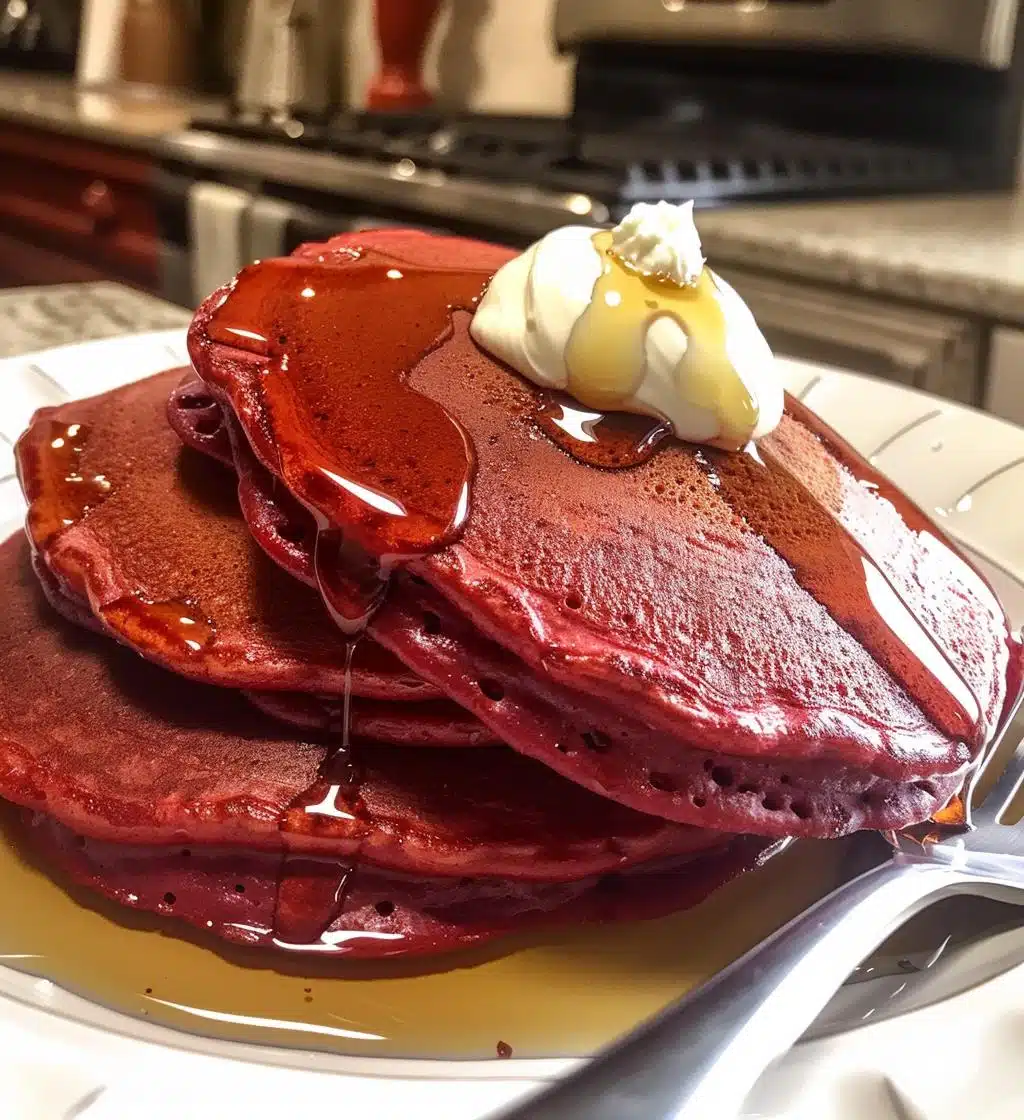
These Red Velvet Pancakes are perfect with a drizzle of maple syrup, but my absolute favorite is topping them with a dollop of cream cheese frosting. You could even add some fresh berries or a sprinkle of powdered sugar for that extra wow factor. Trust me, they’re a showstopper on any brunch table!
Tips for Success
To ensure your Red Velvet Pancakes turn out perfectly every time, here are my top tips! First, don’t be afraid to adjust the amount of red food coloring—if you want a deeper hue, just add a bit more until you reach your desired vibrancy. But remember, a little goes a long way!
Also, serve these pancakes immediately after cooking for the best taste and texture. They’re at their fluffiest and most delicious right off the griddle! If you need to keep them warm, just place them on a baking sheet in a low oven (around 200°F or 93°C) until you’re ready to serve.
And here’s a little secret: the batter can thicken as it sits, so if you notice it getting a bit too thick, just stir in a splash of milk before cooking. Follow these tips, and you’ll wow everyone with your breakfast skills!
Nutritional Information
Just a quick note before we dive into the numbers: nutritional values can vary based on the specific ingredients you use and their brands, so keep that in mind! But here’s a general idea of what you’re getting with these delightful Red Velvet Pancakes:
- Serving Size: 2 pancakes
- Calories: 300
- Sugar: 5g
- Sodium: 400mg
- Fat: 12g
- Saturated Fat: 2g
- Unsaturated Fat: 8g
- Trans Fat: 0g
- Carbohydrates: 42g
- Fiber: 1g
- Protein: 6g
- Cholesterol: 40mg
Now, armed with this info, you can enjoy your pancakes without a hint of guilt!
FAQ Section
Can I use different types of flour?
Absolutely! If you’re looking to switch things up, you can use whole wheat flour for a heartier pancake or even a gluten-free blend if you need a gluten-free option. Just keep in mind that the texture might vary a bit depending on the flour you choose. If you’re using a gluten-free flour, it may be a good idea to add a little extra baking powder to ensure they rise nicely!
How do I store leftovers?
If you have any leftover Red Velvet Pancakes (which is rare in my house!), just let them cool completely and then stack them with a piece of parchment paper between each pancake to prevent sticking. Pop them in an airtight container and store them in the fridge for up to 2 days. When you’re ready to enjoy them again, just reheat in the microwave or on a skillet until warmed through. Easy peasy!
Can I make these pancakes ahead of time?
Sure thing! You can make the pancake batter ahead of time and keep it in the fridge for about 24 hours. Just give it a quick stir before cooking, as it might thicken a bit. If you want to make the pancakes themselves in advance, I recommend cooking them and then freezing them. Just place them in a single layer on a baking sheet, freeze until solid, and then transfer them to a freezer bag. They’ll last for up to a month! When you’re ready to eat, just pop them in the toaster or microwave to reheat!
Why You’ll Love This Recipe
- Quick Prep Time: You can whip these up in just 10 minutes, making them perfect for busy mornings!
- Delicious Flavor: The combination of cocoa and buttermilk creates a rich and unique taste that’s unforgettable.
- Perfect for Brunch: These pancakes are a showstopper at any brunch gathering—everyone will be asking for the recipe!
- Customizable: Adjust the level of food coloring or toppings to suit your style. Add chocolate chips or nuts for a twist!
- Fun and Festive: The vibrant red color makes every pancake stack feel like a celebration, perfect for special occasions!
- Kid-Friendly: Kids love the fun color and delicious taste, making breakfast enjoyable for the whole family.
Equipment List
Before you get started on your delightful Red Velvet Pancakes, let’s make sure you have all the necessary tools at hand. Having the right equipment can make the process smoother and more enjoyable!
- Mixing Bowls: You’ll need at least two—one for the dry ingredients and one for the wet ingredients. I love using glass bowls because I can see the colors mixing beautifully!
- Whisk: A good whisk is essential for blending your ingredients. It helps combine the dry and wet mixtures evenly, ensuring no lumps!
- Spatula: A rubber or silicone spatula is perfect for gently folding the batter together without overmixing. You’ll want one for flipping those pancakes too!
- Skillet or Griddle: A non-stick skillet or griddle is key for cooking your pancakes. Make sure it’s nice and hot before pouring in the batter!
- Ladle or Measuring Cup: This is great for pouring the batter onto the skillet. It helps you get the perfect pancake size every time!
- Measuring Cups and Spoons: Accurate measurements are crucial for achieving that perfect pancake texture, so have these handy!
- Cooling Rack (optional): If you’re making a big batch, a cooling rack can help keep your pancakes warm and prevent them from getting soggy.
With these tools at your disposal, you’ll be well-equipped to whip up a batch of fluffy, vibrant Red Velvet Pancakes that will wow your family and friends!
For more delicious breakfast ideas, check out this breakfast category on our site!
And if you’re curious about the history of pancakes, you can read more here.
Print
Red Velvet Pancakes: 7 Steps to Blissful Breakfast Delights
- Total Time: 25 minutes
- Yield: 4 servings 1x
- Diet: Vegetarian
Description
Delicious red velvet pancakes perfect for breakfast or brunch.
Ingredients
- 1 cup all-purpose flour
- 1 tablespoon cocoa powder
- 1 tablespoon baking powder
- 1/2 teaspoon salt
- 1 cup buttermilk
- 1 large egg
- 2 tablespoons vegetable oil
- 1 tablespoon red food coloring
- 1 teaspoon vanilla extract
Instructions
- In a bowl, mix flour, cocoa powder, baking powder, and salt.
- In another bowl, whisk buttermilk, egg, vegetable oil, food coloring, and vanilla.
- Combine wet and dry ingredients until just mixed.
- Heat a skillet over medium heat and grease lightly.
- Pour batter onto skillet, making pancakes of desired size.
- Cook until bubbles form, then flip and cook until golden brown.
- Serve with syrup or cream cheese frosting.
Notes
- Adjust the amount of food coloring for desired color.
- Serve immediately for best taste.
- Store leftovers in the refrigerator for up to 2 days.
- Prep Time: 10 minutes
- Cook Time: 15 minutes
- Category: Breakfast
- Method: Griddle
- Cuisine: American
Nutrition
- Serving Size: 2 pancakes
- Calories: 300
- Sugar: 5g
- Sodium: 400mg
- Fat: 12g
- Saturated Fat: 2g
- Unsaturated Fat: 8g
- Trans Fat: 0g
- Carbohydrates: 42g
- Fiber: 1g
- Protein: 6g
- Cholesterol: 40mg
Keywords: Red Velvet Pancakes