
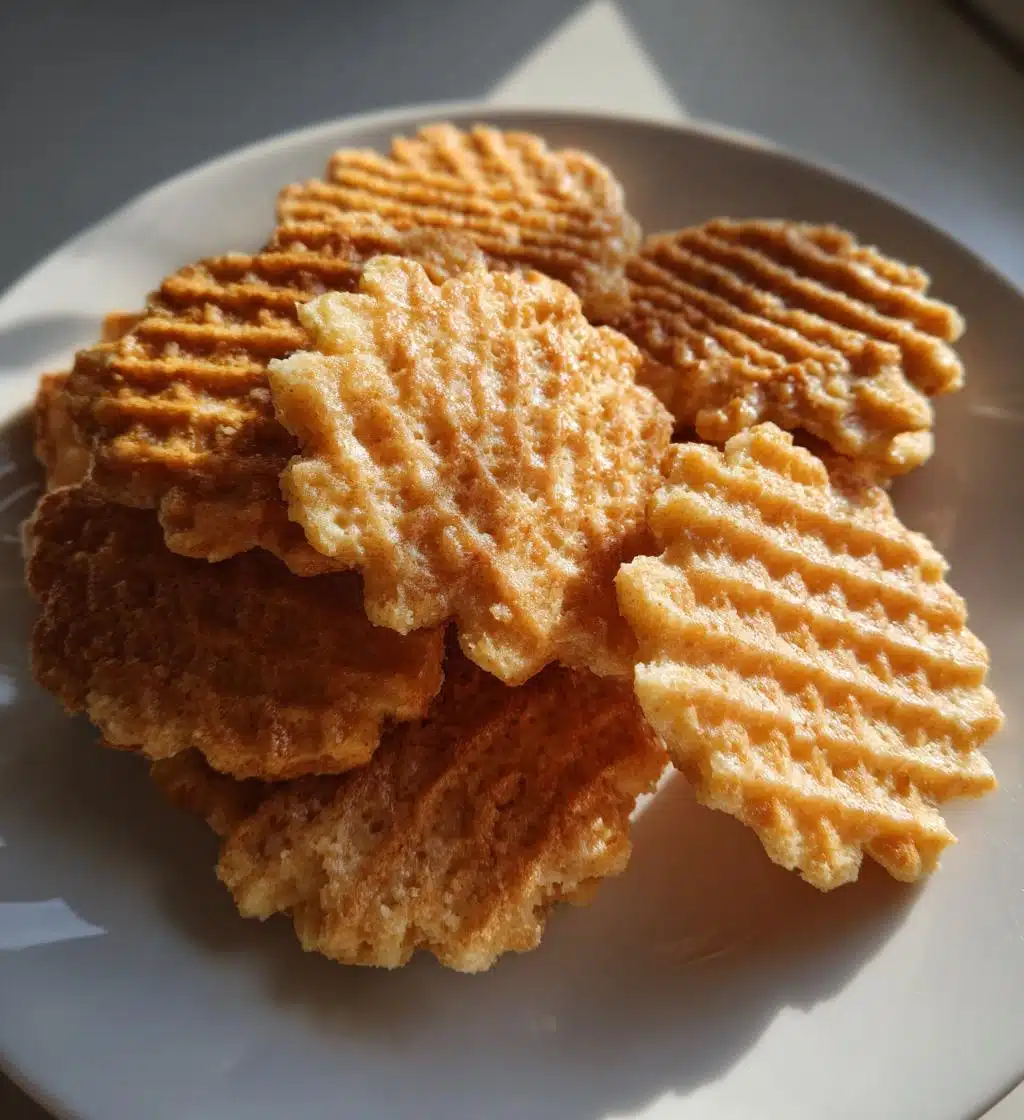
If you’re on the hunt for a delightful treat that’s both crispy and full of flavor, let me introduce you to my vegan vanilla wafers! These little gems are not just for the vegans among us; trust me, even the non-vegan crowd will be raving about them. Imagine a light, crunchy texture that gives way to a sweet, aromatic vanilla flavor – it’s pure bliss. The best part? They’re incredibly easy to whip up with simple ingredients you probably already have in your pantry. Whether you enjoy them as a snack or use them in your favorite desserts, these wafers are sure to satisfy everyone’s sweet tooth. You’re going to love them!
Ingredients List
- 1 cup all-purpose flour – the base of our crispy wafers, giving them that perfect crunch
- 1/2 cup coconut oil, melted – this adds a rich, buttery flavor and helps achieve that delightful crispiness
- 1/2 cup maple syrup – for natural sweetness and a hint of caramel goodness
- 1 tablespoon vanilla extract – because what’s a vanilla wafer without that lovely vanilla aroma?
- 1/4 teaspoon salt – just a pinch to balance the sweetness and enhance all those delicious flavors
How to Prepare Vegan Vanilla Wafers
Making these vegan vanilla wafers is a simple and enjoyable process! Follow my steps, and you’ll have a delicious, crispy snack in no time.
Step 1: Preheat the Oven
First things first, preheat your oven to 350°F (175°C). This step is crucial because it ensures that your wafers bake evenly and come out perfectly golden.
Step 2: Mix Wet Ingredients
In a mixing bowl, combine the melted coconut oil, maple syrup, and vanilla extract. Give it a good stir until everything is well combined. The coconut oil should be warm but not hot, so you don’t accidentally cook the other ingredients. Just imagine that sweet vanilla aroma filling your kitchen!
Step 3: Combine Dry Ingredients
Next, it’s time to add the dry ingredients. Slowly add the all-purpose flour and salt to the wet mixture. Stir gently until everything is fully combined. You want a smooth dough, so make sure there are no little flour pockets hiding in there!
Step 4: Form the Wafers
Now comes the fun part! Using a spoon or a cookie scoop, drop spoonfuls of dough onto a baking sheet lined with parchment paper. Make sure to leave some space between each dollop, as they will spread a bit while baking. I usually go for about 2 inches apart – it keeps them from sticking together.
Step 5: Bake and Cool
Pop your baking sheet in the preheated oven and bake for 10-12 minutes, or until the wafers are golden and slightly firm to the touch. Keep an eye on them during the last few minutes, as ovens can vary. Once they’re done, let them cool on the baking sheet for a few minutes before transferring them to a wire rack to cool completely. This cooling time is essential for achieving that delightful crunch!
Nutritional Information
Just a quick heads up – the nutritional values I’m sharing are estimates and can vary depending on the specific ingredients and brands you use. That said, here’s what you can expect per serving, which is about two wafers:
- Calories: 100
- Fat: 6g
- Saturated Fat: 5g
- Unsaturated Fat: 1g
- Trans Fat: 0g
- Cholesterol: 0mg
- Sodium: 50mg
- Carbohydrates: 10g
- Fiber: 1g
- Sugar: 5g
- Protein: 1g
These little wafers pack a delightful crunch and just the right amount of sweetness, making them a guilt-free snack option. Perfect for when you need a quick pick-me-up or a sweet treat without the fuss!
Tips for Success
To make sure your vegan vanilla wafers turn out perfectly every time, here are some of my favorite tips that I’ve picked up along the way!
- Keep an eye on the baking time: Ovens can be quirky! If you know yours runs hot or cool, adjust the baking time accordingly. Start checking your wafers at the 10-minute mark to ensure they don’t over-bake. You want them golden, not burnt!
- Experiment with thickness: If you like your wafers a bit thicker, don’t hesitate to drop larger spoonfuls of dough. Just remember, thicker wafers may require a minute or two more in the oven, so keep that in mind!
- Let them cool: This part is crucial for that satisfying crunch. If you dive in too soon, you might end up with softer wafers. Give them a few minutes on the baking sheet, then transfer to a wire rack to cool completely.
- Consider your altitude: If you’re baking at a high altitude, you might need to make slight adjustments to the flour or liquid amounts. A little less flour can help prevent the wafers from spreading too much.
- Store wisely: To maintain that delightful crispiness, store your wafers in an airtight container. They’ll stay fresh for several days, but trust me, they won’t last that long!
With these handy tips, you’re all set to create the best vegan vanilla wafers around. Happy baking!
Variations on Vegan Vanilla Wafers
Now that you’ve mastered the basic vegan vanilla wafers, let’s have some fun and jazz them up a bit! There are so many delightful variations you can try that’ll take these crispy treats to a whole new level. Here are a few of my favorites:
- Cinnamon Sugar Twist: If you love a touch of spice, sprinkle a teaspoon of cinnamon into the dry ingredients. Once they’re baked, coat them lightly in a mixture of sugar and cinnamon while they’re still warm for that classic snickerdoodle vibe!
- Chocolate Chip Delight: Who doesn’t love chocolate? Fold in a half cup of dairy-free chocolate chips into the dough for a rich, sweet surprise in every bite. It’s like a party in your mouth!
- Nuts About It: Add some crunch by mixing in 1/2 cup of chopped nuts, like almonds or walnuts. They add a lovely texture and a nutty flavor that pairs beautifully with the vanilla.
- Almond Joy: For a tropical twist, try adding 1/4 cup of shredded coconut and a splash of almond extract along with the vanilla. It’ll give your wafers a delightful coconut flavor that’s sure to impress!
- Matcha Magic: If you’re feeling adventurous, substitute a couple of tablespoons of flour with matcha powder. This will give your wafers a beautiful green color and a unique earthy flavor that’s totally delicious!
Feel free to get creative! The beauty of these vegan vanilla wafers is their versatility. Mix and match these ideas or even come up with your own unique combinations. I can’t wait to hear what delicious twists you come up with!
Serving Suggestions
Now that you’ve baked up a batch of those delightful vegan vanilla wafers, let’s talk about how to enjoy them to the fullest! These crispy treats are super versatile and can be paired with a variety of goodies to elevate your snacking experience. Here are some of my favorite serving suggestions:
- Vegan Ice Cream Sandwich: Take two wafers and sandwich a scoop of your favorite vegan ice cream in between. It’s a classic treat that’s bound to make you smile. Chocolate, vanilla, or even a fruity sorbet – the options are endless!
- With Fresh Berries: Serve the wafers with a side of fresh berries, like strawberries or raspberries, and a dollop of coconut whipped cream for a light and refreshing dessert. The sweetness of the fruit pairs beautifully with the crunchy wafers.
- Chocolate Dipping Sauce: Melt some dairy-free chocolate and dip the wafers in it for a rich, indulgent treat. You can even sprinkle a little sea salt on top for that sweet and salty combo that’s just divine!
- As a Crust for Desserts: Crush some wafers and use them as a base for a vegan cheesecake or trifle. It adds a delicious crunch and a hint of vanilla flavor that complements the creamy layers perfectly.
- With Nut Butters: Spread a layer of almond or peanut butter on each wafer for a satisfying snack that’s both crunchy and creamy. You could even drizzle a little maple syrup on top for extra sweetness!
These serving ideas are just the tip of the iceberg! Feel free to get creative and mix things up. Whether you’re enjoying them on their own or as part of a more elaborate dessert, these vegan vanilla wafers are sure to impress every time! Happy snacking!
Storage & Reheating Instructions
To keep your vegan vanilla wafers fresh and crispy, store them in an airtight container at room temperature. This simple step will help maintain their delightful crunch for up to a week. Trust me, you’ll want to savor these little treats for as long as possible!
If you find yourself with leftover wafers (which is always a possibility), and you want to enjoy them warm again, reheating is super easy. Just pop them in a preheated oven at 350°F (175°C) for about 5 minutes. This will revive their crispiness and make them feel like they just came out of the oven. Ooh, imagine that warm vanilla aroma filling your kitchen again!
However, if you’re looking to store them for a longer period, you can freeze the wafers! Just make sure they’re completely cooled, then place them in a freezer-safe bag or container. They’ll keep well for up to 2 months. When you’re ready to indulge, let them thaw at room temperature and follow the reheating instructions above to bring back that crispy goodness. How perfect is that?
FAQ Section
Can I make these vegan vanilla wafers gluten-free?
Absolutely! You can substitute the all-purpose flour with a gluten-free flour blend. Just make sure it’s a 1:1 replacement, and your wafers will still come out delicious!
How do I know when the wafers are done baking?
You’ll want to look for a lovely golden color and a firm texture when you gently press them. If they’re still soft in the center, give them another minute or two in the oven, but keep a close eye to avoid overbaking.
Can I use a different sweetener instead of maple syrup?
Sure thing! You can swap in agave nectar or even brown rice syrup if you prefer. Just remember, the flavor might vary slightly, but they’ll still be tasty!
What can I do if my dough is too crumbly?
If you find that your dough isn’t holding together well, try adding a tiny bit of non-dairy milk, one teaspoon at a time, until it reaches the right consistency. It should be soft but not overly sticky.
How long do these vegan vanilla wafers last?
Stored in an airtight container at room temperature, they’ll stay fresh and crispy for about a week. If you want them to last longer, freezing is a great option!

Vegan Vanilla Wafers That Taste Like Pure Bliss in 5 Steps
- Total Time: 27 minutes
- Yield: 24 wafers 1x
- Diet: Vegan
Description
A simple recipe for vegan vanilla wafers that are crispy and delicious.
Ingredients
- 1 cup all-purpose flour
- 1/2 cup coconut oil, melted
- 1/2 cup maple syrup
- 1 tablespoon vanilla extract
- 1/4 teaspoon salt
Instructions
- Preheat the oven to 350°F (175°C).
- In a bowl, mix the melted coconut oil, maple syrup, and vanilla extract.
- Add the flour and salt, and stir until combined.
- Drop spoonfuls of dough onto a baking sheet lined with parchment paper.
- Bake for 10-12 minutes until golden.
- Let cool before serving.
Notes
- Store in an airtight container.
- These wafers can be used in desserts or enjoyed as a snack.
- Prep Time: 15 minutes
- Cook Time: 12 minutes
- Category: Snacks
- Method: Baking
- Cuisine: American
Nutrition
- Serving Size: 2 wafers
- Calories: 100
- Sugar: 5g
- Sodium: 50mg
- Fat: 6g
- Saturated Fat: 5g
- Unsaturated Fat: 1g
- Trans Fat: 0g
- Carbohydrates: 10g
- Fiber: 1g
- Protein: 1g
- Cholesterol: 0mg
Keywords: vegan vanilla wafers, vegan snacks, homemade wafers