
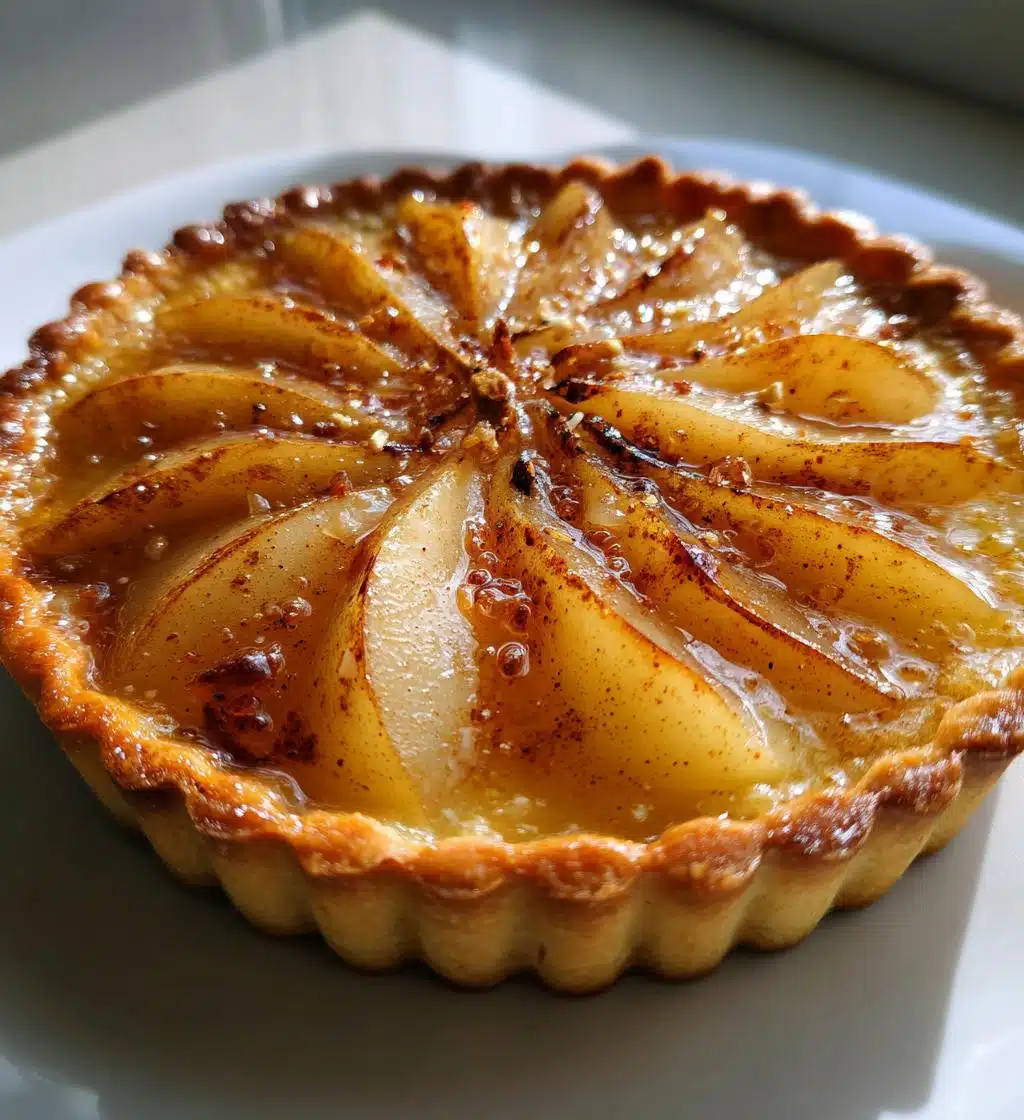
There’s just something magical about a Christmas Pear Tart that fills my heart with joy during the holiday season! The sweet aroma of ripe pears mingling with warm spices creates a cozy atmosphere that instantly brings back fond memories of family gatherings around the table. I remember the first time I made this tart; it was a bit chaotic, flour everywhere, but the excitement in the kitchen was contagious! Ever since, this tart has become a must-have at our festive celebrations. The buttery crust, tender pears, and a hint of cinnamon make every bite feel like a warm hug. Trust me, when you serve this at your holiday gatherings, it’ll become a cherished tradition in your home too!
Ingredients List
- 1 pre-made tart shell
- 3 ripe pears, peeled and sliced
- 1/2 cup granulated sugar
- 1 teaspoon cinnamon
- 1 tablespoon lemon juice
- 2 tablespoons unsalted butter, melted
- 1 egg, beaten (for egg wash)
These ingredients come together to create the perfect balance of sweetness and warmth. Make sure your pears are ripe for the best flavor, and don’t skip the lemon juice—it adds a delightful brightness that complements the sweet pears beautifully. The buttery tart shell is the perfect vessel for this comforting filling. You’re going to love it!
How to Prepare the Christmas Pear Tart
Making a Christmas Pear Tart is easier than you might think! Just follow these steps, and you’ll have a festive dessert that’ll wow your guests. Let’s get started!
Step 1: Preheat Your Oven
First things first, preheat your oven to 375°F (190°C). Preheating is crucial because it ensures your tart cooks evenly and develops that beautiful golden crust. You don’t want to rush this part, so let it warm up while you prepare the filling!
Step 2: Prepare the Pear Mixture
Now, grab a bowl and combine those lovely sliced pears with 1/2 cup of sugar, 1 teaspoon of cinnamon, 1 tablespoon of lemon juice, and 2 tablespoons of melted butter. Mix everything gently until the pears are nicely coated. The sugar and cinnamon will create a sweet, aromatic filling that makes your kitchen smell incredible! If you want to elevate the flavor even more, let the mixture sit for a few minutes to allow the juices to meld together.
Step 3: Assemble the Tart
Next, place your pre-made tart shell in a baking dish. Carefully arrange the pear mixture inside, spreading it out evenly so every slice gets its fair share of that delicious filling. Don’t be afraid to layer the pears a bit for a beautiful presentation; a little height can be stunning!
Step 4: Bake the Tart
Time to pop your tart in the oven! Bake it for about 25-30 minutes, or until the pears are tender and the crust is golden brown. Keep an eye on it; you want that crust to be perfectly crisp without burning. The smell wafting through your home will be almost irresistible!
Step 5: Cool and Serve
Once it’s done baking, let the tart cool for about 10-15 minutes before slicing. This resting time helps the filling set up a bit more, making it easier to serve. Trust me, it’s divine when served warm, especially with a scoop of vanilla ice cream on top to complement those sweet, spiced pears. Enjoy every bite!
Nutritional Information
Here’s a rough idea of the nutritional values for each slice of this delightful Christmas Pear Tart. Keep in mind that these are estimates, but they can help you gauge your indulgence:
- Calories: 220
- Fat: 8g
- Sugar: 18g
- Protein: 2g
- Carbohydrates: 35g
This tart is a sweet treat, and while it’s perfect for special occasions, it’s always nice to be aware of what you’re enjoying. So go ahead and savor those flavors, knowing you have a delightful dessert that brings joy to your holiday table!
Why You’ll Love This Recipe
- Simple to make with just a few ingredients that come together beautifully.
- A stunning centerpiece for your holiday table that impresses every guest.
- The sweet, spiced aroma fills your home and warms your heart.
- Versatile enough to serve warm or at room temperature, perfect for gatherings.
- Pairs wonderfully with vanilla ice cream or whipped cream for an extra treat.
- It’s a delightful way to showcase seasonal pears, making it a festive favorite.
This Christmas Pear Tart is not just a dessert; it’s a celebration of flavors and memories that you’ll want to share with family and friends!
Tips for Success
To ensure your Christmas Pear Tart turns out absolutely perfect, here are a few pro tips! First, choose ripe but firm pears for the best flavor and texture—overripe ones can turn mushy. When mixing the pear filling, be gentle; you want to coat the pears without mashing them. For an extra touch, sprinkle a little more cinnamon on top before baking for that beautiful aroma! And don’t skip the egg wash; it gives the crust a lovely golden finish. Lastly, if you want to impress, dust the tart with powdered sugar just before serving for a festive touch!
Storage & Reheating Instructions
If you happen to have any leftovers of your delicious Christmas Pear Tart (which is rare, but it happens!), you can store it in the refrigerator. Just cover it tightly with plastic wrap or place it in an airtight container. It’ll keep well for up to 3 days, so you can enjoy those sweet flavors a little longer!
When you’re ready to indulge again, simply reheat individual slices in the microwave for about 15-20 seconds until warm. Alternatively, you can pop it back into a preheated oven at 350°F (175°C) for about 10 minutes to crisp up that crust again. Enjoy your festive treat!
FAQ Section
Can I use a different type of fruit?
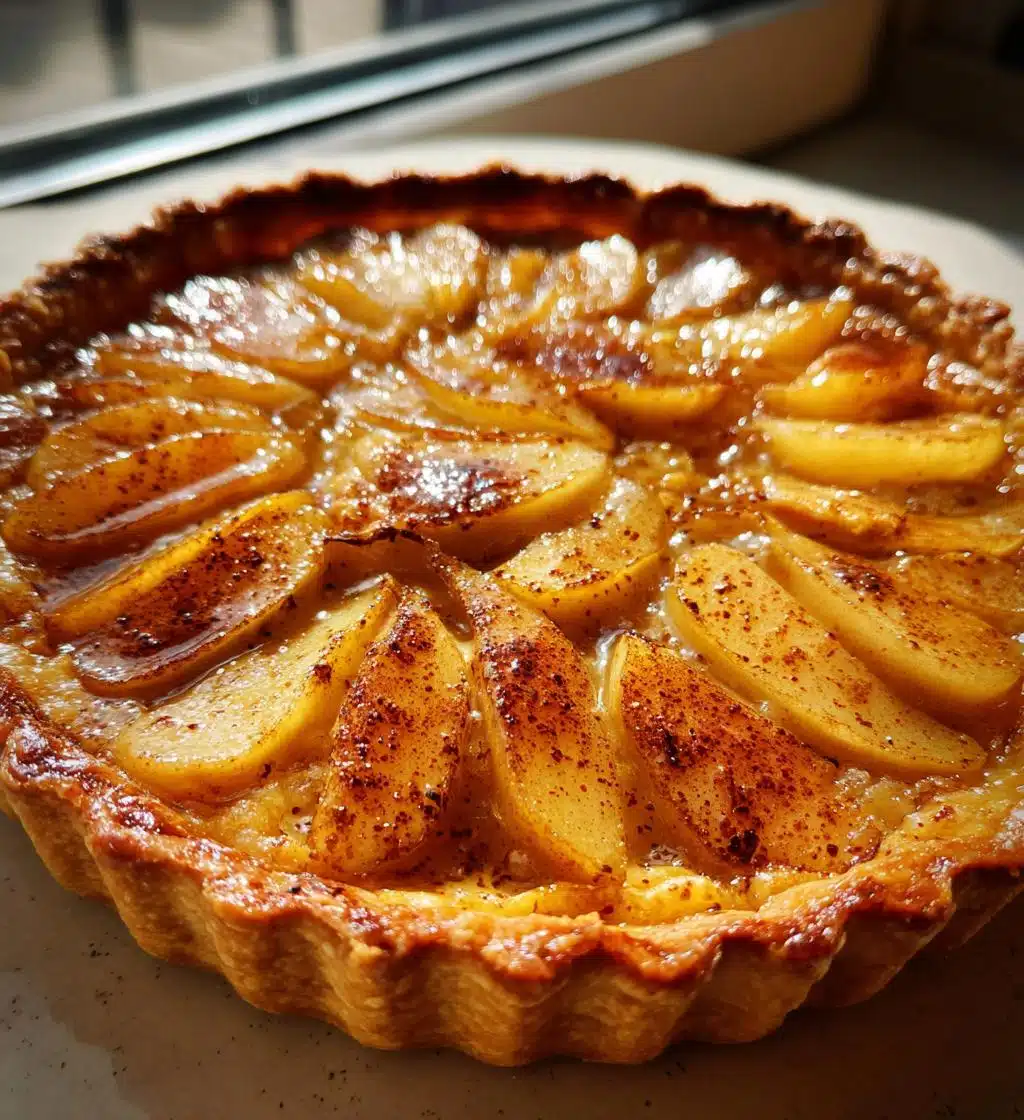
Absolutely! While pears are the star of this Christmas Pear Tart, you can swap them for apples or even a mix of seasonal fruits like cranberries for a tart twist. Just keep in mind that cooking times may vary based on the fruit you choose.
What if I don’t have a pre-made tart shell?
No worries! You can easily make your own crust using flour, butter, and a pinch of salt. Just roll it out and fit it into your tart pan. It’s a bit more work, but the extra love is worth it!
Can I make this tart ahead of time?
Yes! You can prepare the tart a day in advance and store it in the refrigerator. Just be sure to cover it well to keep it fresh. Reheat it gently before serving for the best flavor.
Is this recipe suitable for freezing?
Definitely! You can freeze the tart before baking. Just wrap it tightly in plastic wrap and foil. Bake it straight from the freezer, adding a few extra minutes to the baking time.

Christmas Pear Tart: 5 Reasons to Make It Magical
- Total Time: 45 minutes
- Yield: 8 servings 1x
- Diet: Vegetarian
Description
A festive dessert featuring sweet pears in a buttery tart crust.
Ingredients
- 1 pre-made tart shell
- 3 ripe pears, peeled and sliced
- 1/2 cup sugar
- 1 teaspoon cinnamon
- 1 tablespoon lemon juice
- 2 tablespoons butter, melted
- 1 egg, beaten (for egg wash)
Instructions
- Preheat your oven to 375°F (190°C).
- In a bowl, mix pears, sugar, cinnamon, lemon juice, and melted butter.
- Place the tart shell in a baking dish.
- Arrange the pear mixture in the tart shell.
- Brush the edges of the tart with beaten egg.
- Bake for 25-30 minutes until the pears are tender and the crust is golden.
- Let it cool before serving.
Notes
- Serve warm with vanilla ice cream.
- Store leftovers in the refrigerator for up to 3 days.
- Use firm pears for best results.
- Prep Time: 15 minutes
- Cook Time: 30 minutes
- Category: Dessert
- Method: Baking
- Cuisine: American
Nutrition
- Serving Size: 1 slice
- Calories: 220
- Sugar: 18g
- Sodium: 150mg
- Fat: 8g
- Saturated Fat: 4g
- Unsaturated Fat: 3g
- Trans Fat: 0g
- Carbohydrates: 35g
- Fiber: 2g
- Protein: 2g
- Cholesterol: 30mg
Keywords: Christmas Pear Tart, holiday dessert, festive tart, pear dessert